Turning lemons into lemonade? That’s what I’ve been trying to do this past week. With the instructions to stay home as much as possible, Eli and I have been taking it as an opportunity to work on a few home improvement projects. This weekends’ project? A vertical shiplap and pegrail DIY.
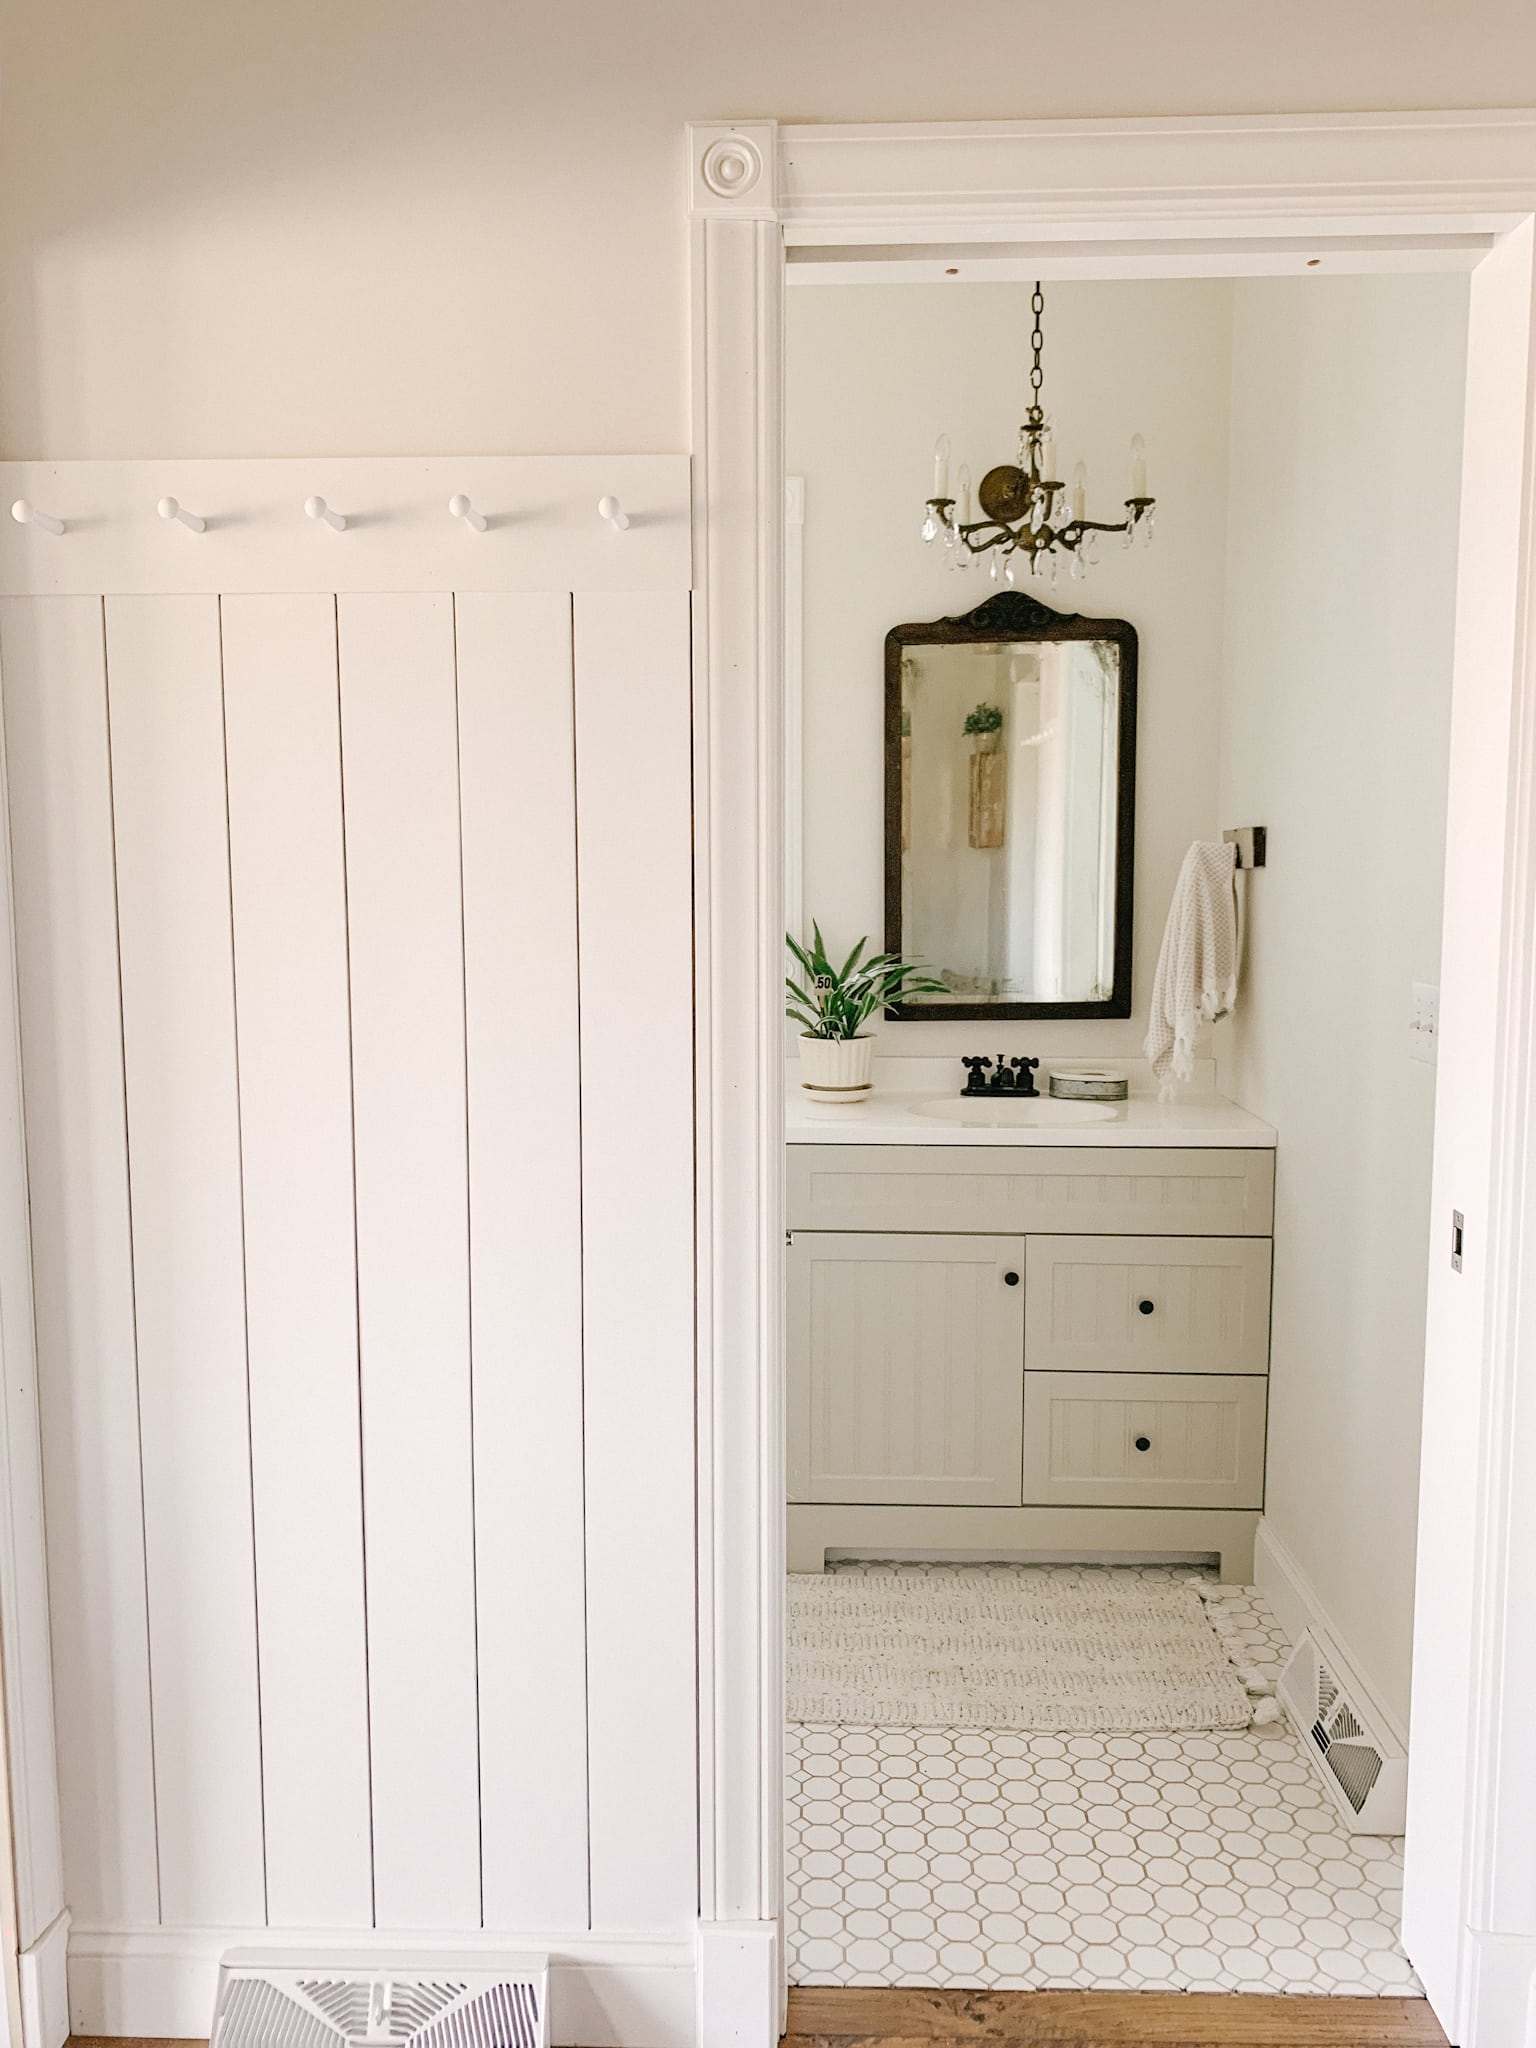
For a few months now, I’ve had this particular project on my mind. I’ve been excited to tackle it but just haven’t quite found the time until last weekend. I was antsy to get started!
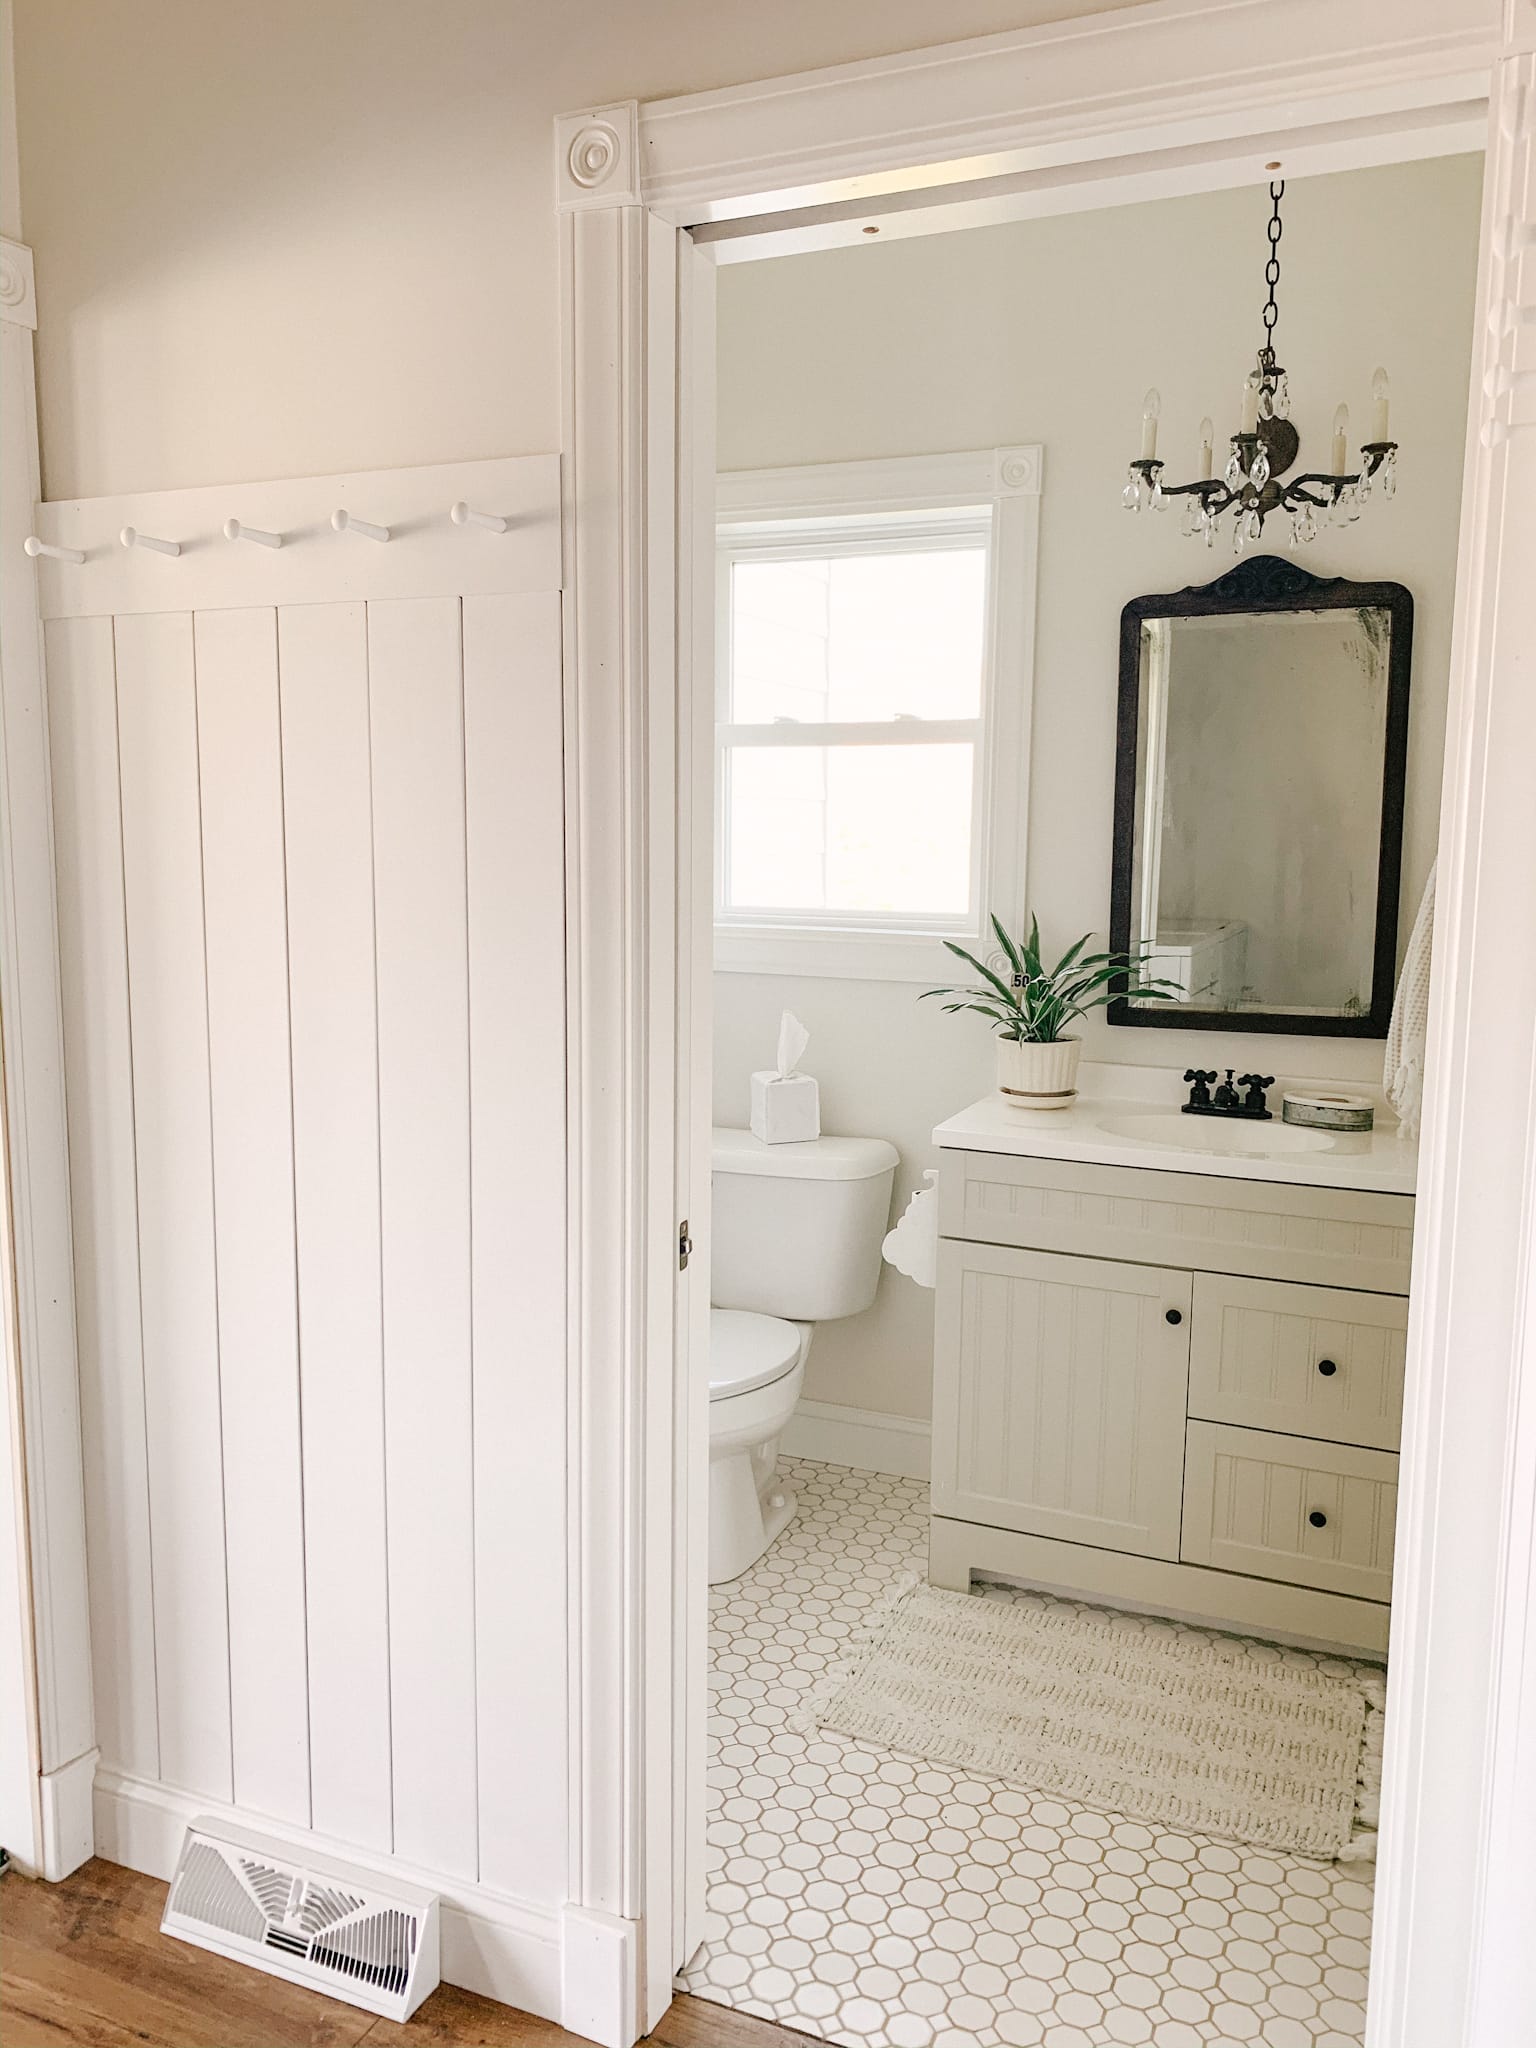
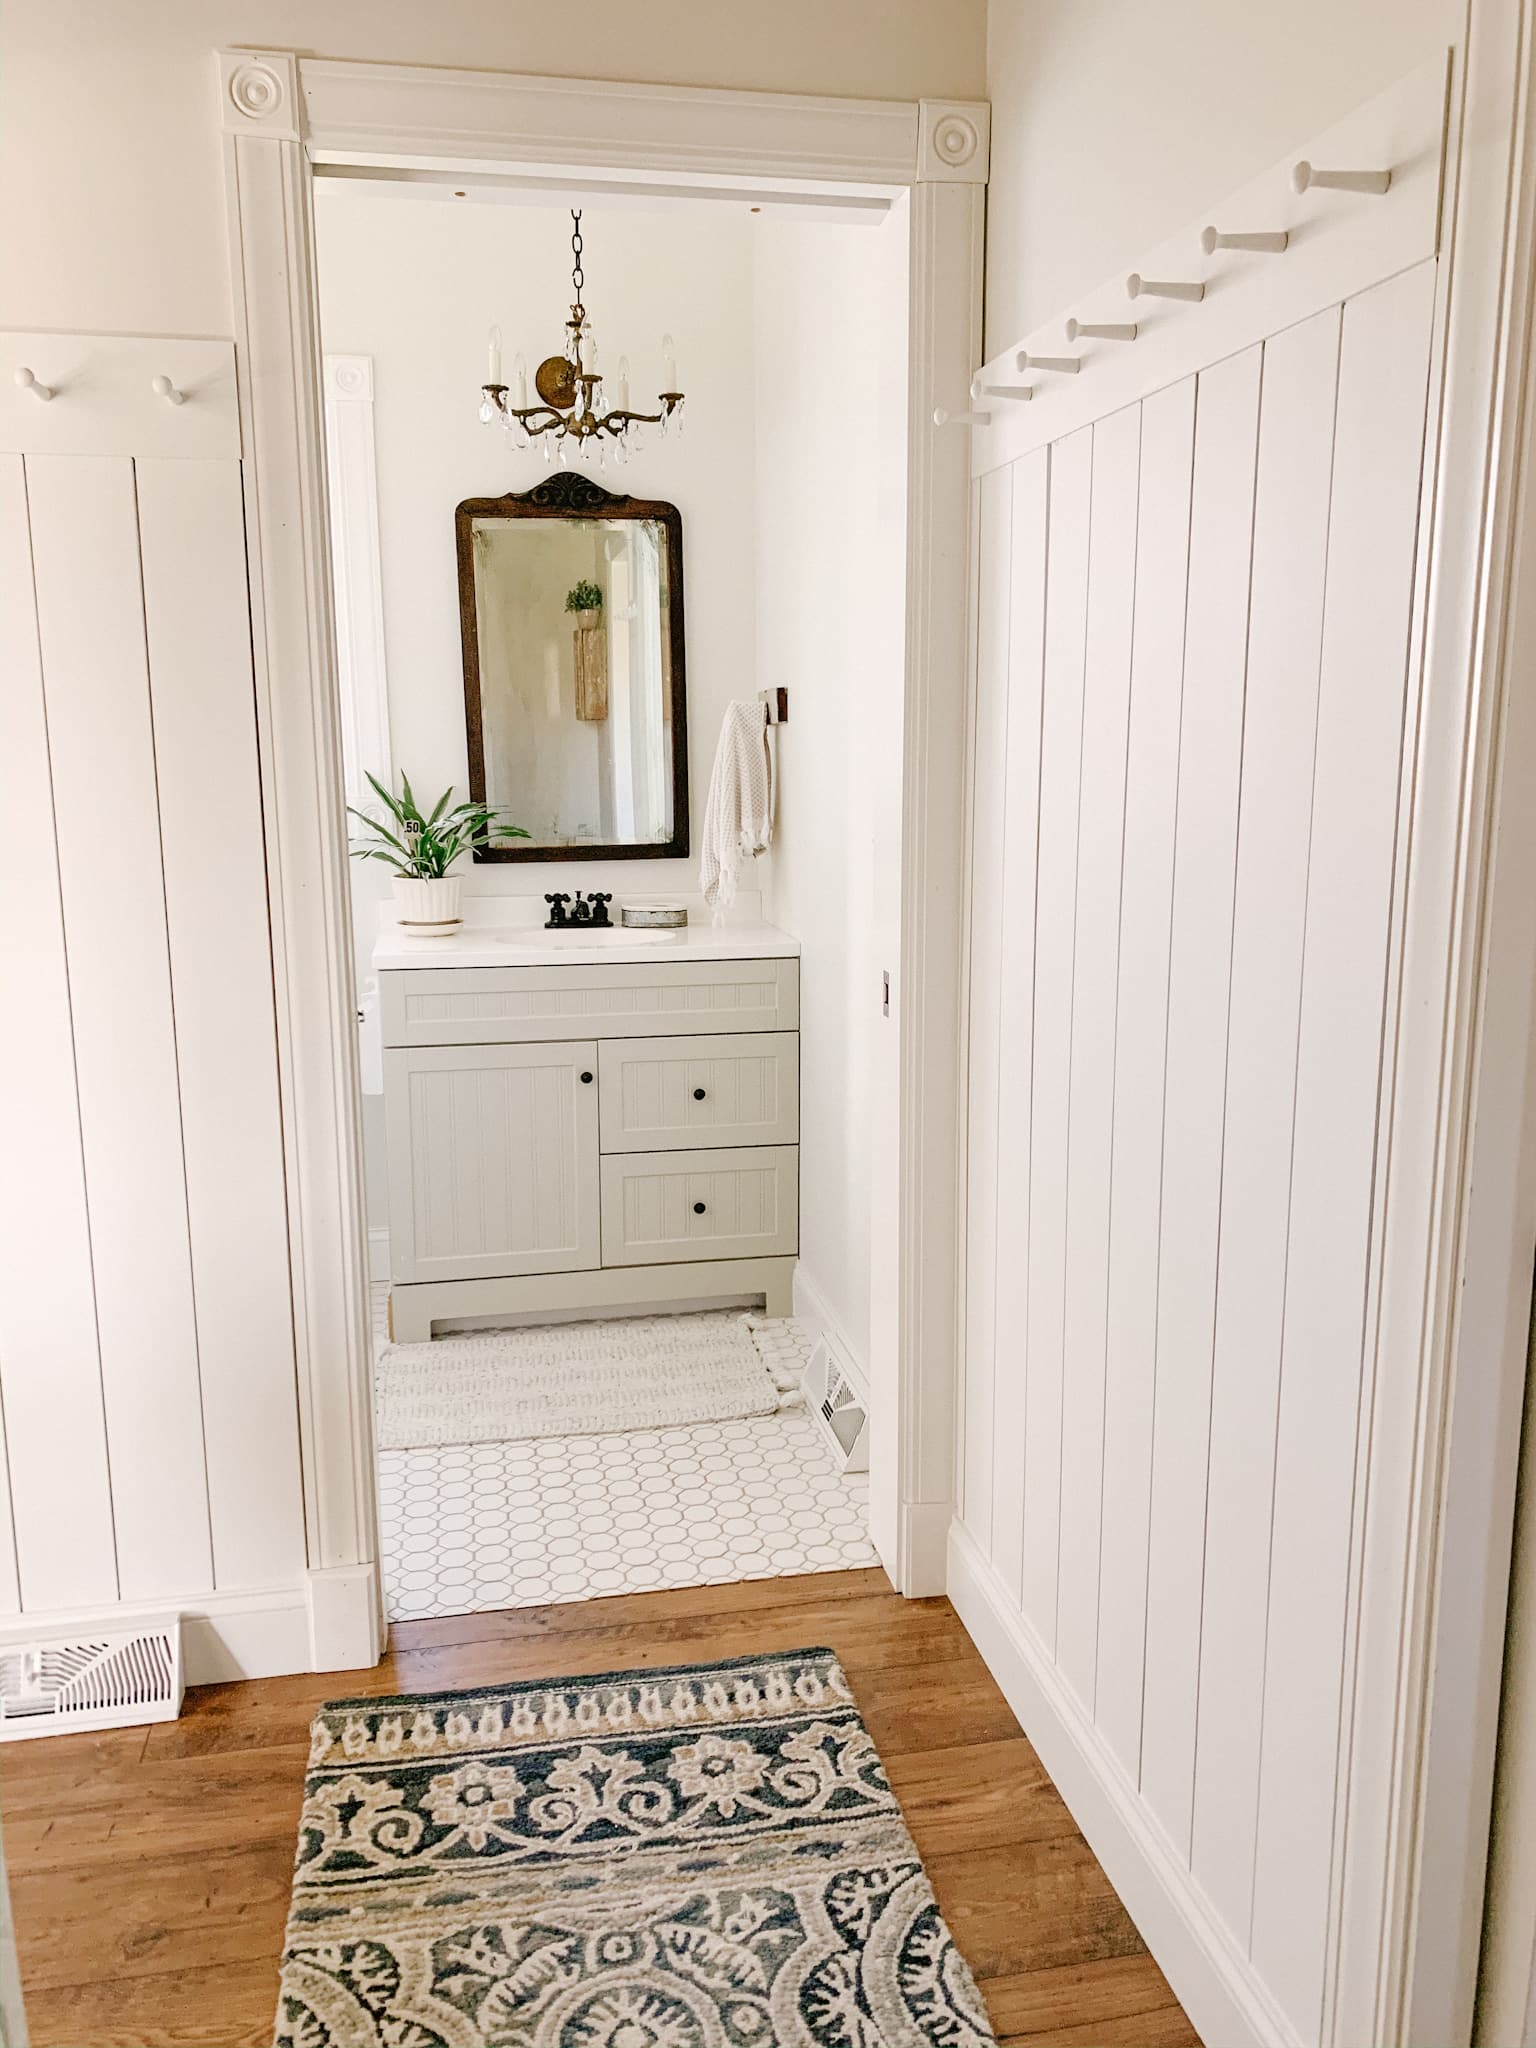
I’ve seen this project done in a few other homes and I just love how functional & charming it is. I knew right away that this was the route I wanted to go in for our laundry room.
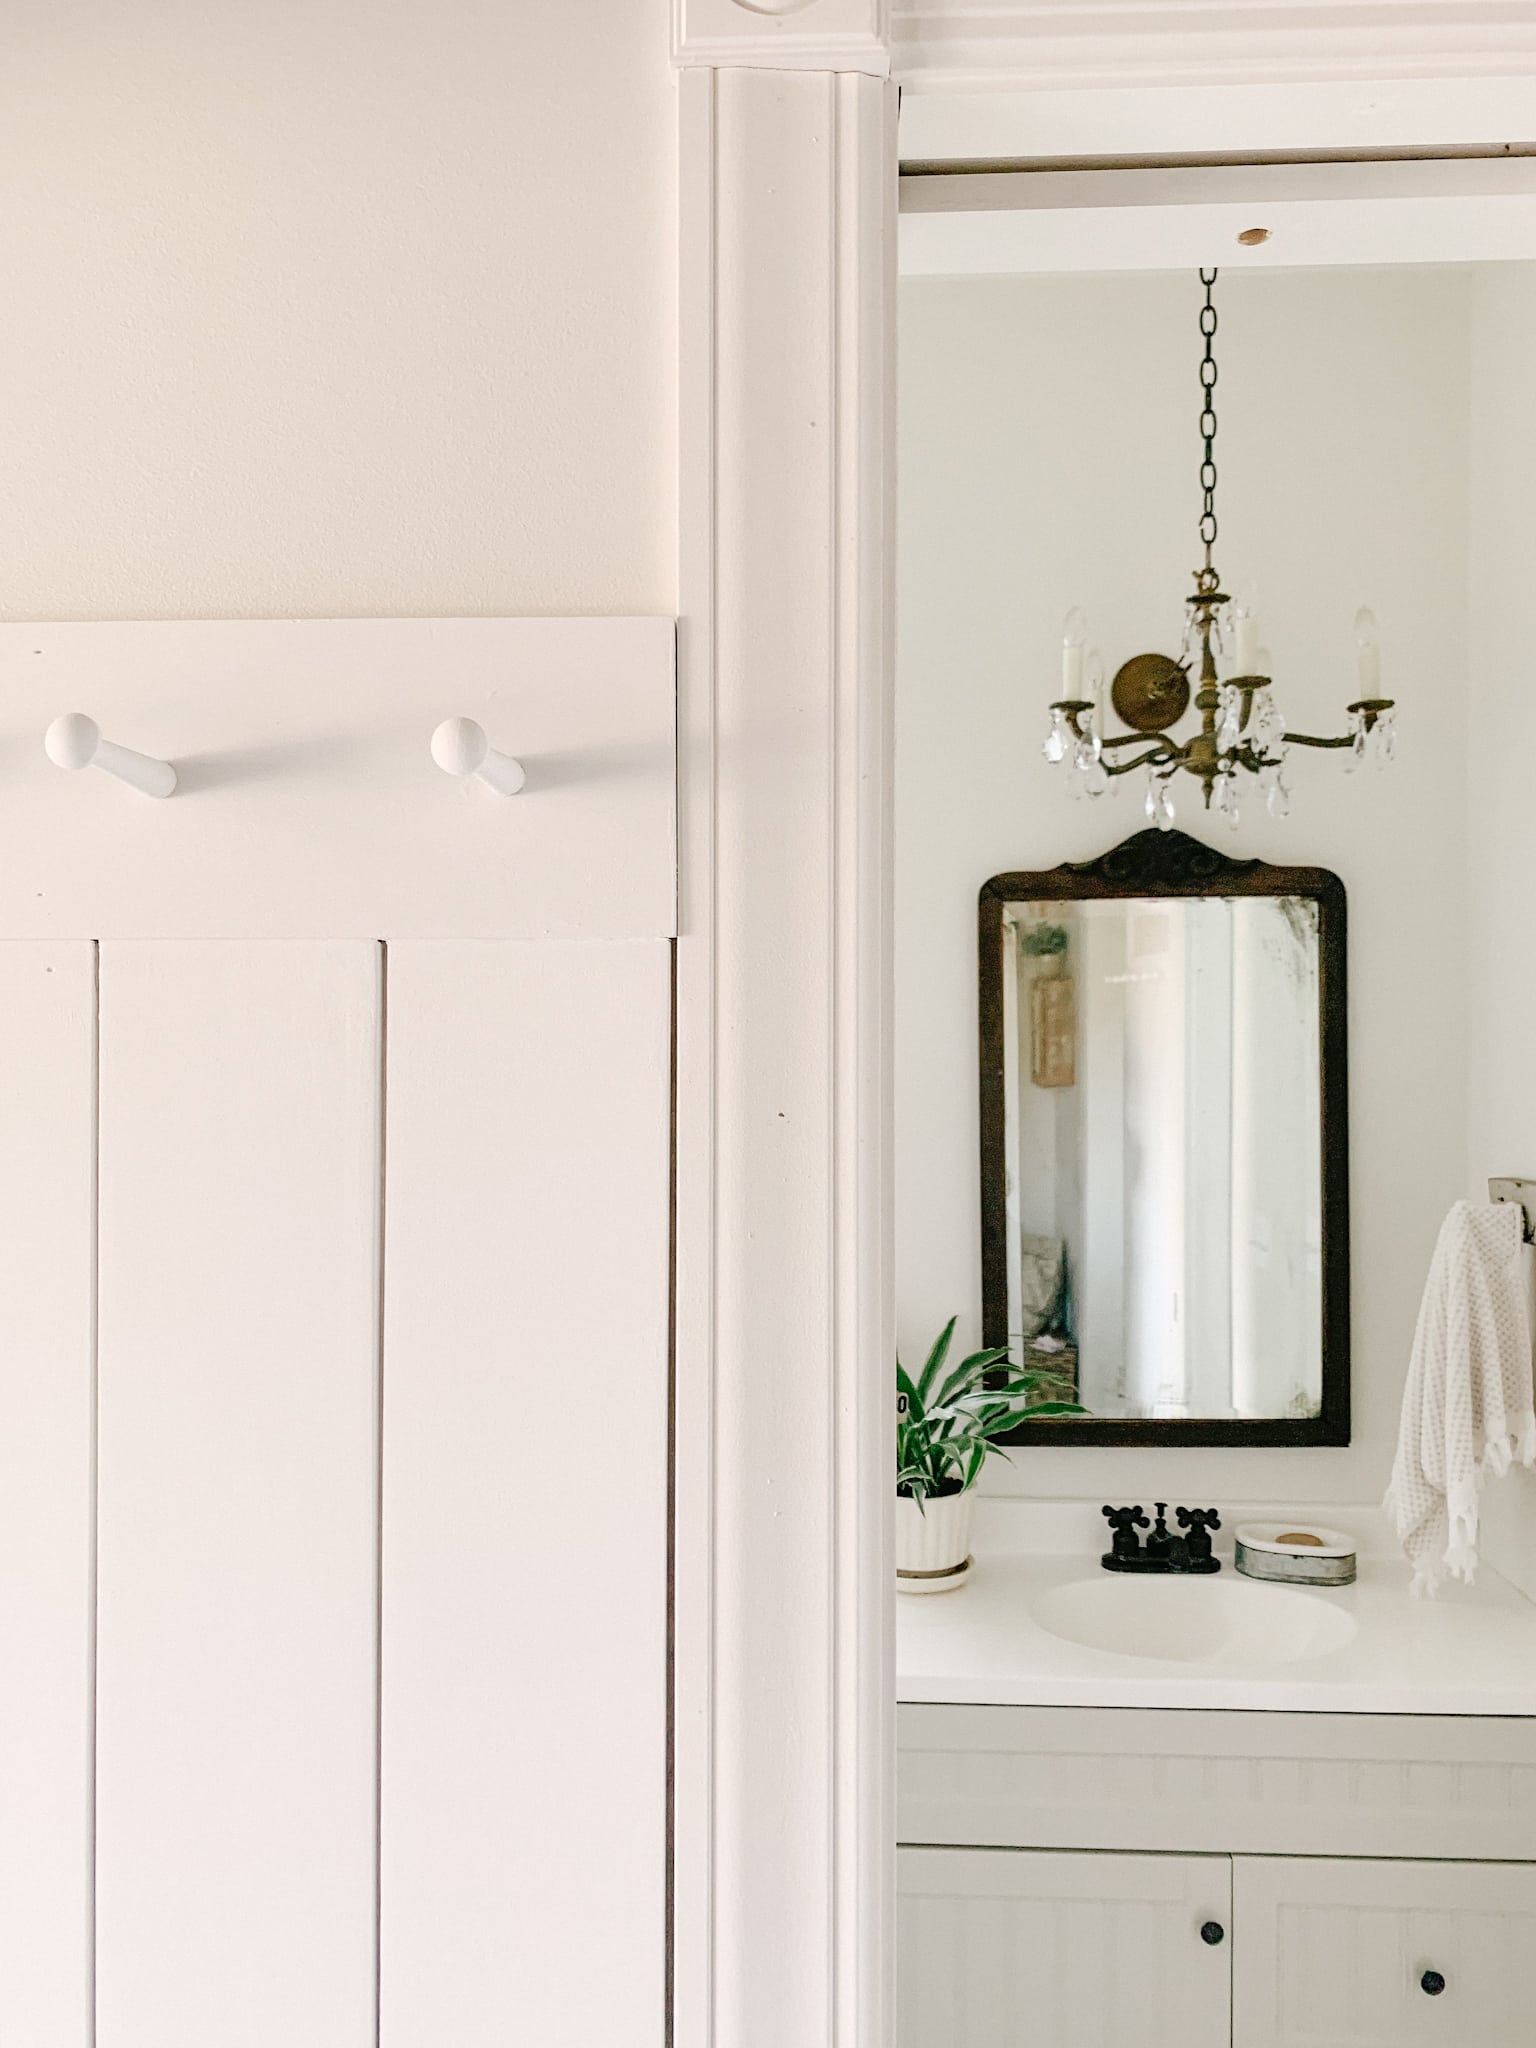
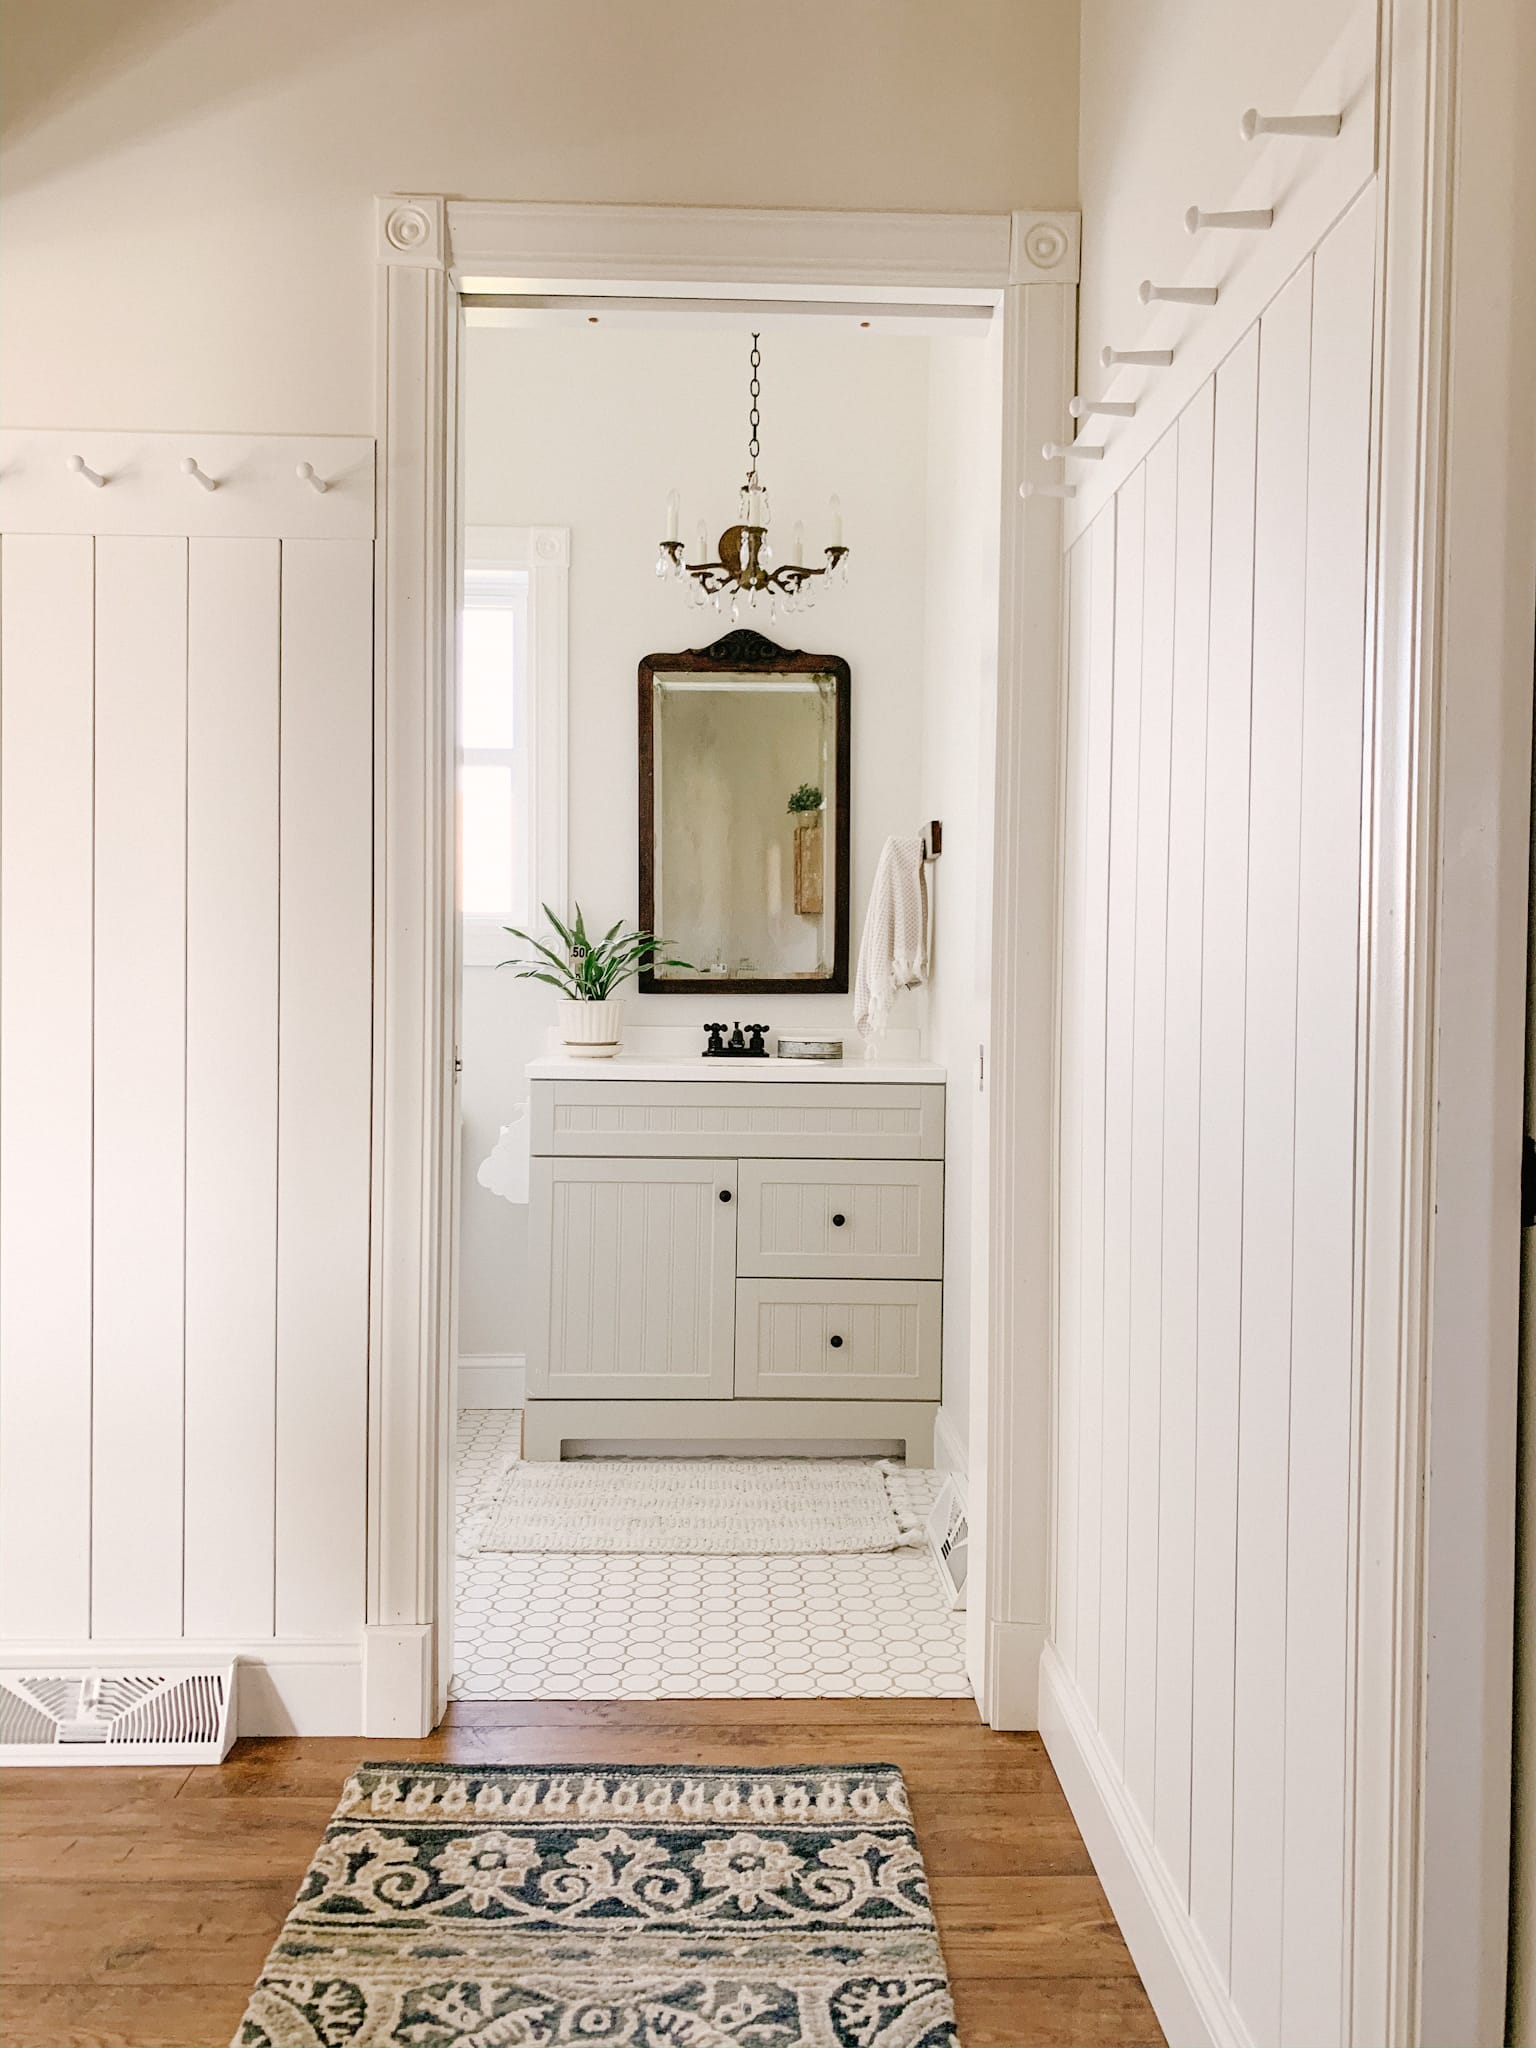
I’ve you’ve never been to our house before, let me give you a little explanation as to why this project has been so high on my to-do list. You see, 90% of our guests enter our home through our garage. I think it’s due to the way our house faces. Upon entering our garage, you walk directly into our laundry room. This is a “first impression” room of our house & I’ve been really motivated to make it a little bit cuter for quite some time. I did do a mini refresh about a year ago (which you can see here), but I still wanted a bit more more charm.
Now, to the vertical shiplap and pegrail DIY project. We started by gently removing our baseboards using a molding pry bar. After this, we were able to start laying out our shiplap tongue and groove boards. We used 5.375-in x 12-ft White Pine Shiplap Wall Plank. (Which we picked up at our local Lowe’s Home Improvement store)
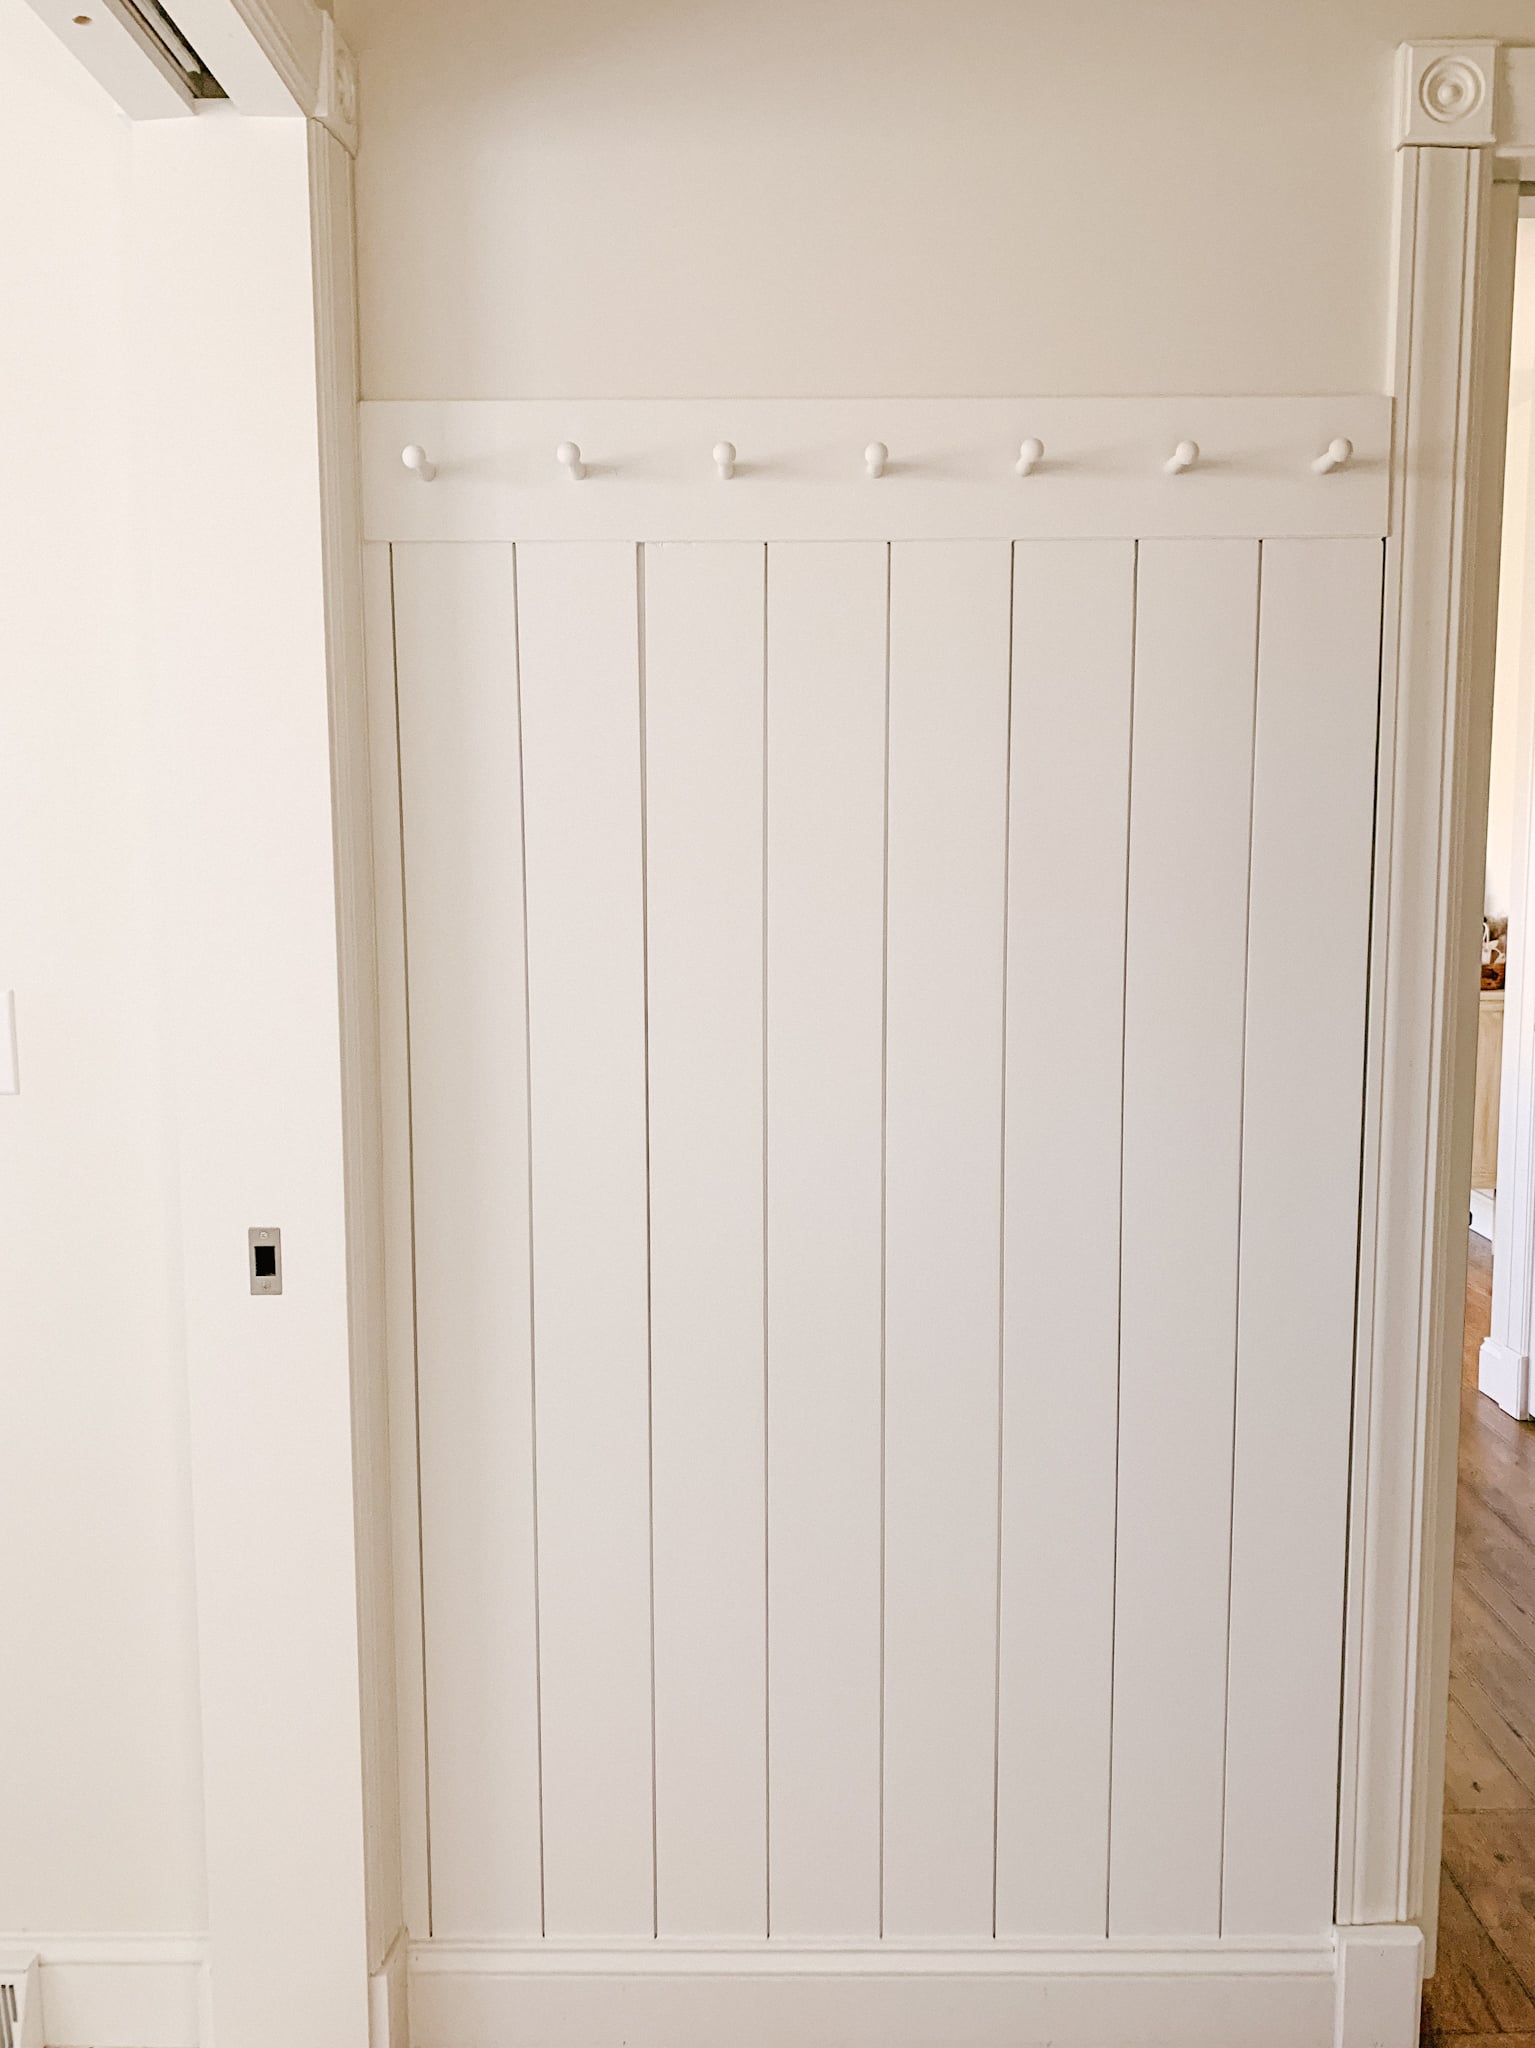
Since these boards were 12 feet long, we had the employee at Lowe’s cut these in half for us. The reason is, we weren’t planning on ship-lapping the whole way to the ceiling. I only wanted about 3/4 of the wall to have vertical shiplap so cutting the boards in half (to 6 ft) would cut down on how many boards we needed to buy. We measured our two walls and found out that we would need about 8 boards cut in half to total 16 pieces of vertical shiplap.
The height of your vertical shiplap is personal preference but we cut each board to be 5 ft 6 in tall. After each board was cut using a miter saw, we applied a generous amount of liquid nails to the back of each board. We held each board in place for a bit before moving on to the next piece ensuring that each board was level both vertically and horizontally (at the top).
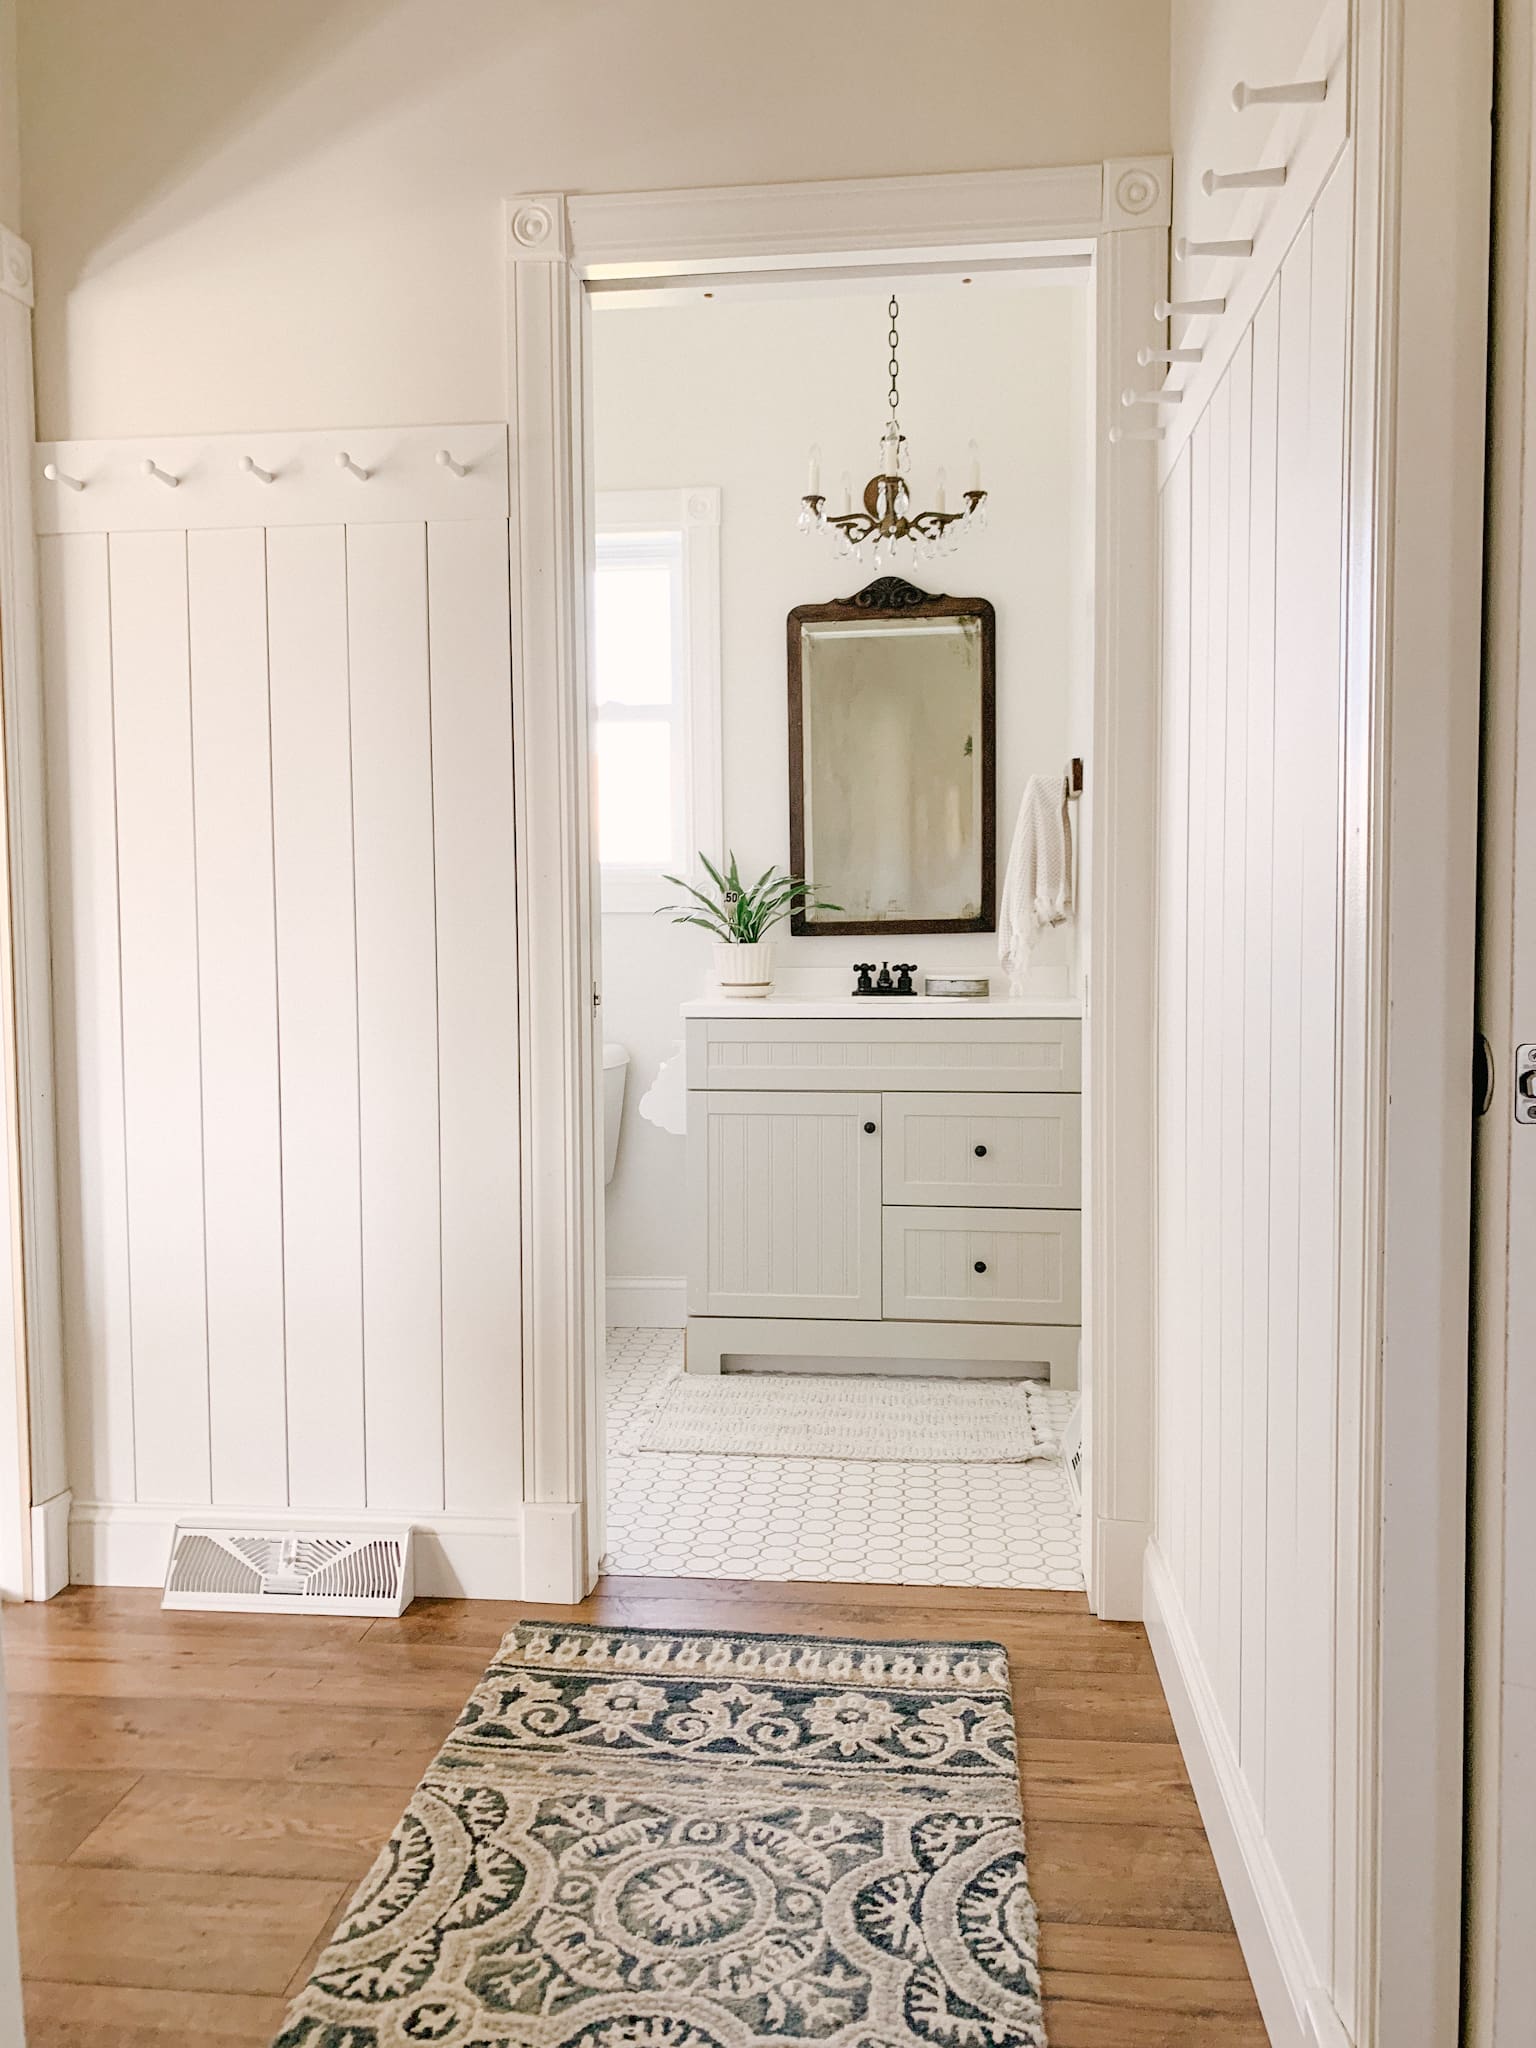
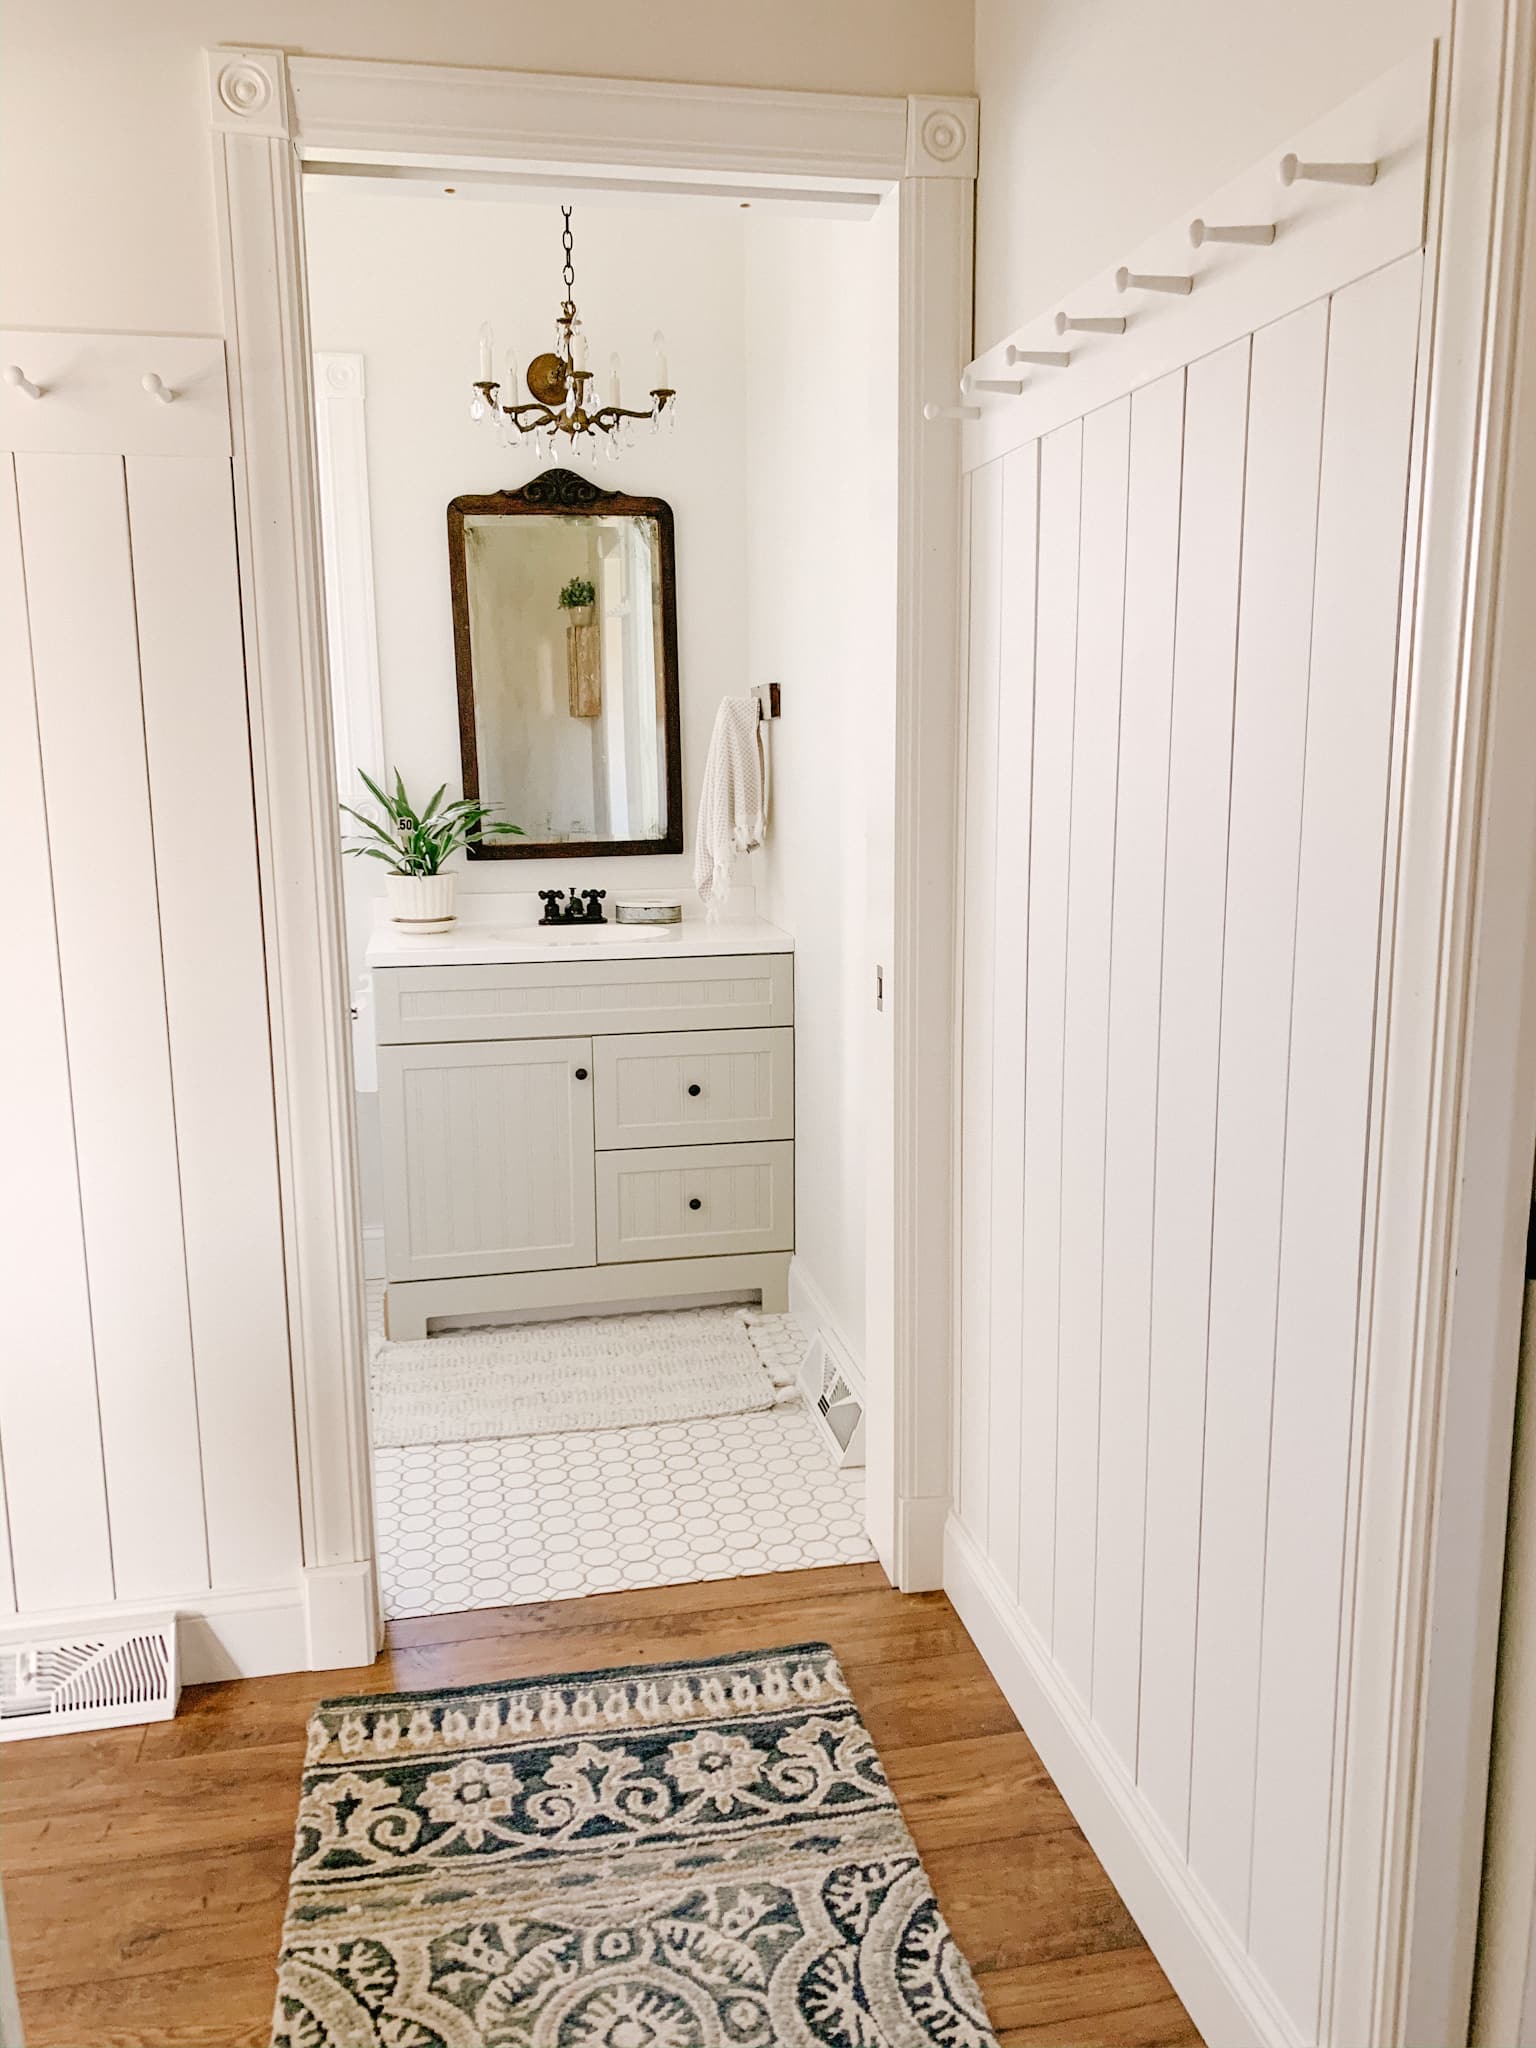
We continued this process for the width of the wall and ended up having to trim the last piece vertically to fit in snuggly. After the wall was fully shiplapped, we reattached our baseboard using a nail gun.
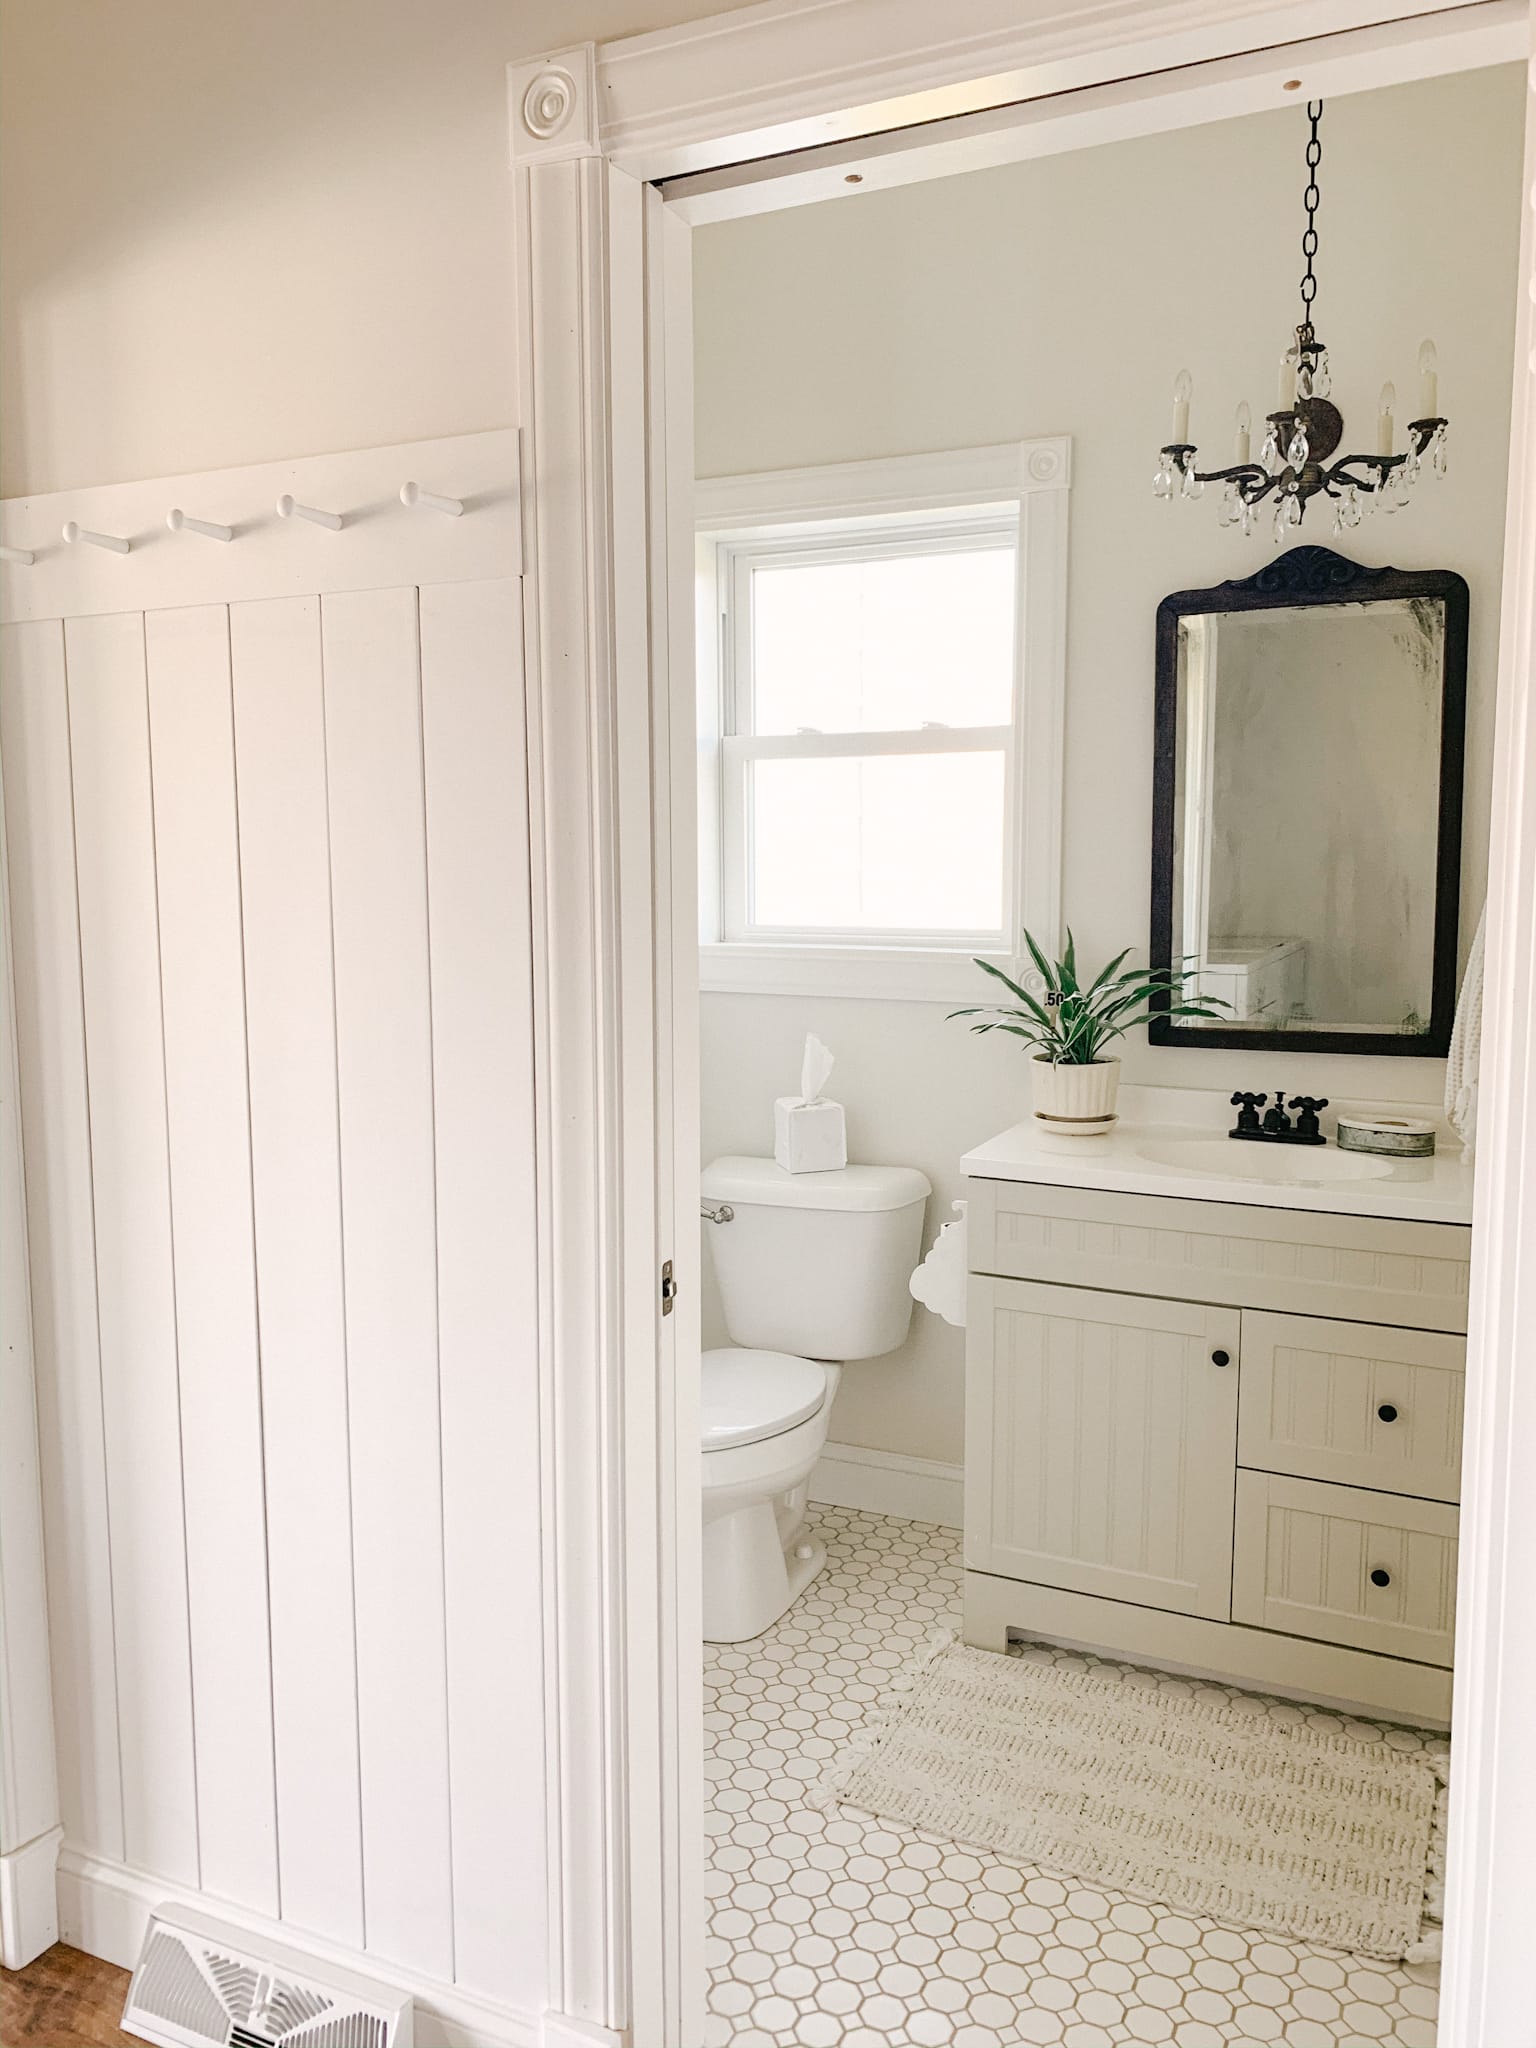
At this point, we used a 1×6 piece of pine to create the “header” piece that would will later attach the pegs to. We cut this piece to fit perfectly above our installed vertical shiplap.
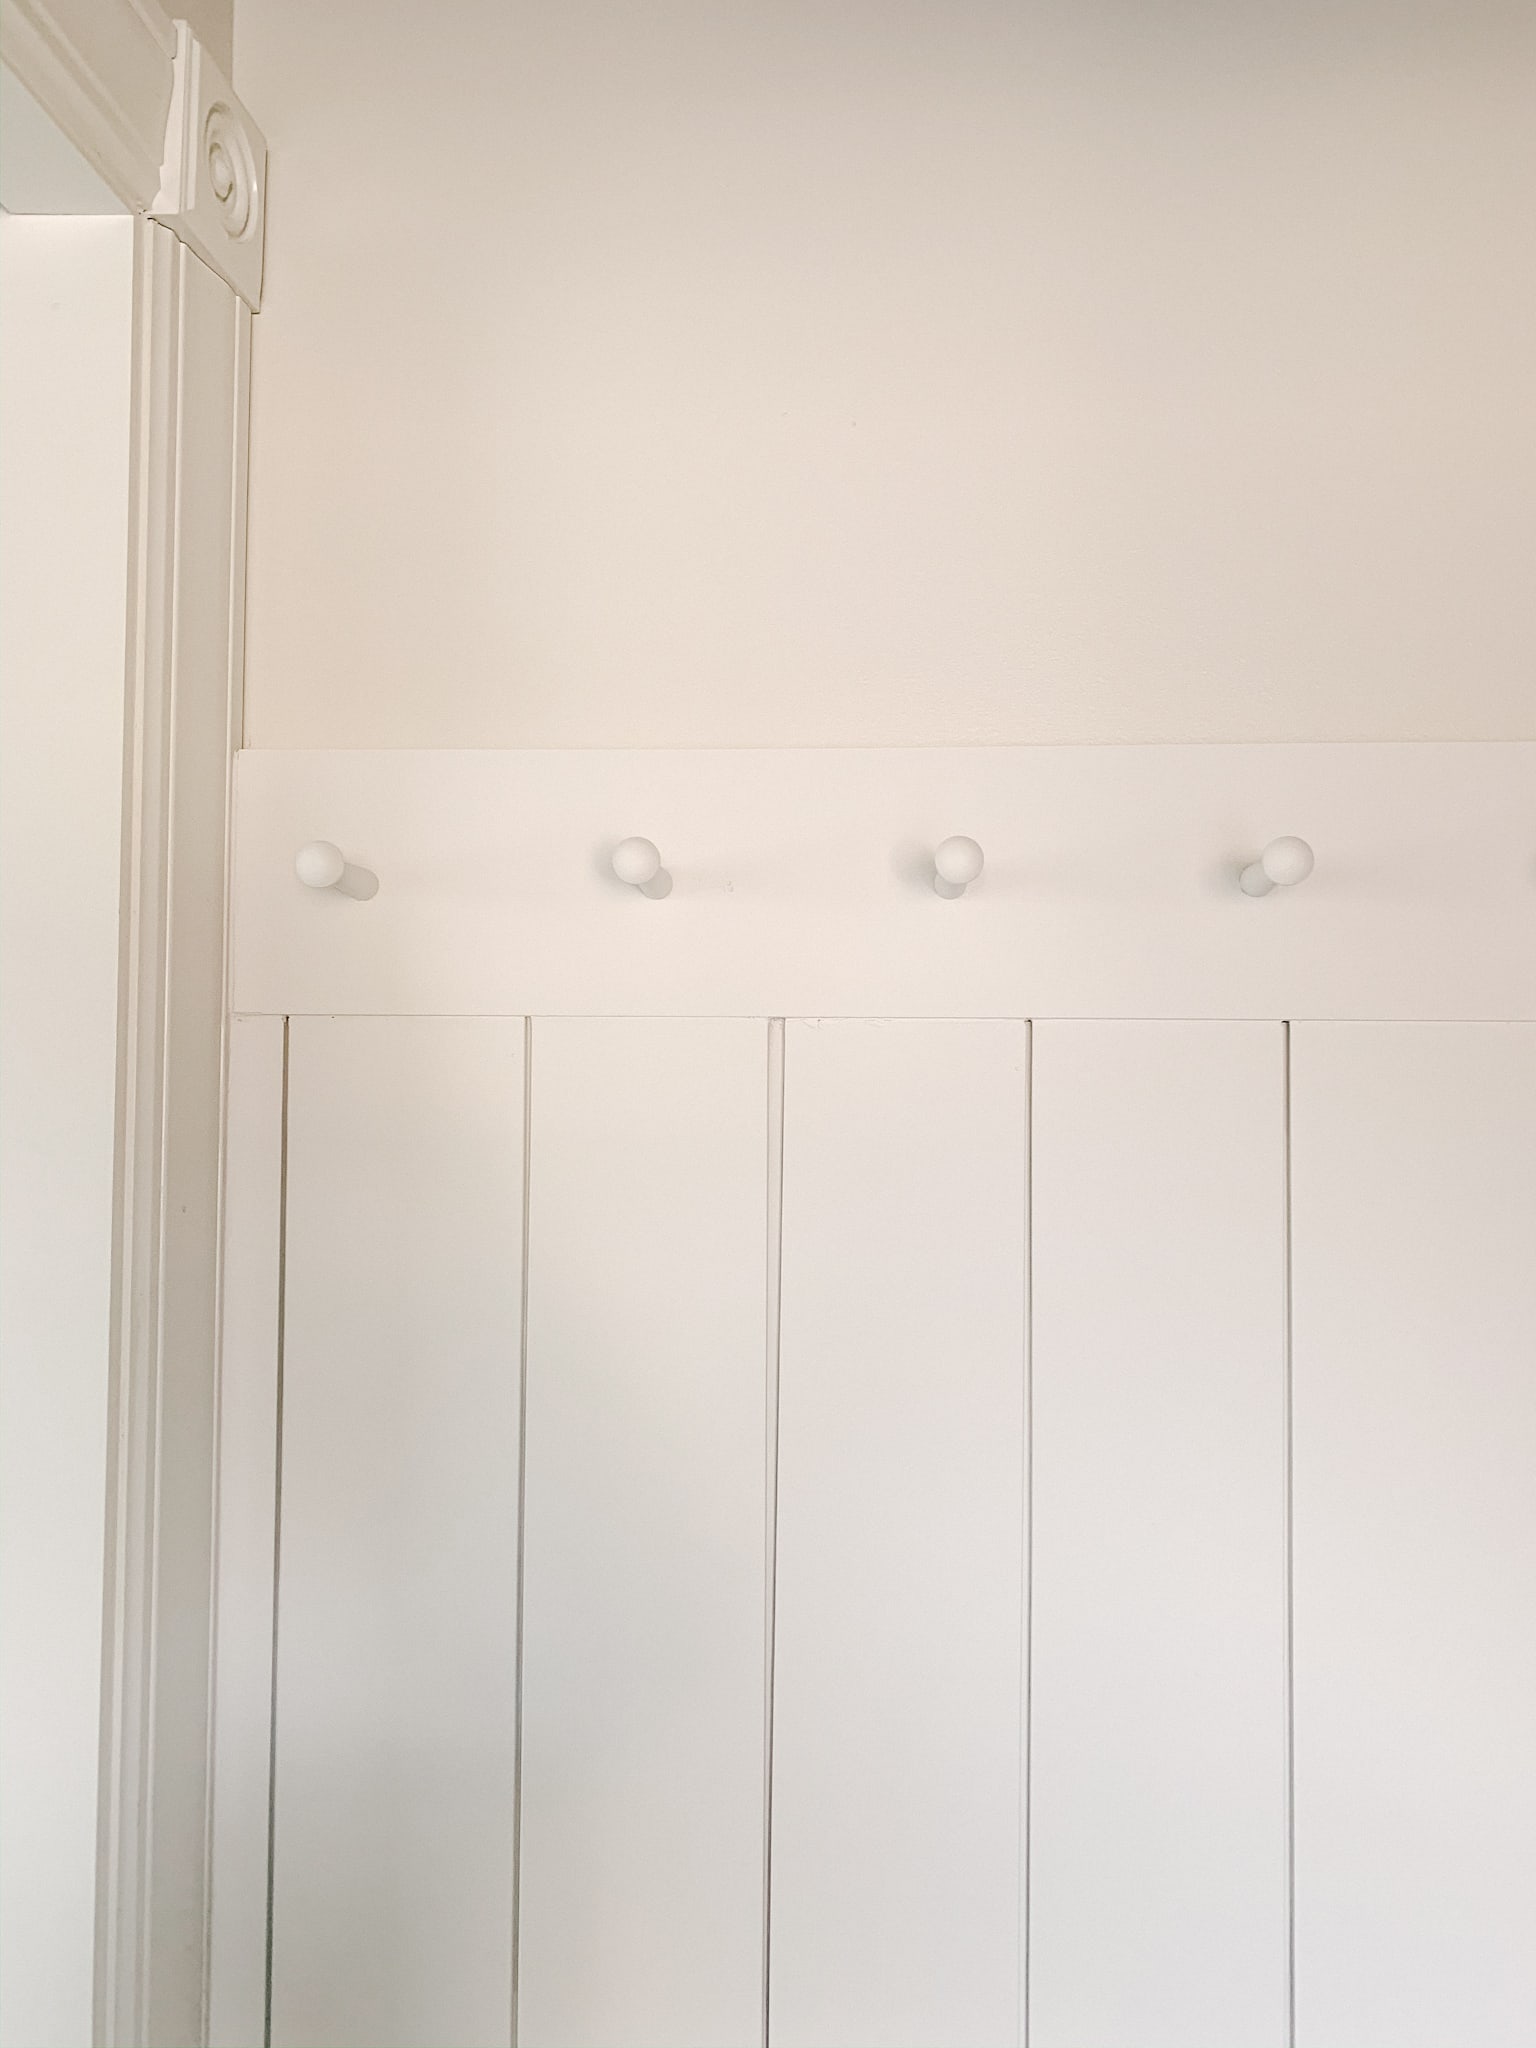
The next step was to attach our pegs. I found these pegs on Amazon for a great price & have plenty left over. The spacing of your pegs will be personal preference as well, but after playing around with 4 inch, 5 inch and 6 inch gaps…we decided on 6 inch gaps.
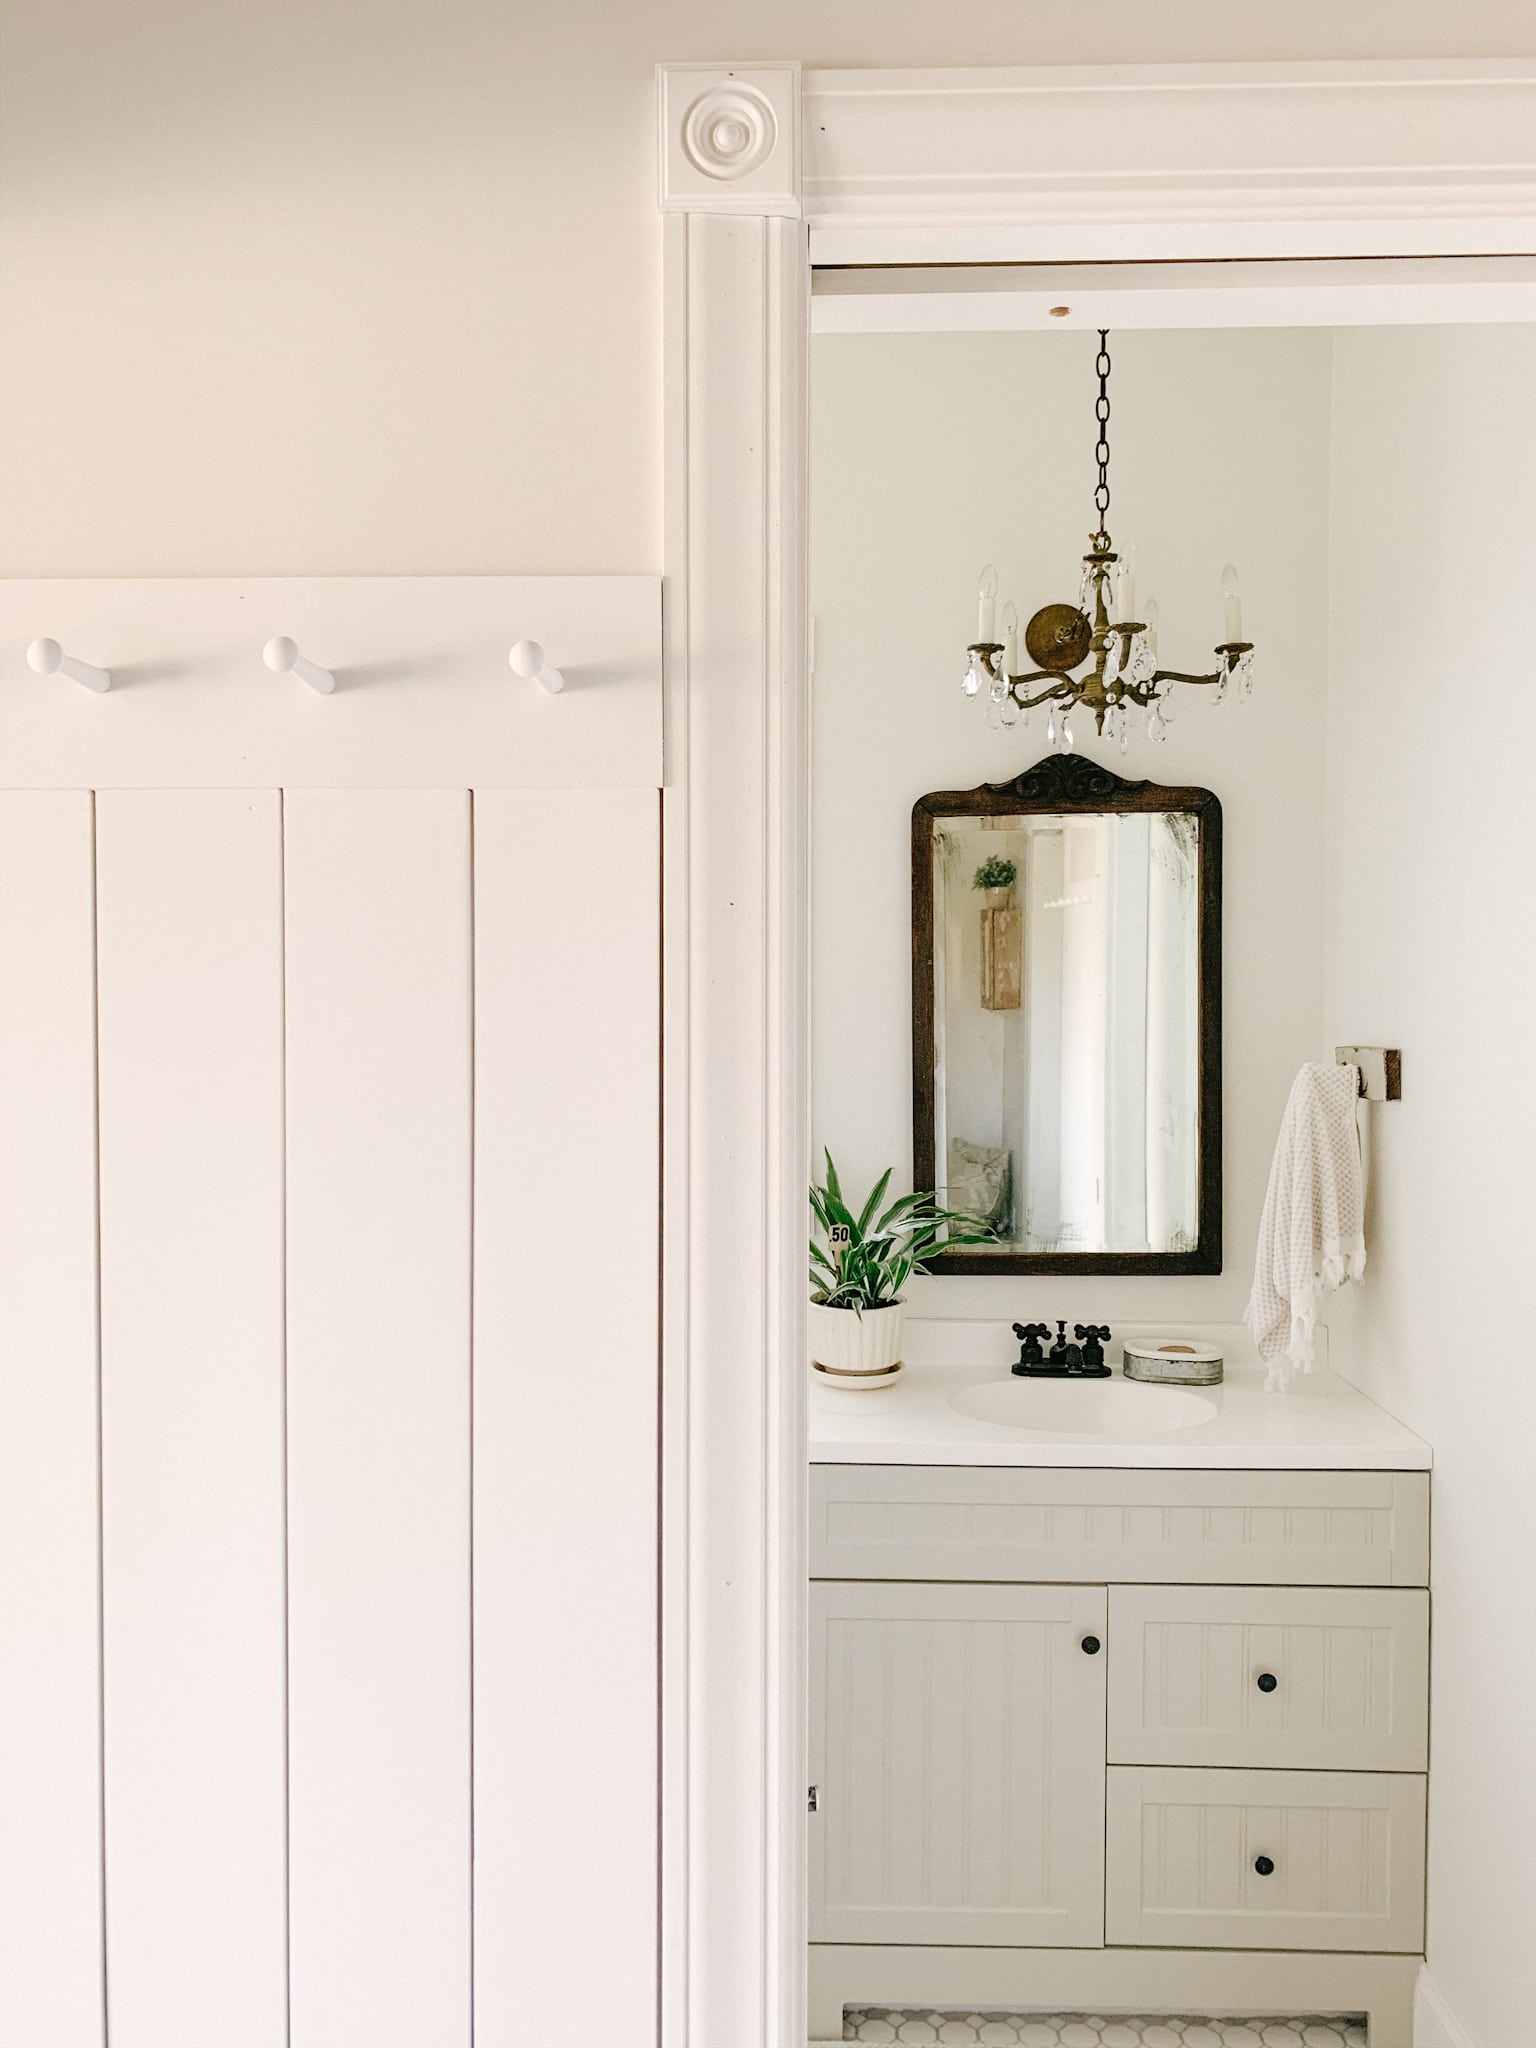
We measured the height and width of the board to find the center point. This is where we placed the first peg. By marking with a pencil, we were able to determine 6 inches out from the center point until we ran out of space.
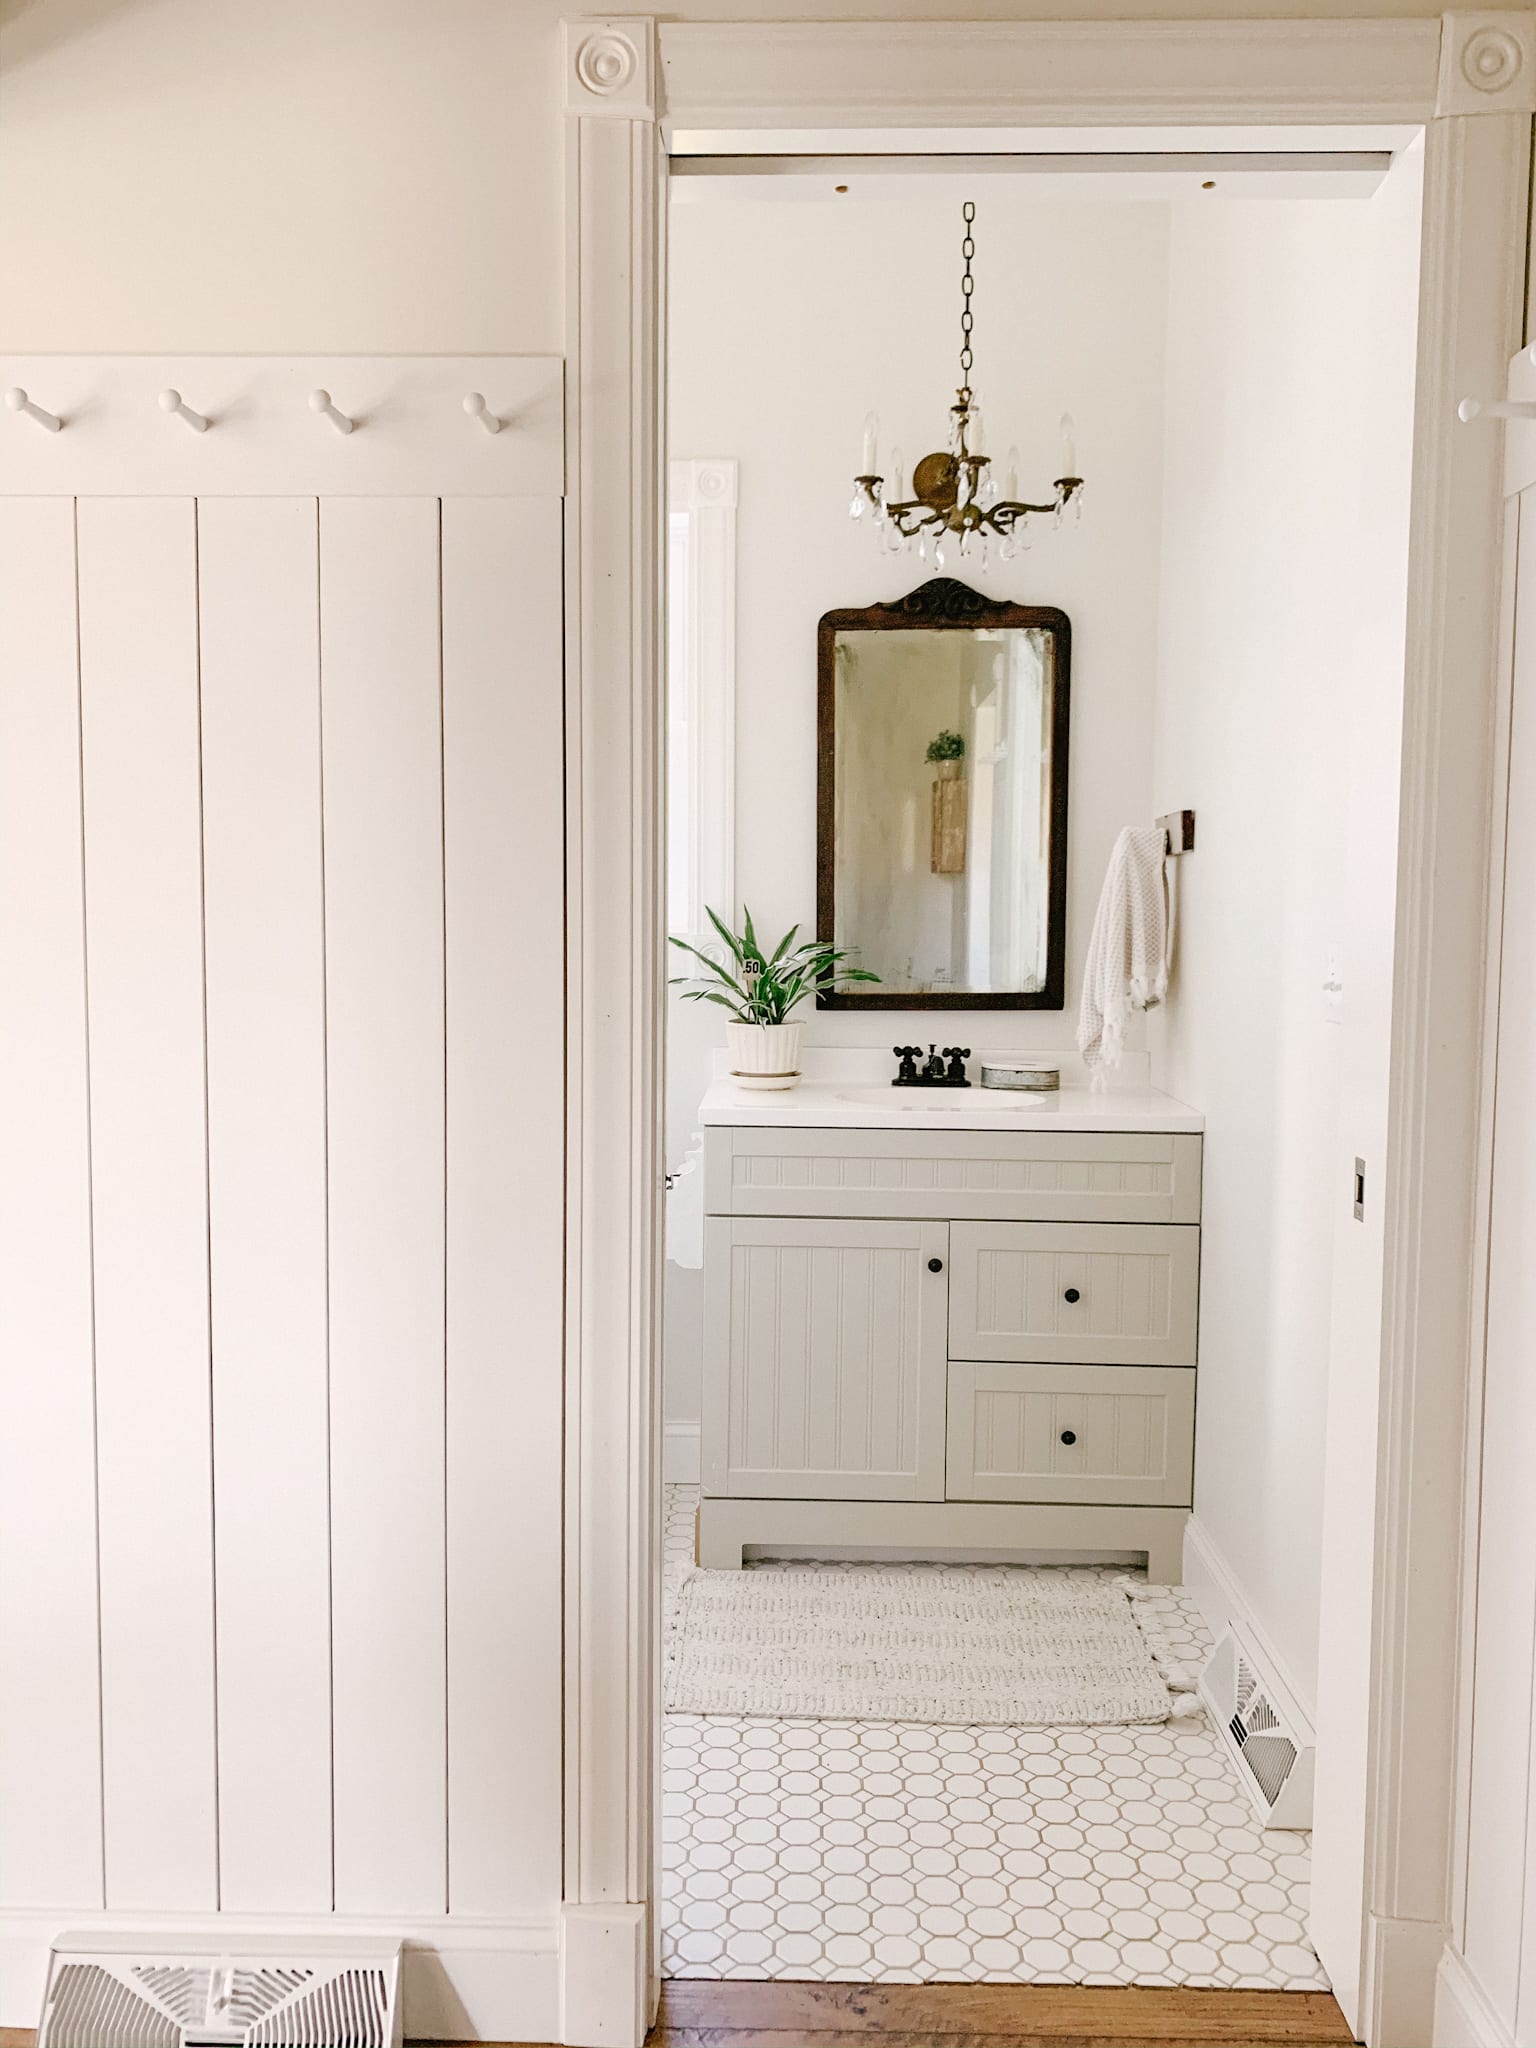
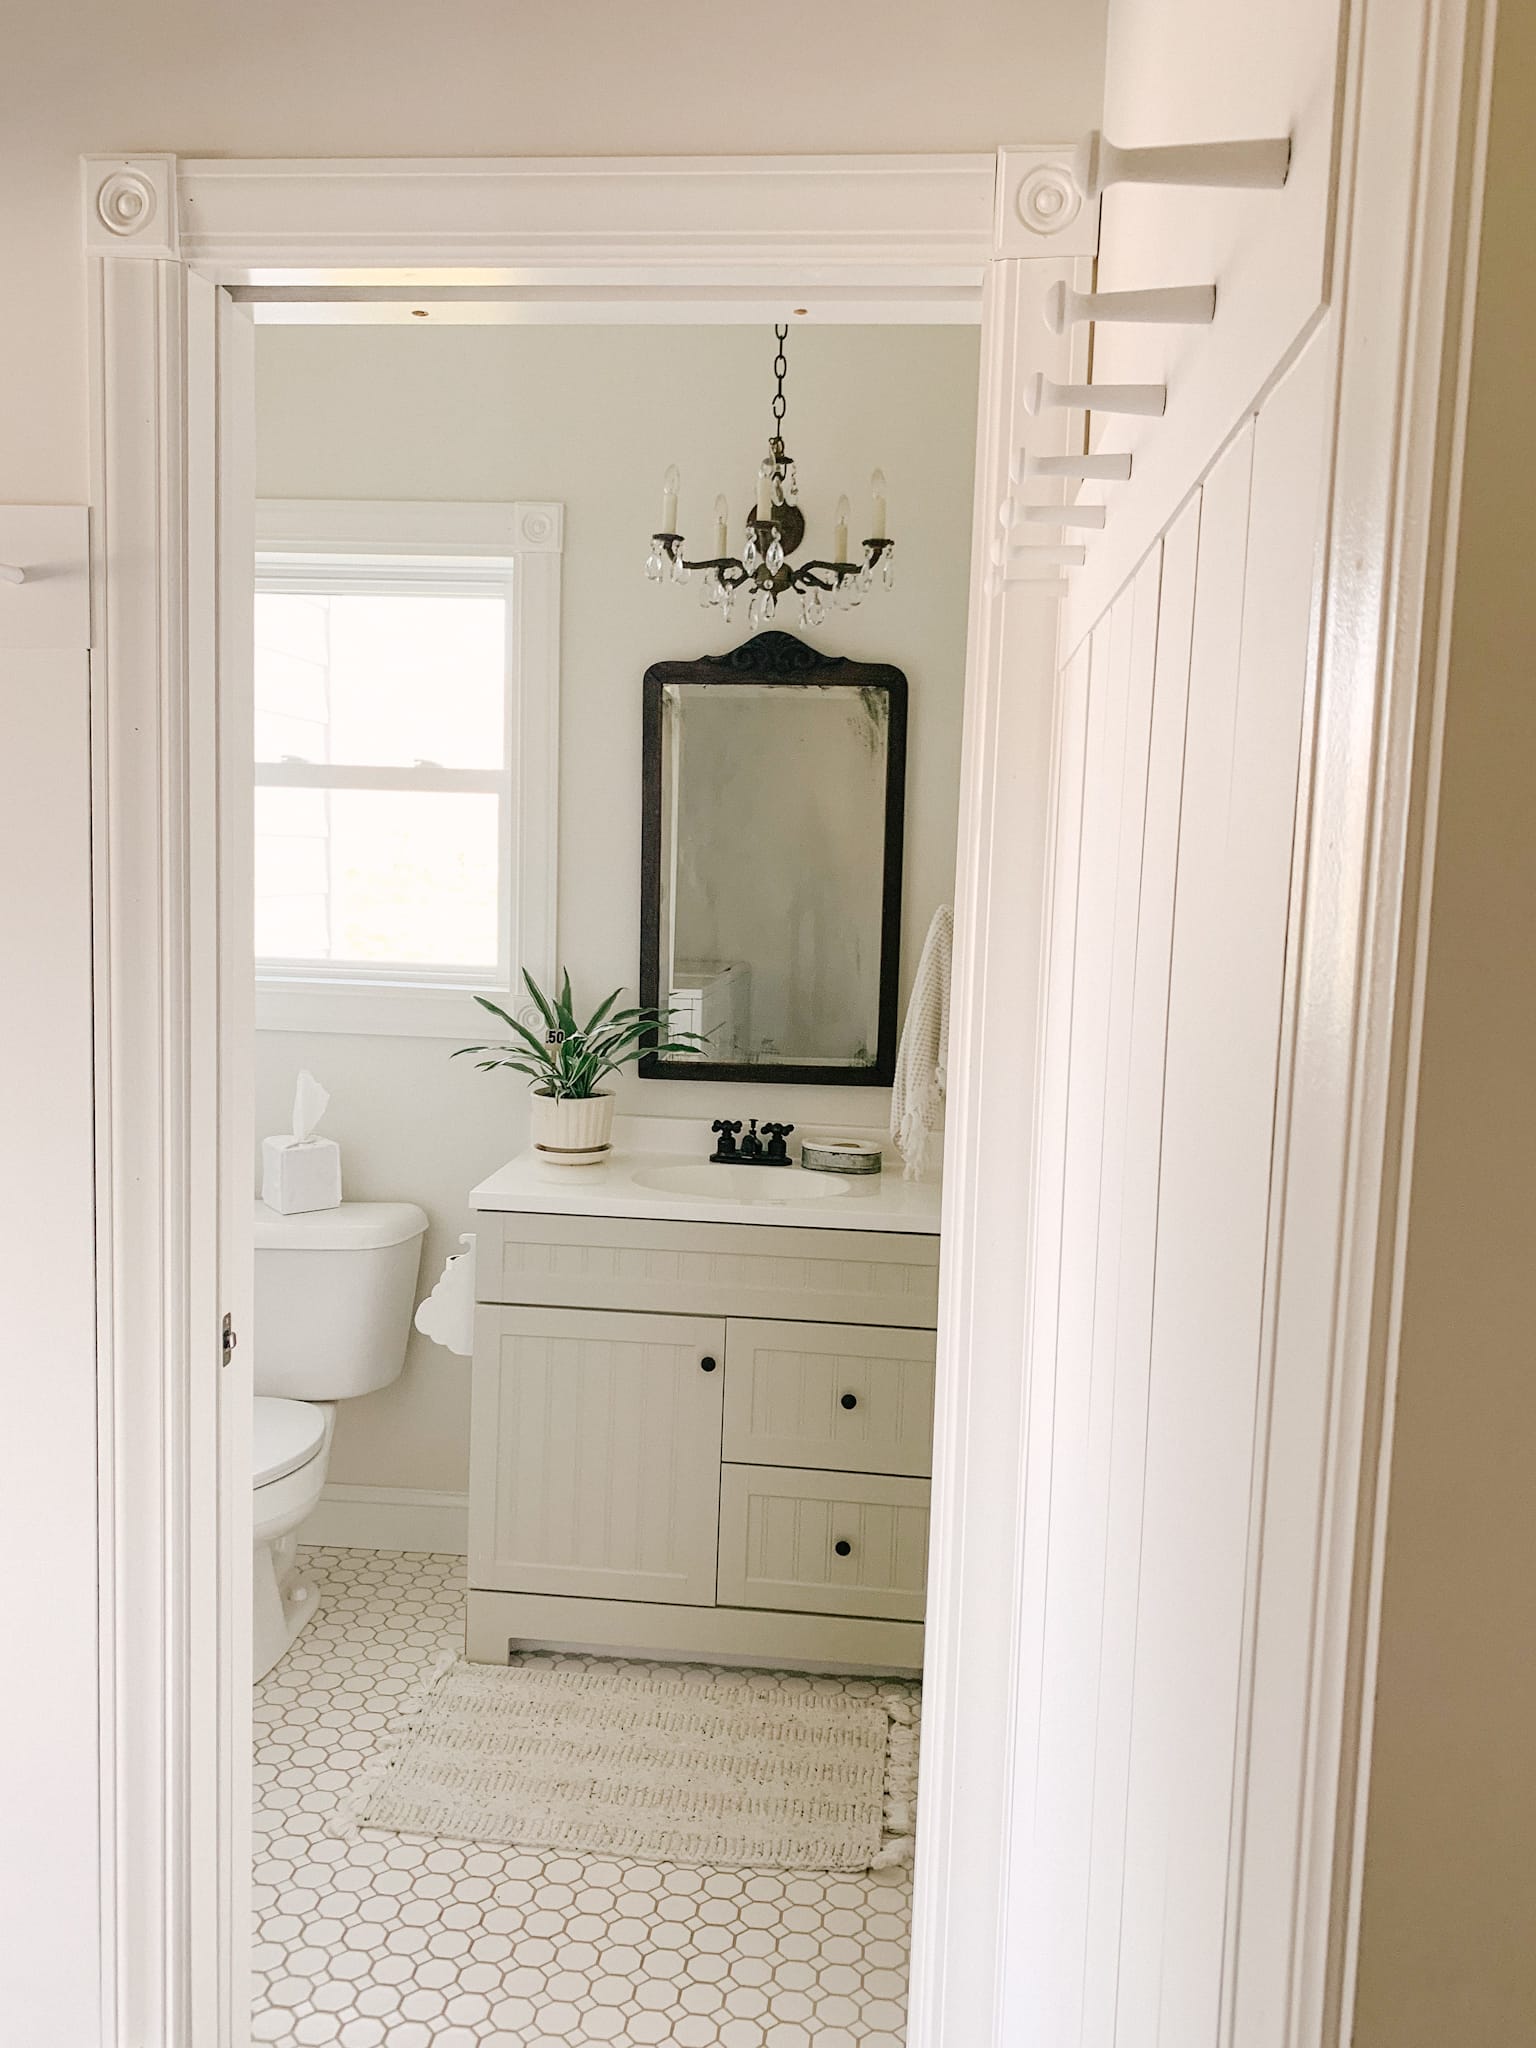
Different pegs will require different tools, but for our specific pegs we used a 1/2 inch drill bit to drill holes into the header board. We drilled holes the whole way through the back of the board at each designated peg spot. At this point, we were able to fit the pegs into the board by using just a bit of elbow grease. We found out that they fit into the board pretty tightly and we didn’t feel the need for wood glue. (You could totally add some just in case!)
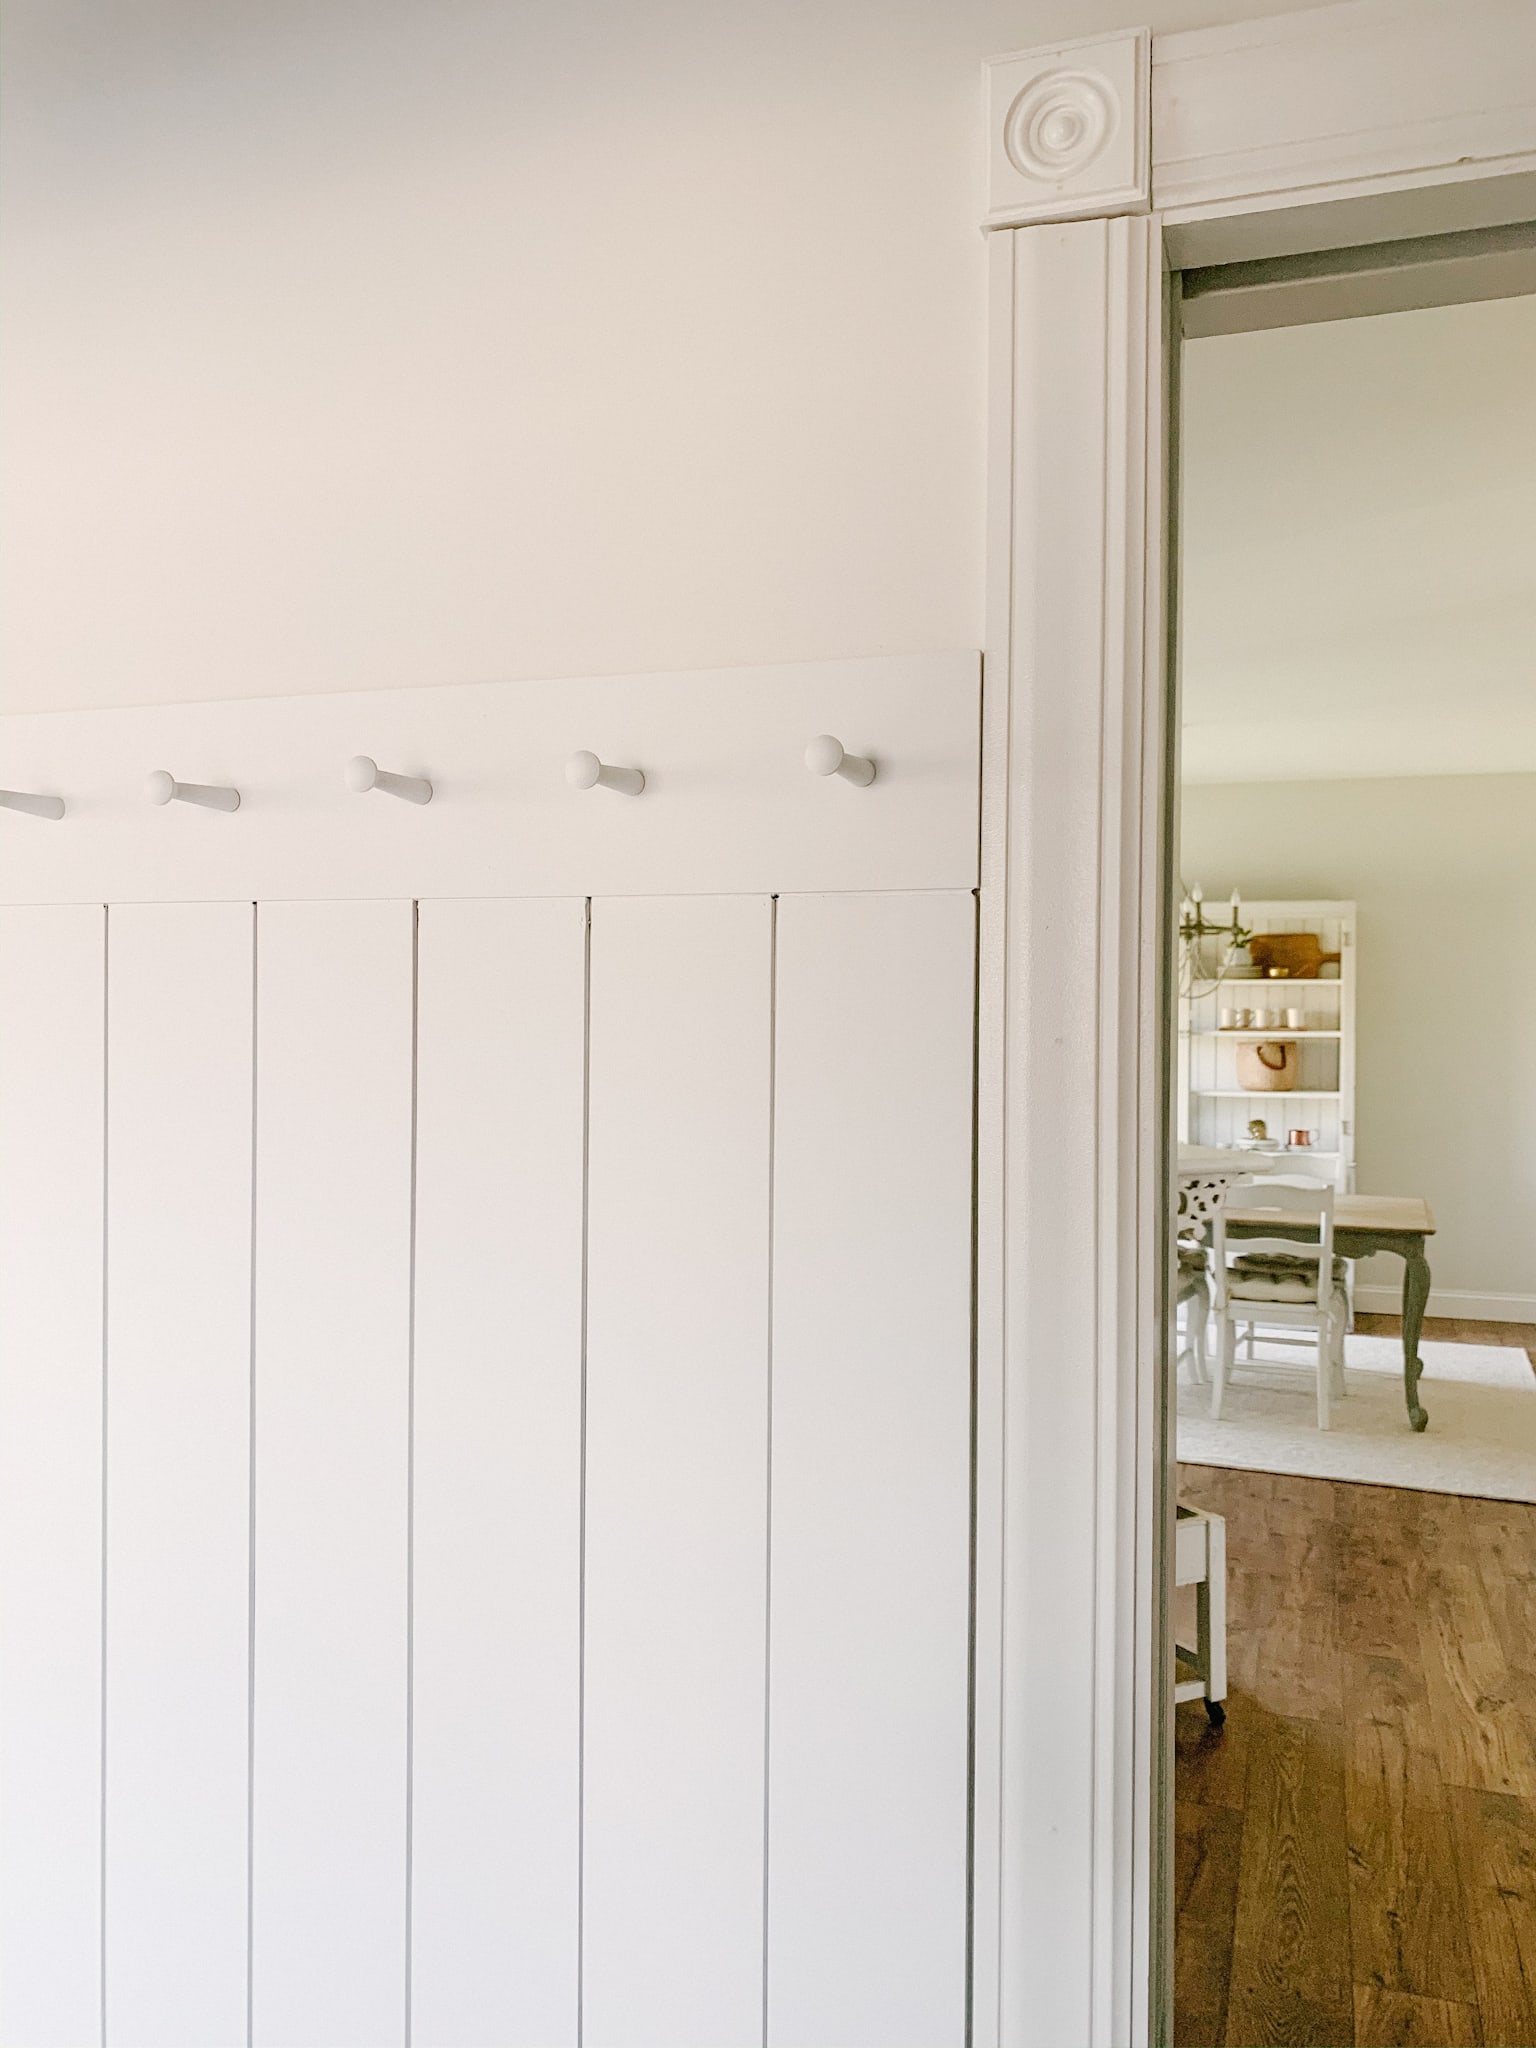
Next, we were able to attach our peg rail above our vertical shiplap using a nail gun. We made sure that the top of the peg rail was level prior to nailing it into the wall studs.
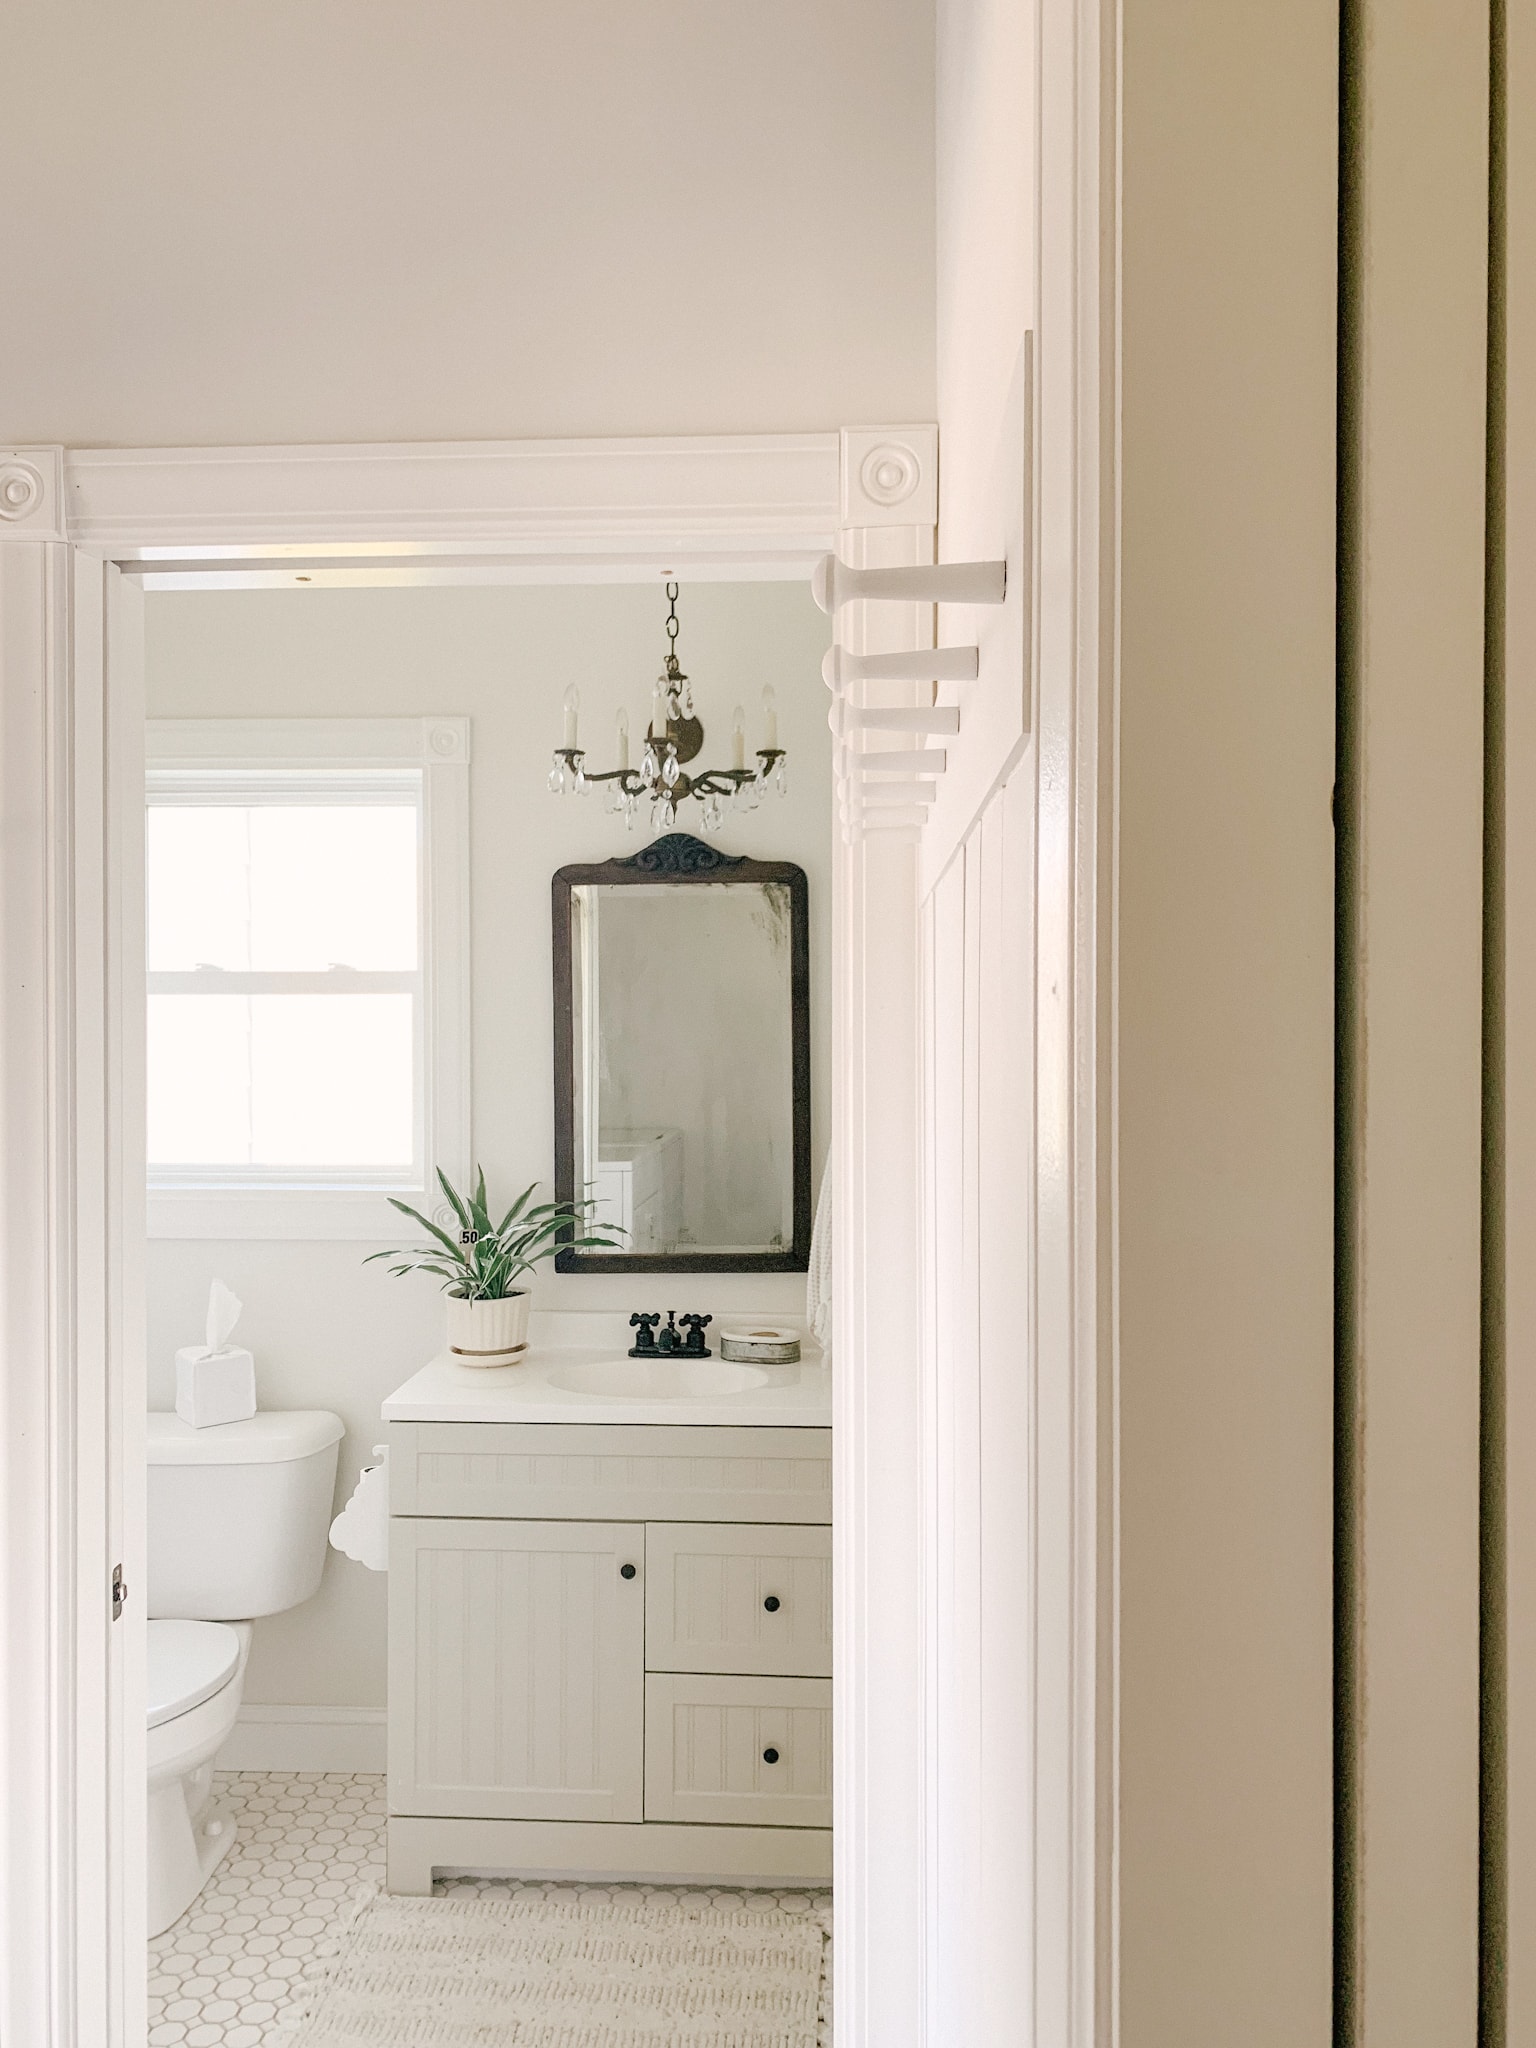
Now that the hard stuff was behind us, we were able to caulk around the exposed cracks & paint! I used “Pure White” by Sherwin Williams (flat) on the shiplap, header & pegs. It’s my go-to paint color for shiplap.
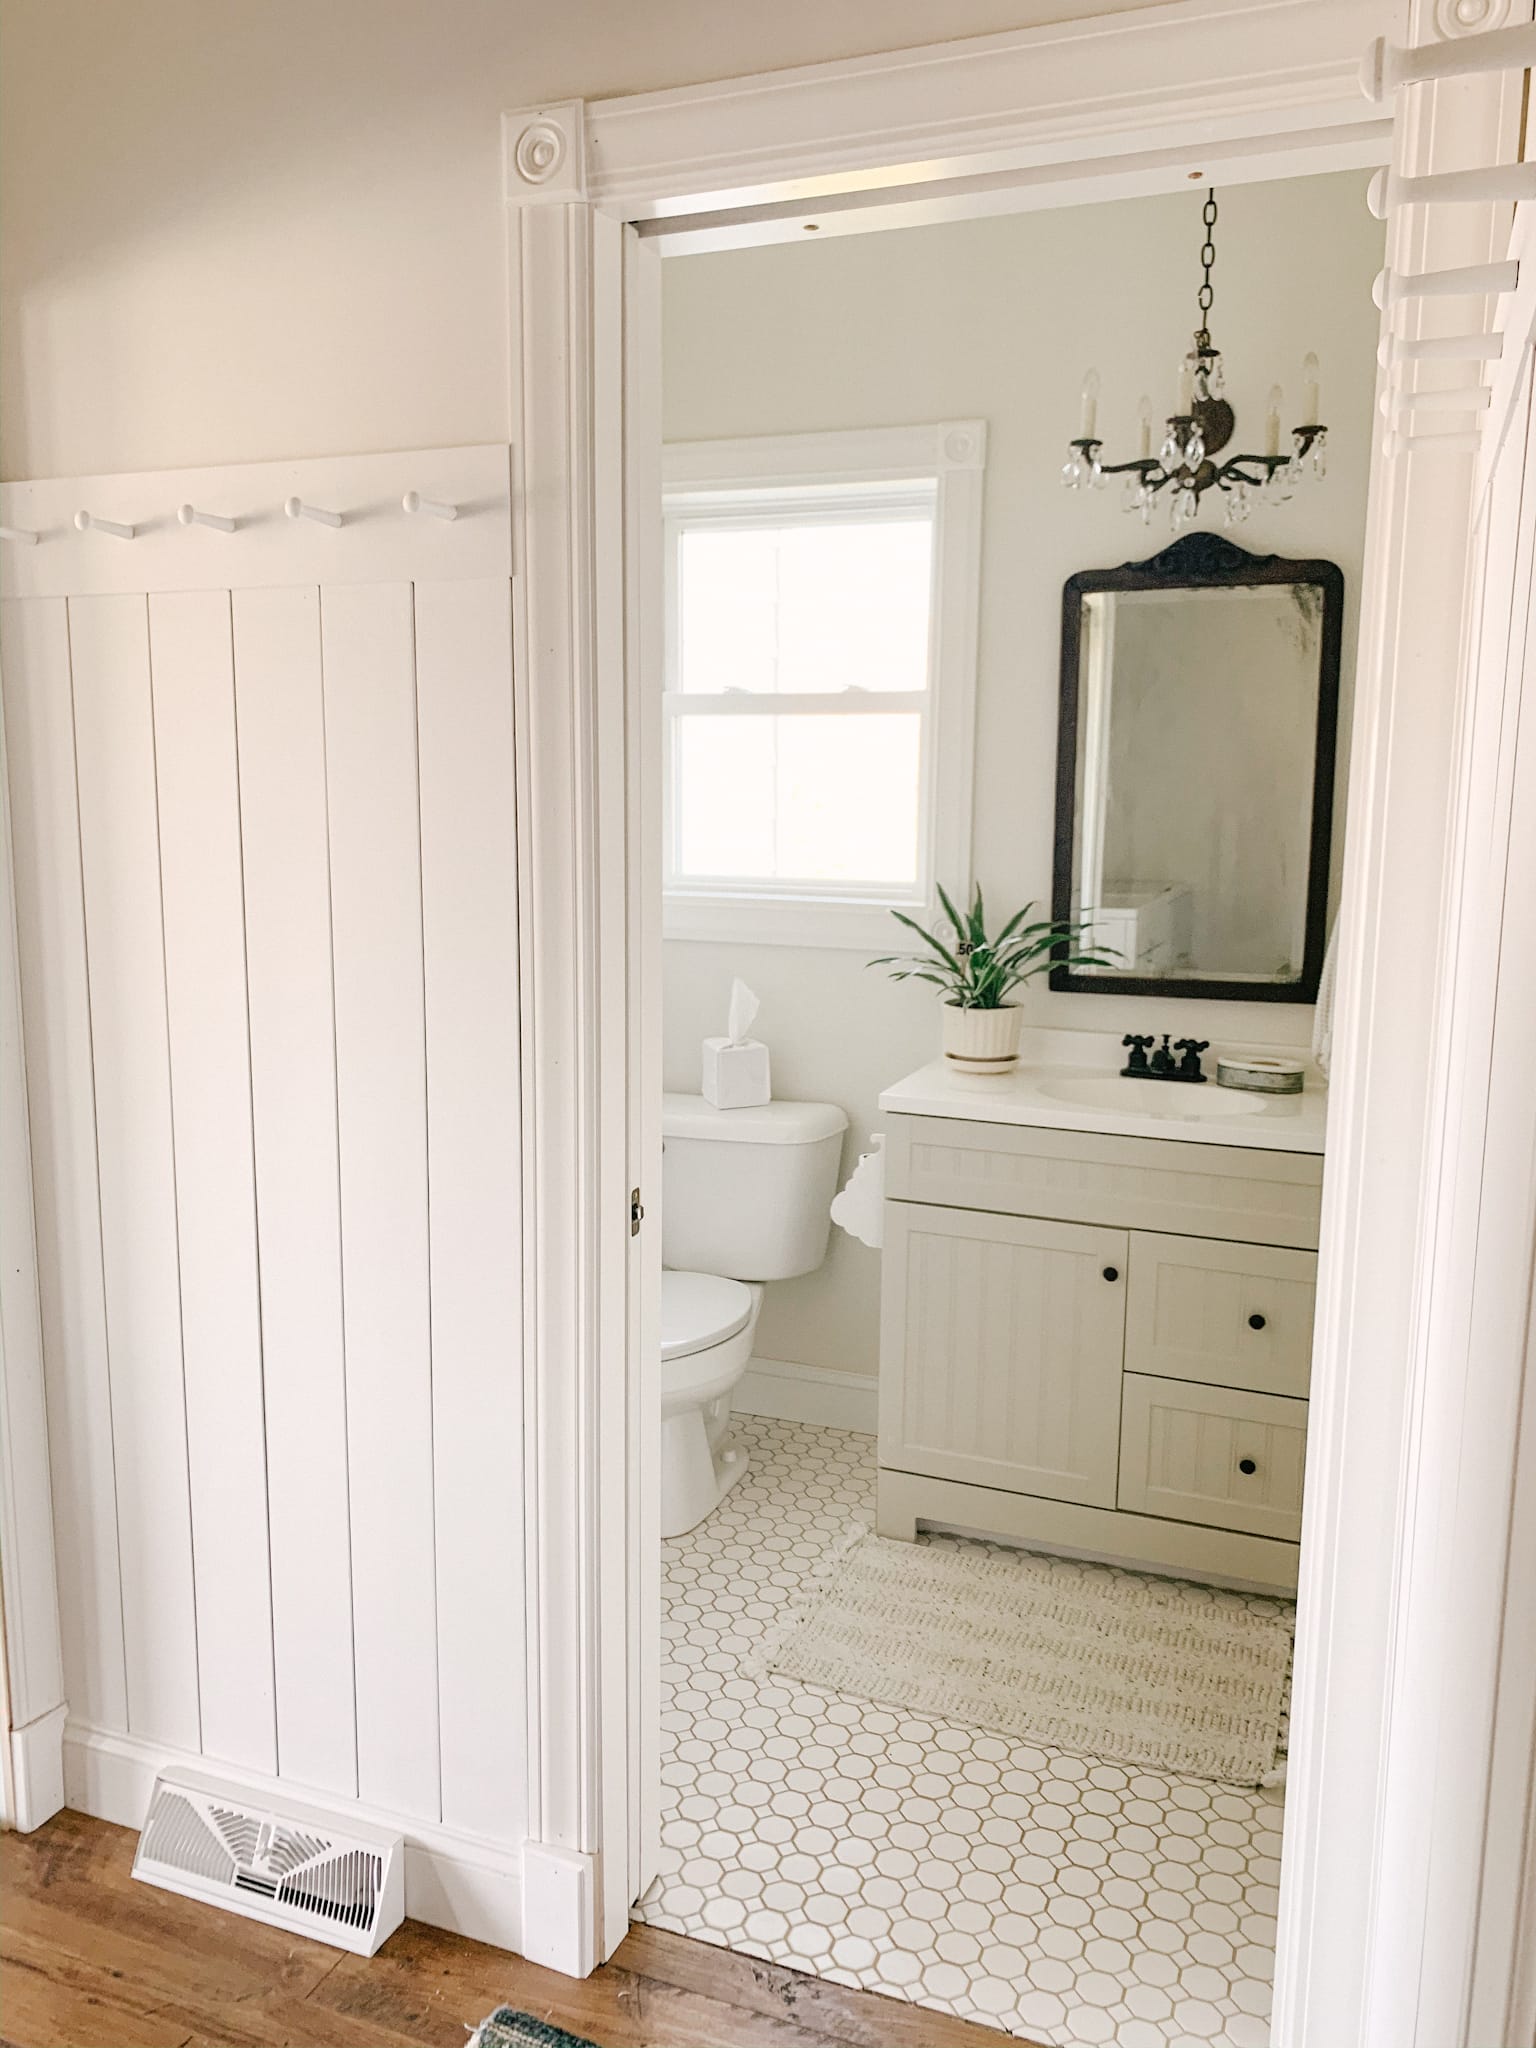
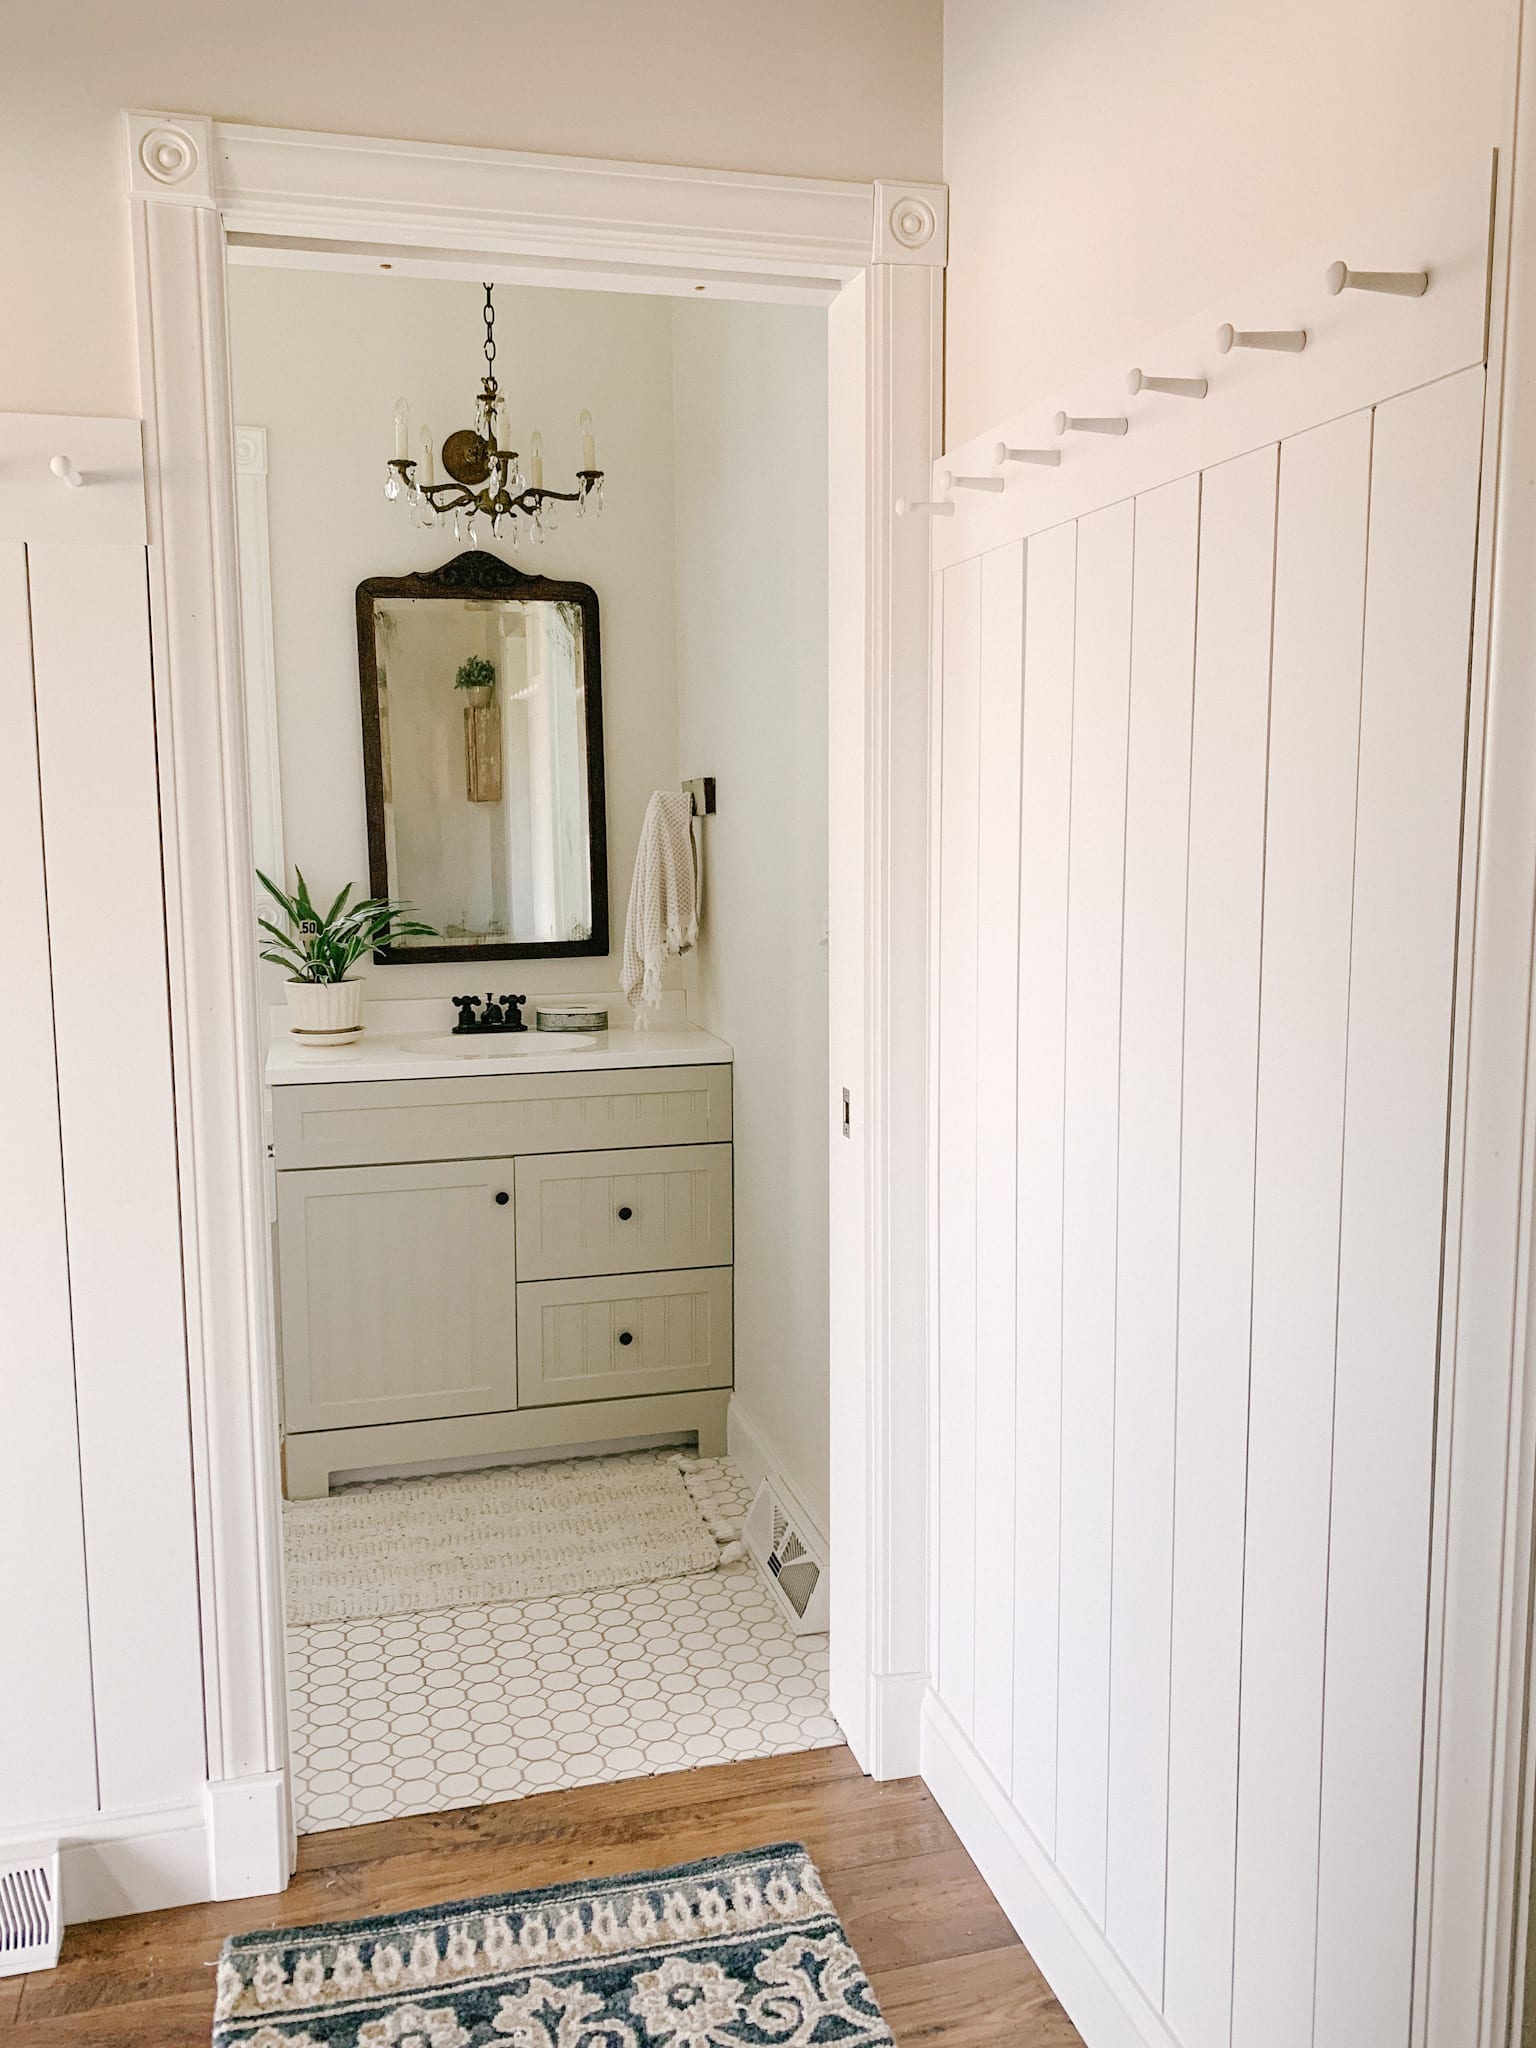
After waiting for the paint to dry, the project was complete! I’m so happy that we finally had some time to tackle this vertical shiplap and pegrail DIY. It turned out much better than I had even anticipated. I love how it’s both functional & charming. It truly gives our new home a lot more character!
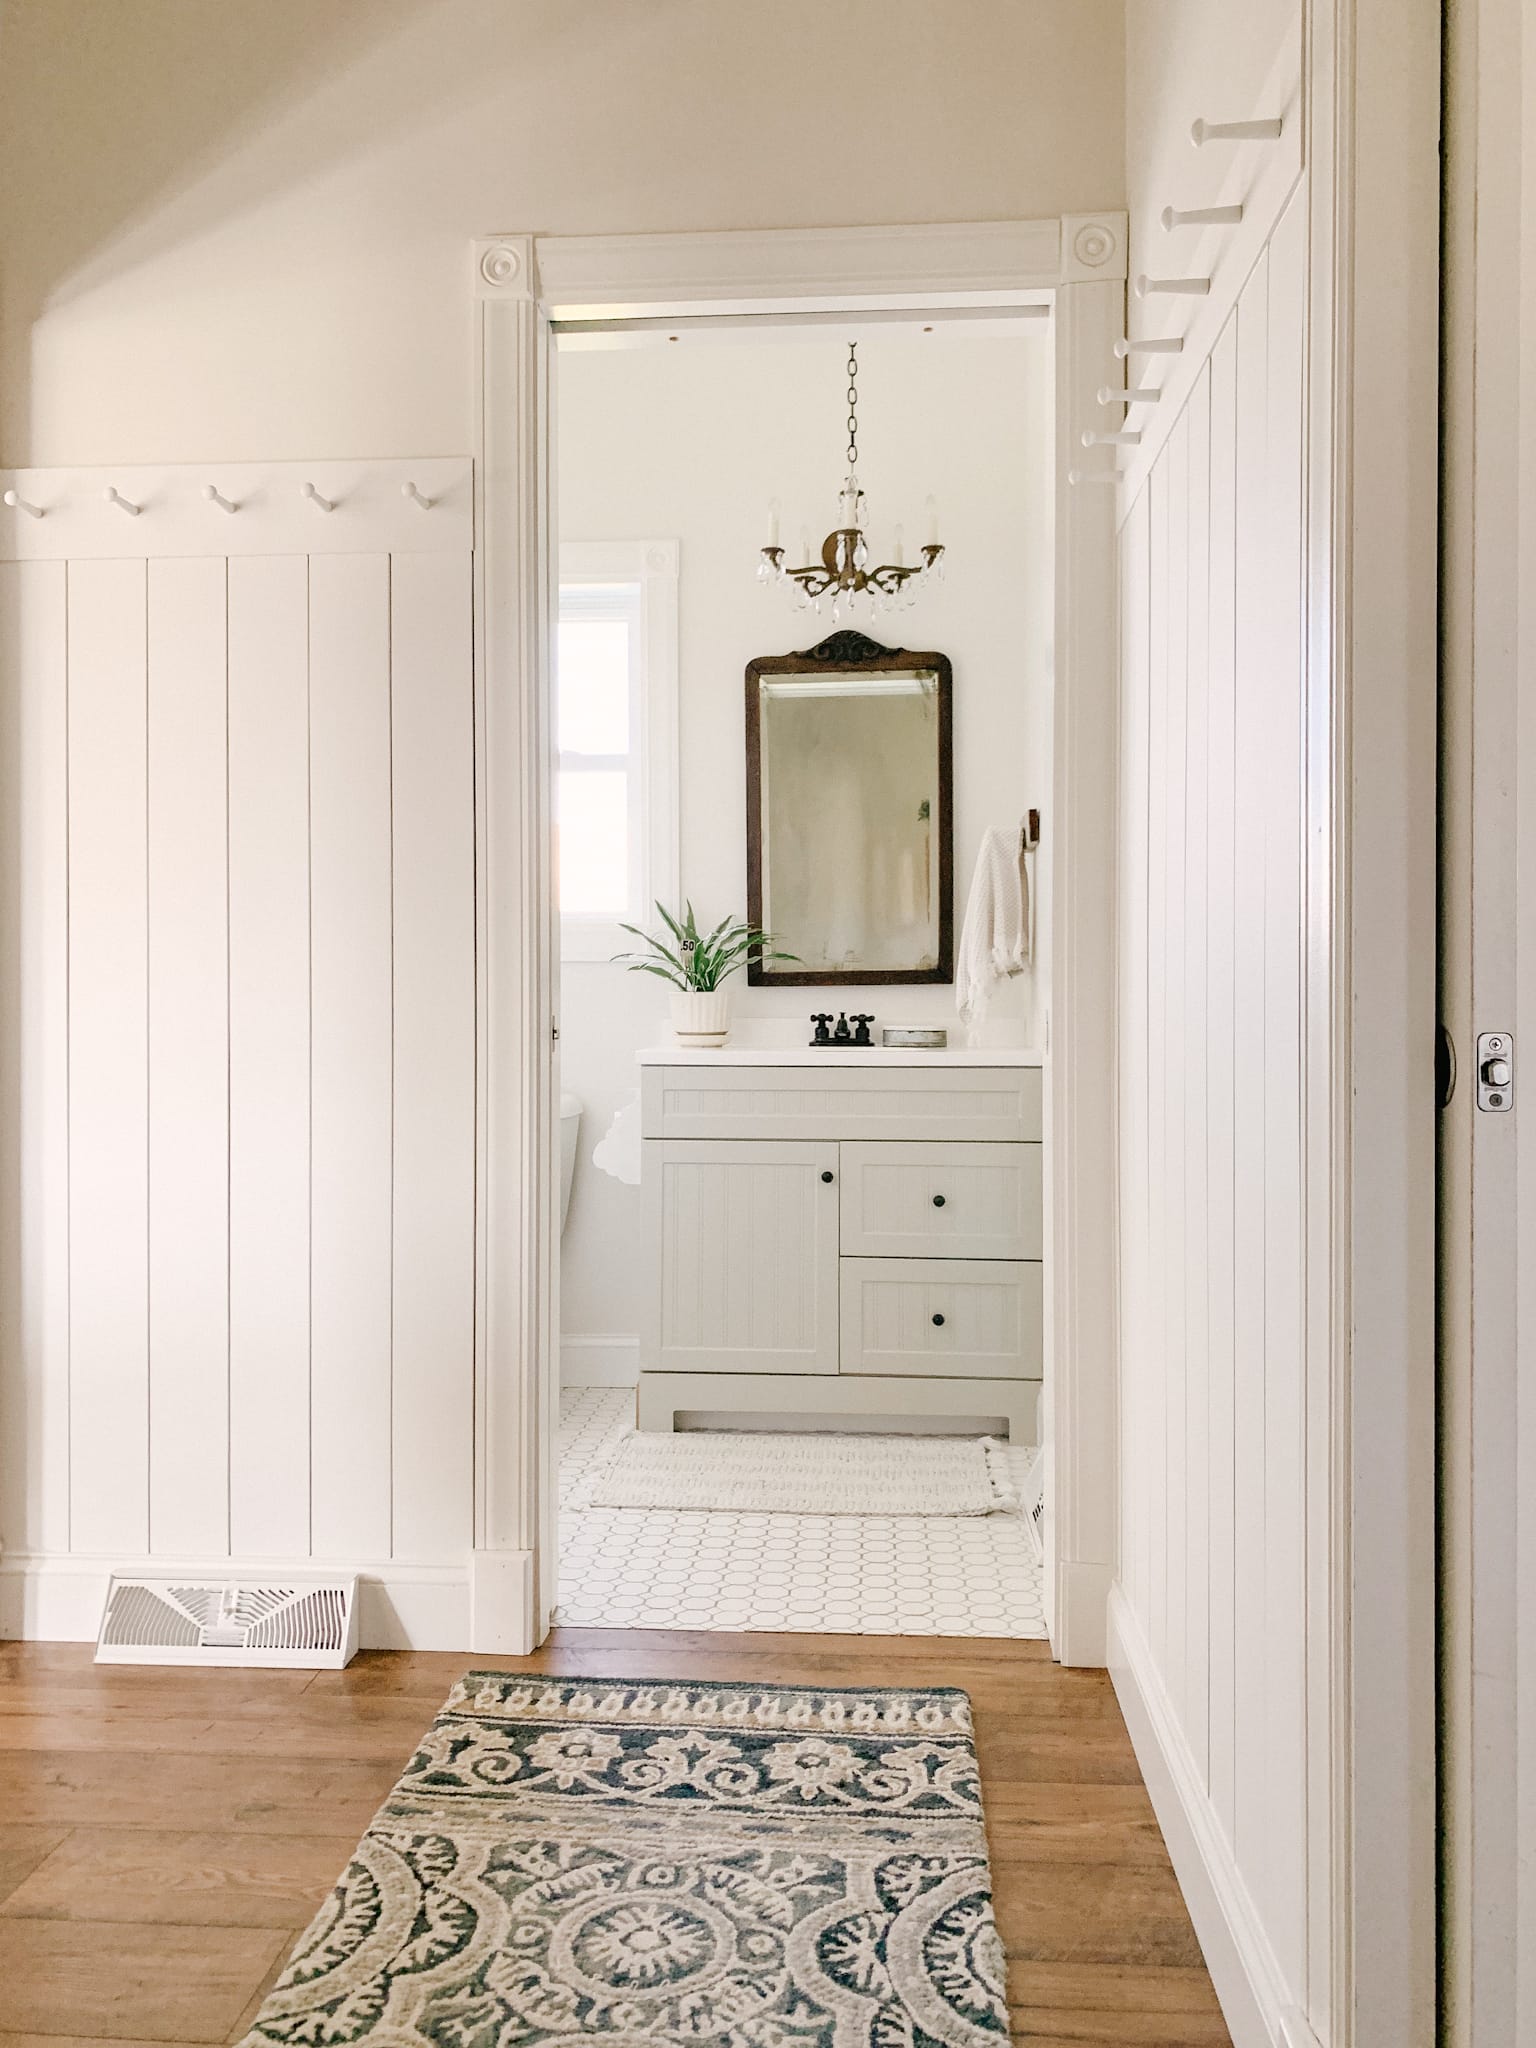
Let me know if you decide to try this project & tag me in your photos on Instagram or Facebook! I’d love to check them out. Thanks for reading the blog today & seeing what we’re up to. Take care!
xoxo,
sarah jane


Great job! It looks like the perfect addition to that space. I love it!
Thank you Tara!! That means a lot
So Beautiful you did a good job so fresh and clean! You gave me the inspiration to do the same! Thanks what color did you paint the wall on top of shiplap looks beautiful! Thanks again…
Thank you so much!! I’m glad I was able to give some inspiration. The wall color above the shiplap is Pearly White by Sherwin Williams
I love what you did with the shiplap…can you tell me what color white you painted the shiplap and walls…did you use the same white.? I’m going crazy trying to find the right white, I had the perfect one picked, but it looked yellow .
I used “Pure White” by Sherwin Williams on the shiplap & “Pearly White” by Sherwin Williams for the walls above. Hope this helps!