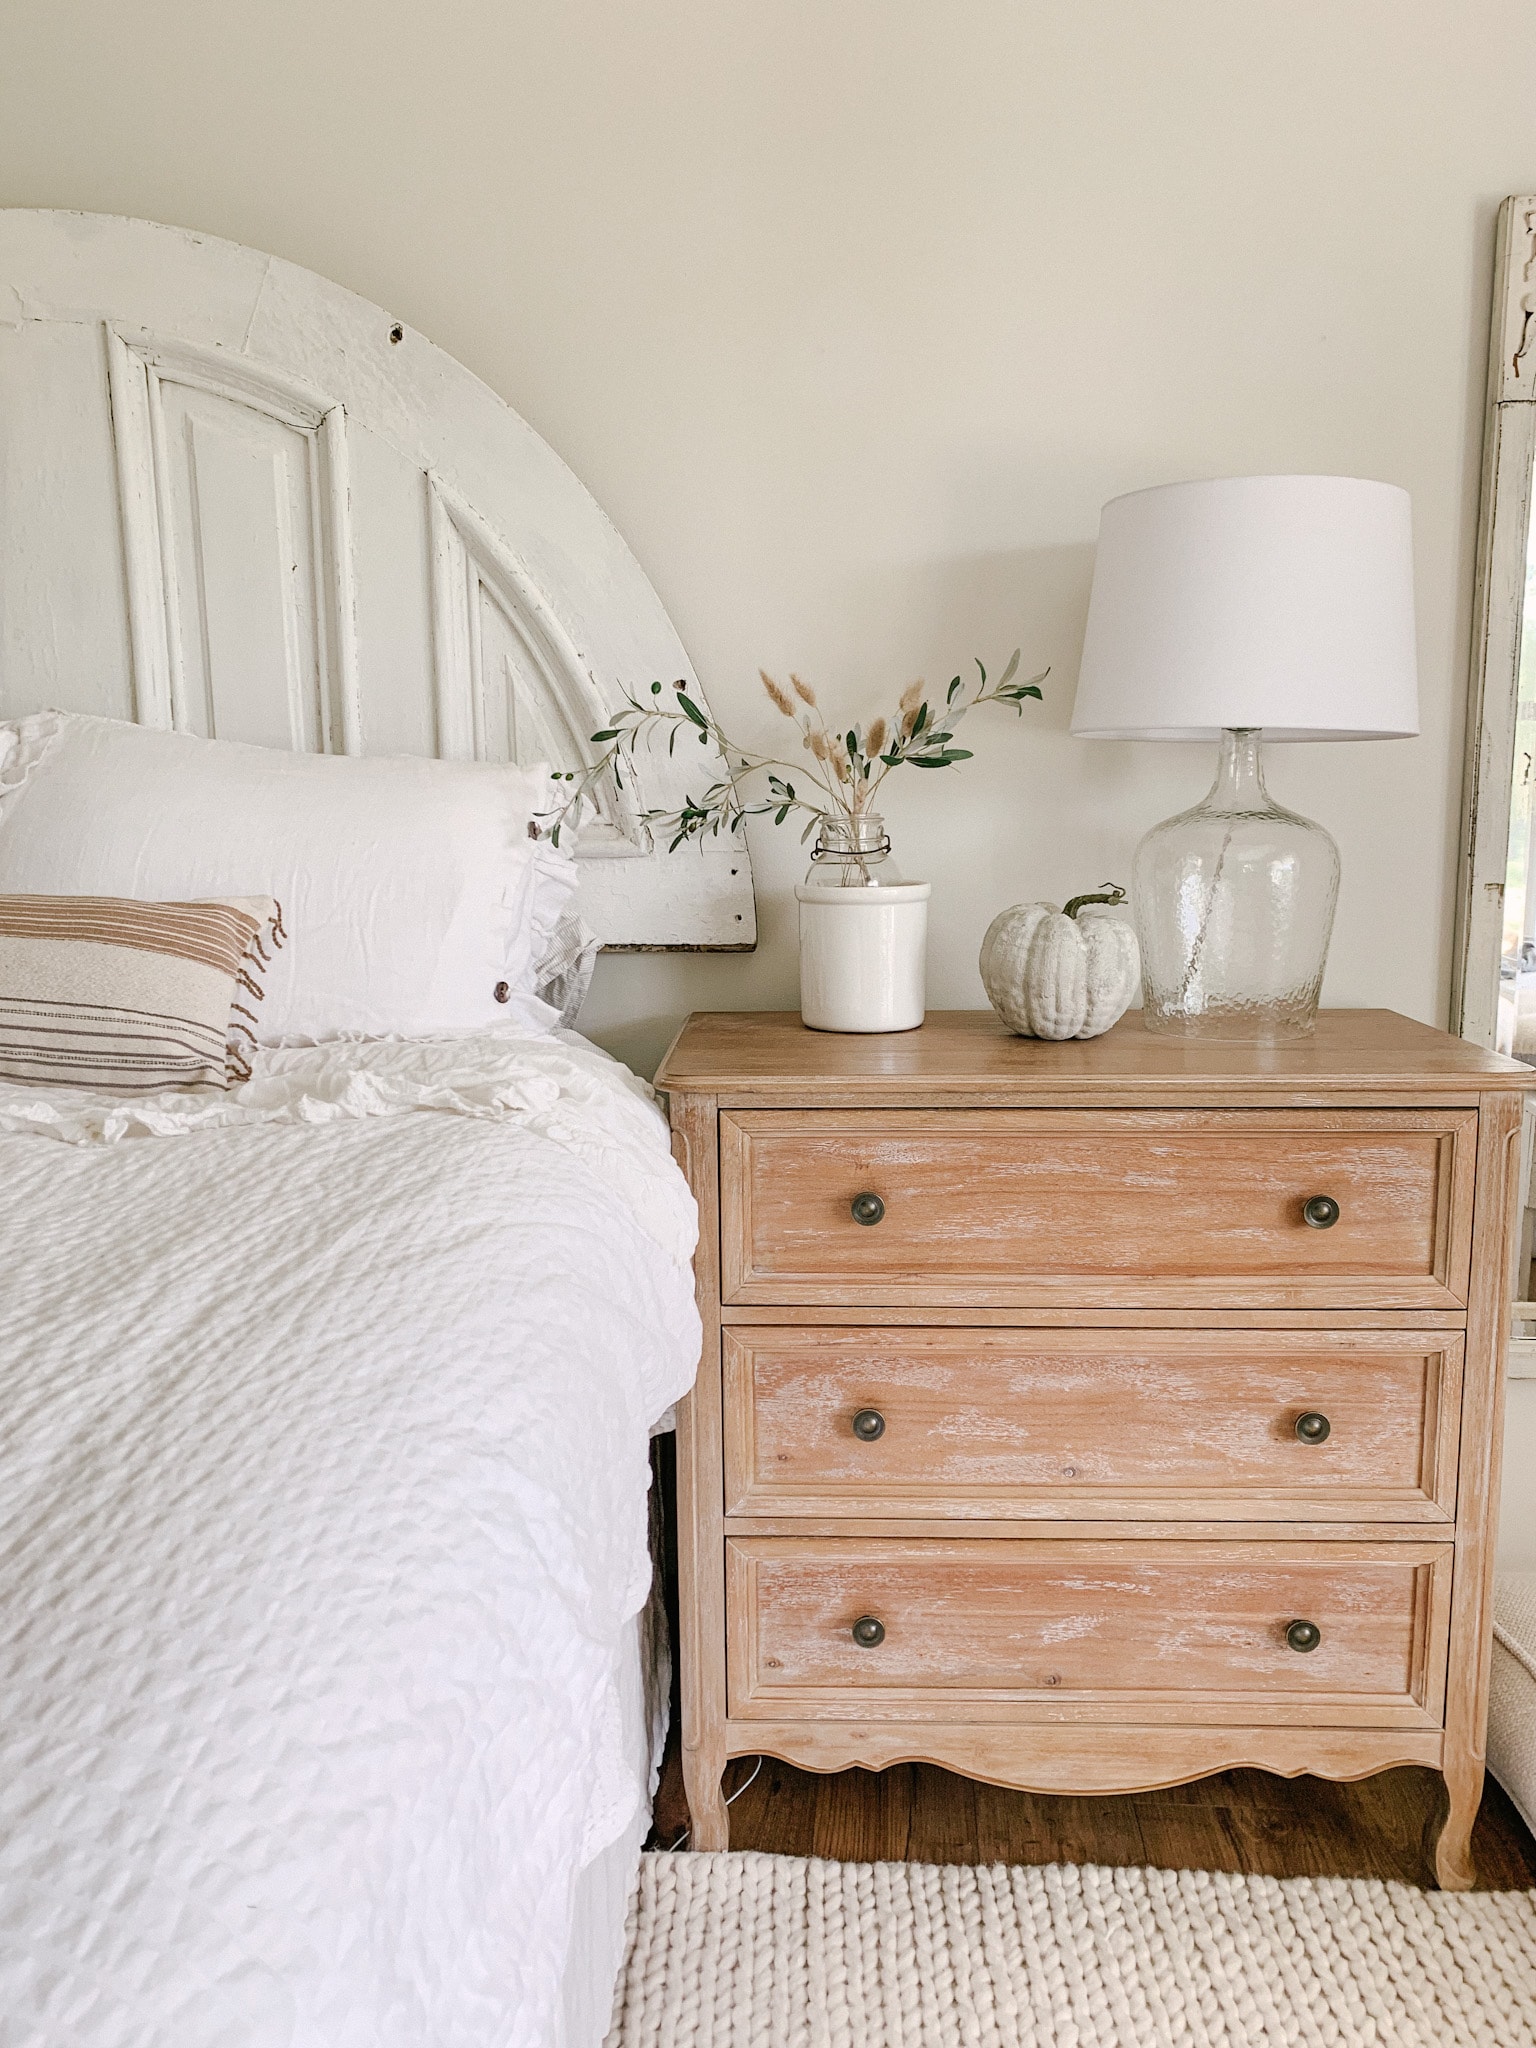
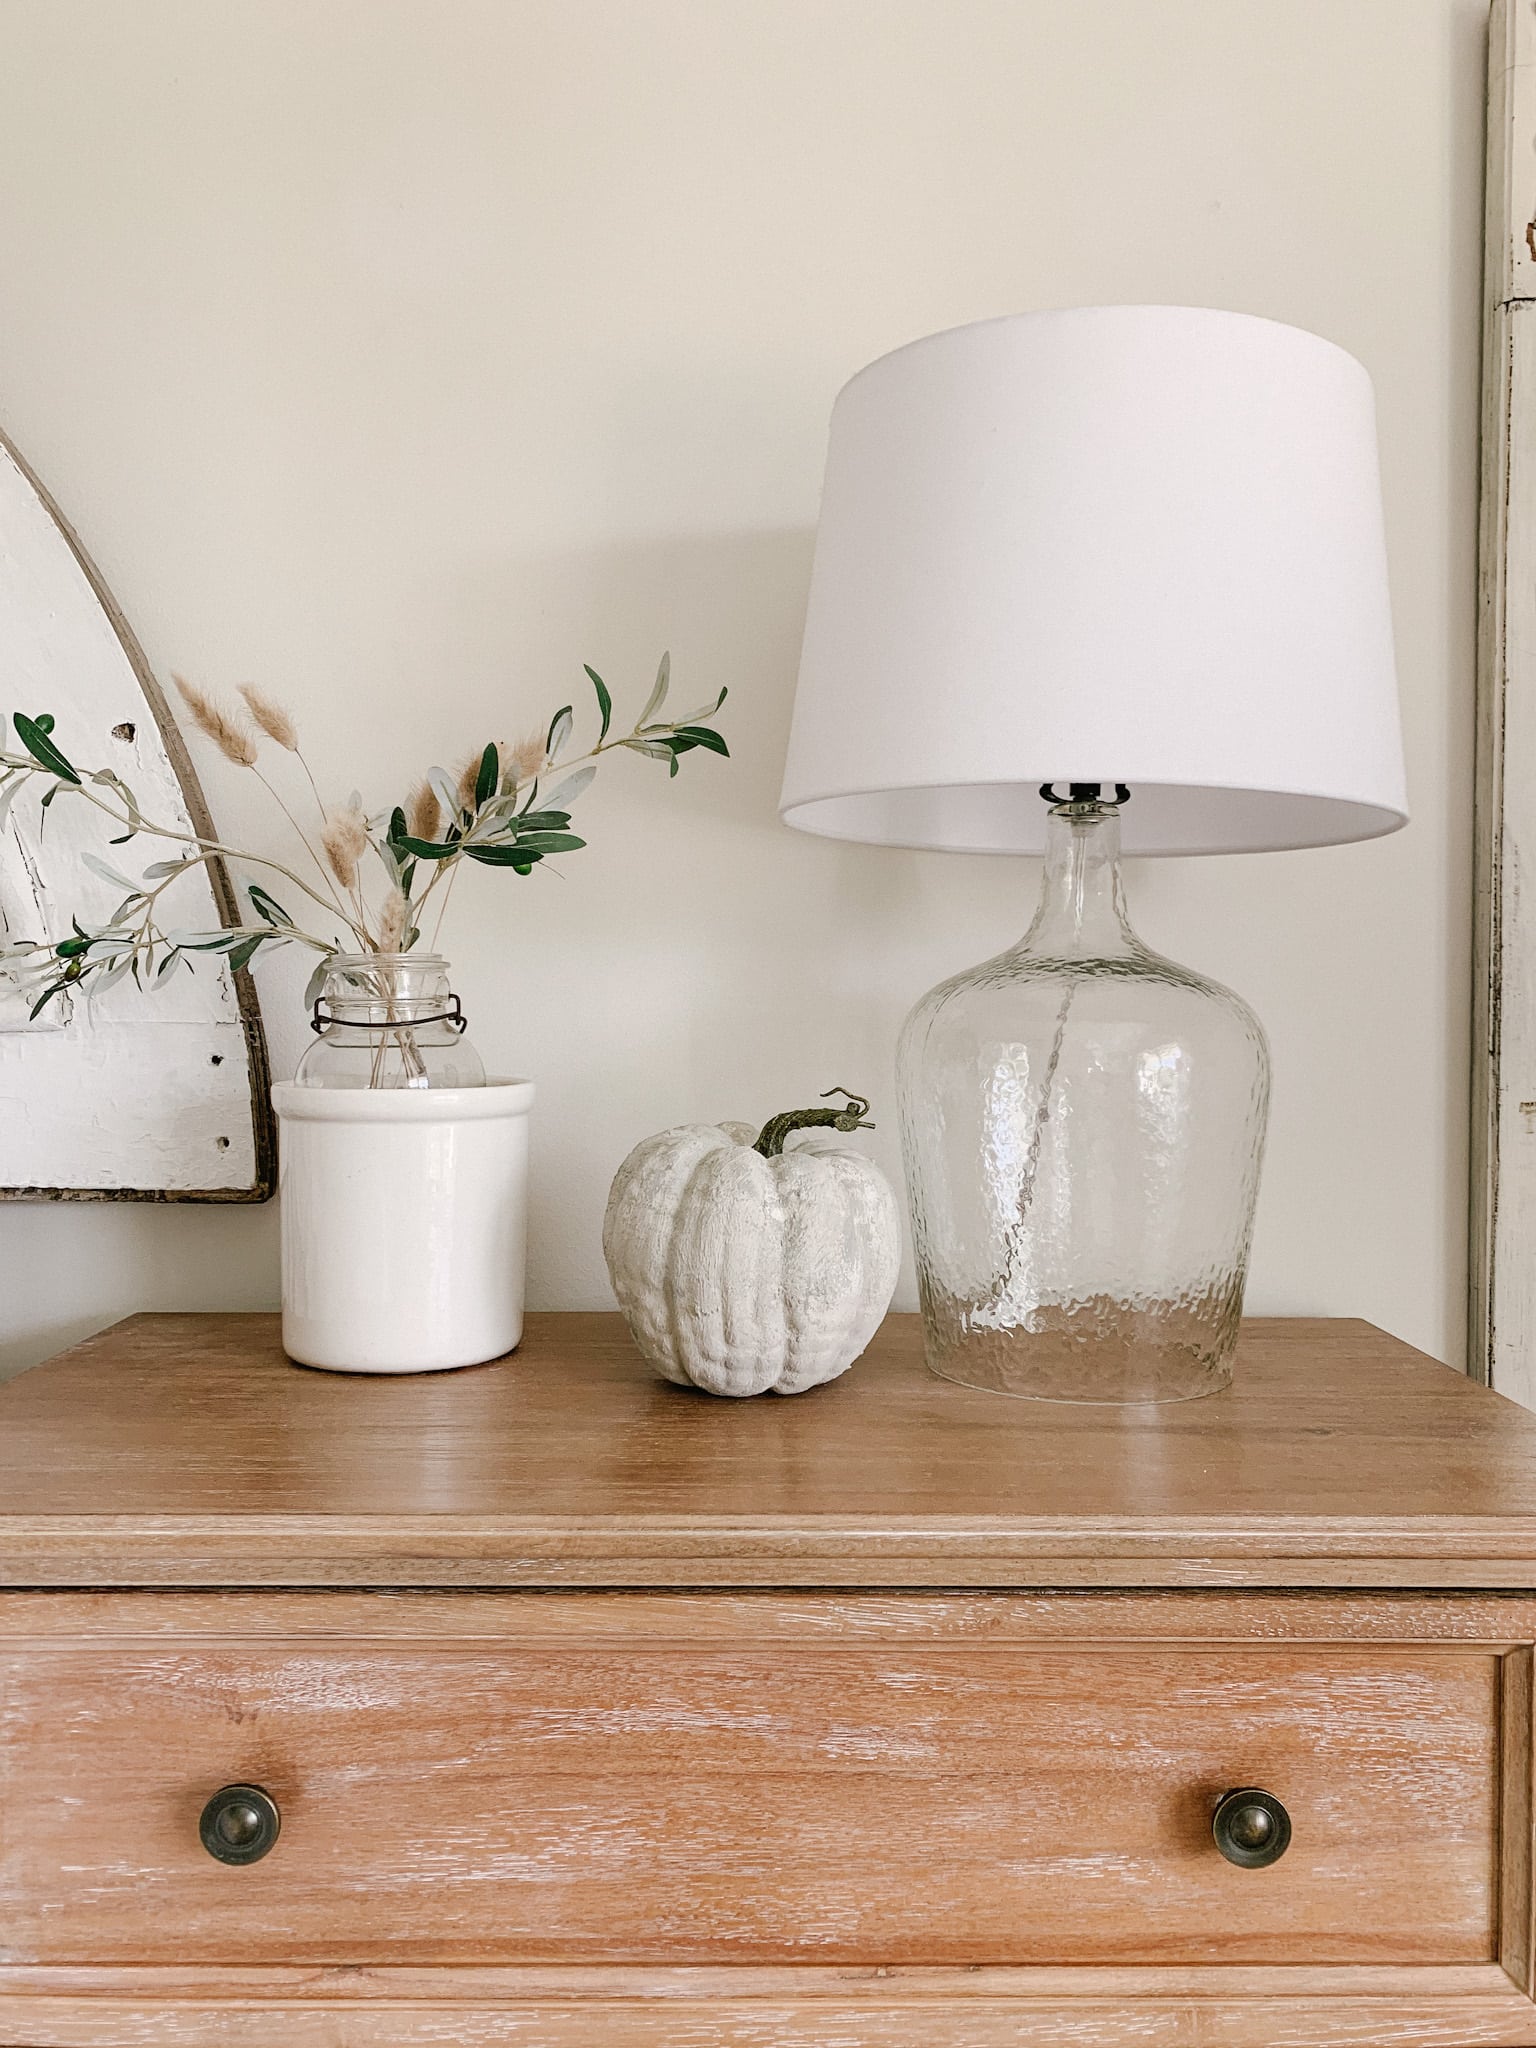
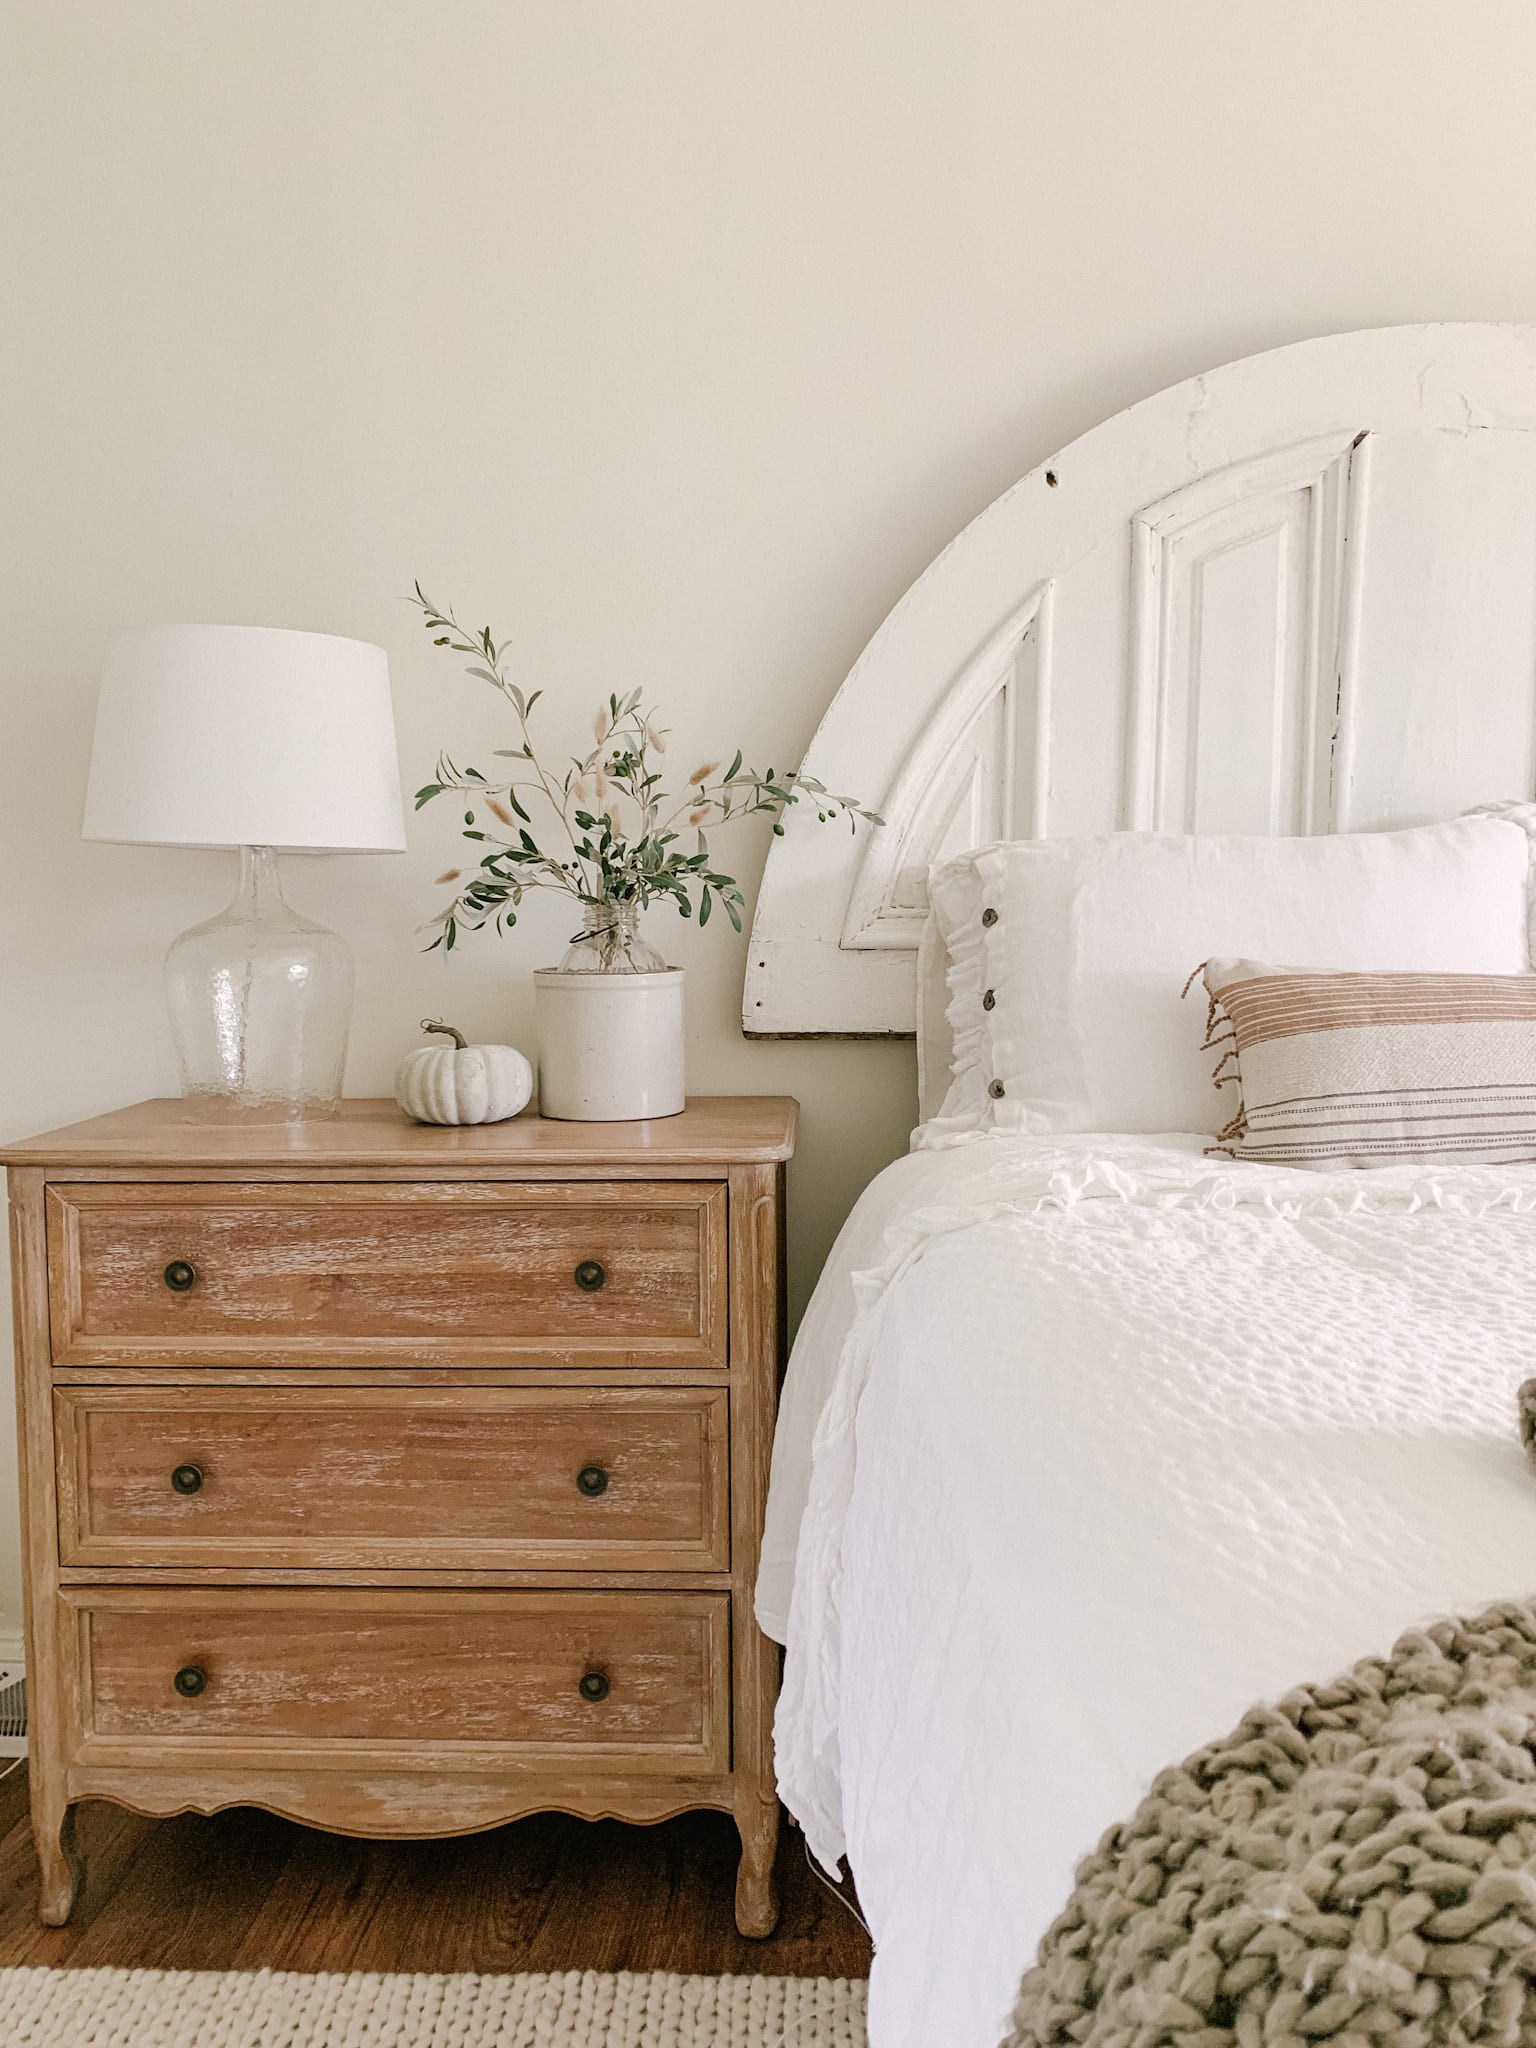
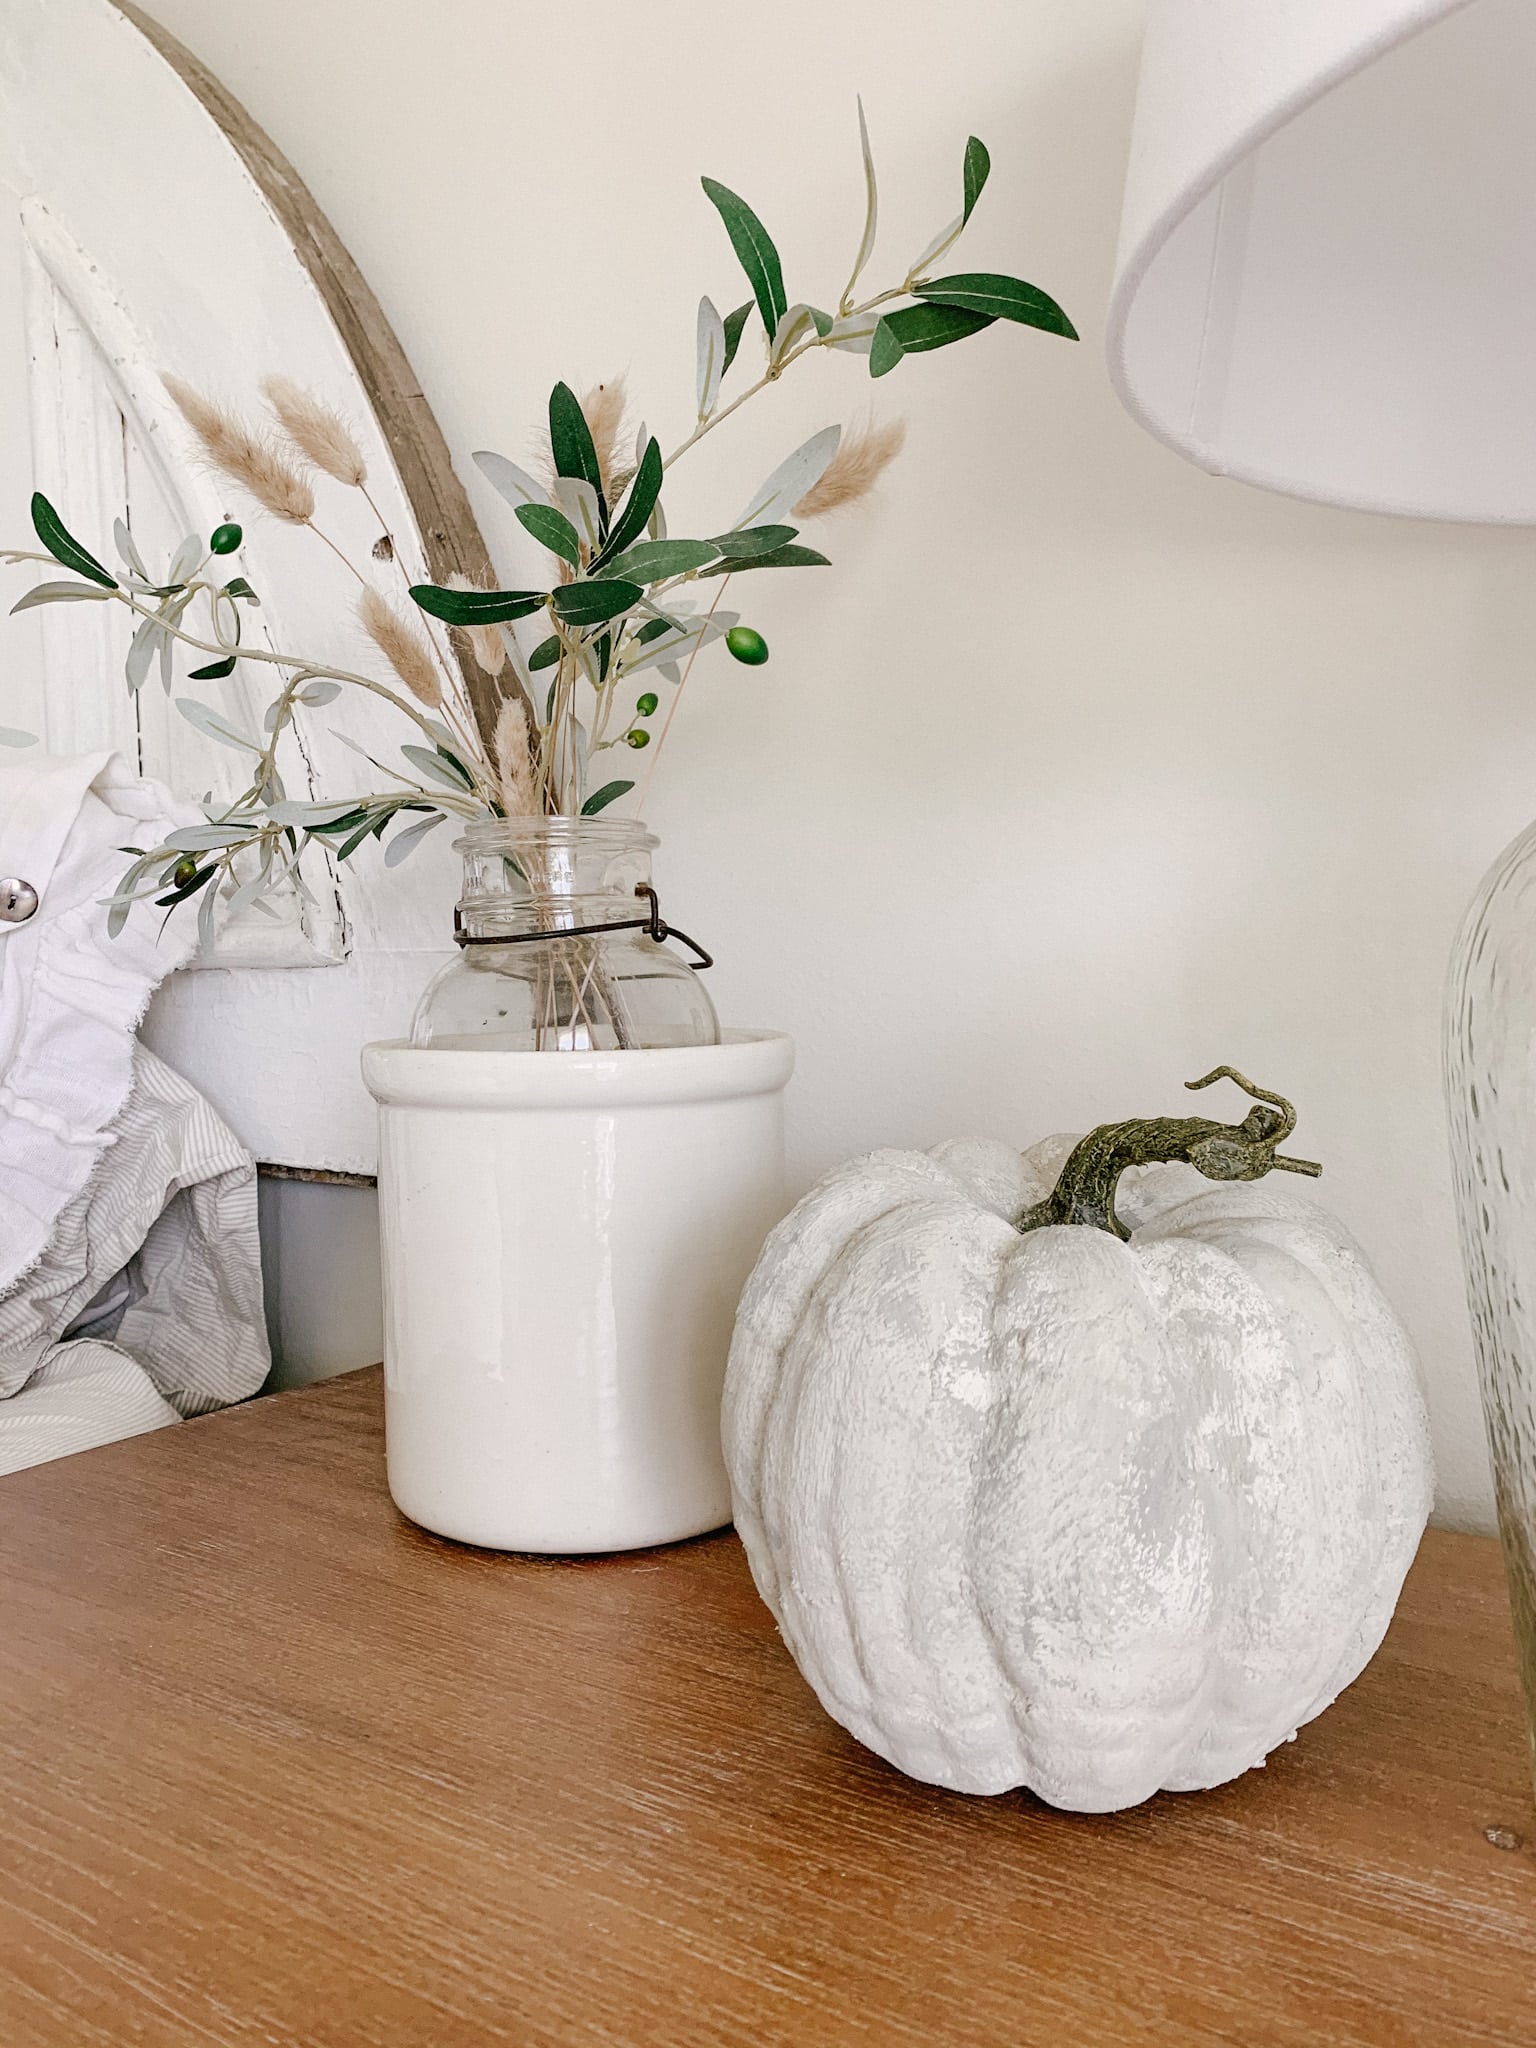
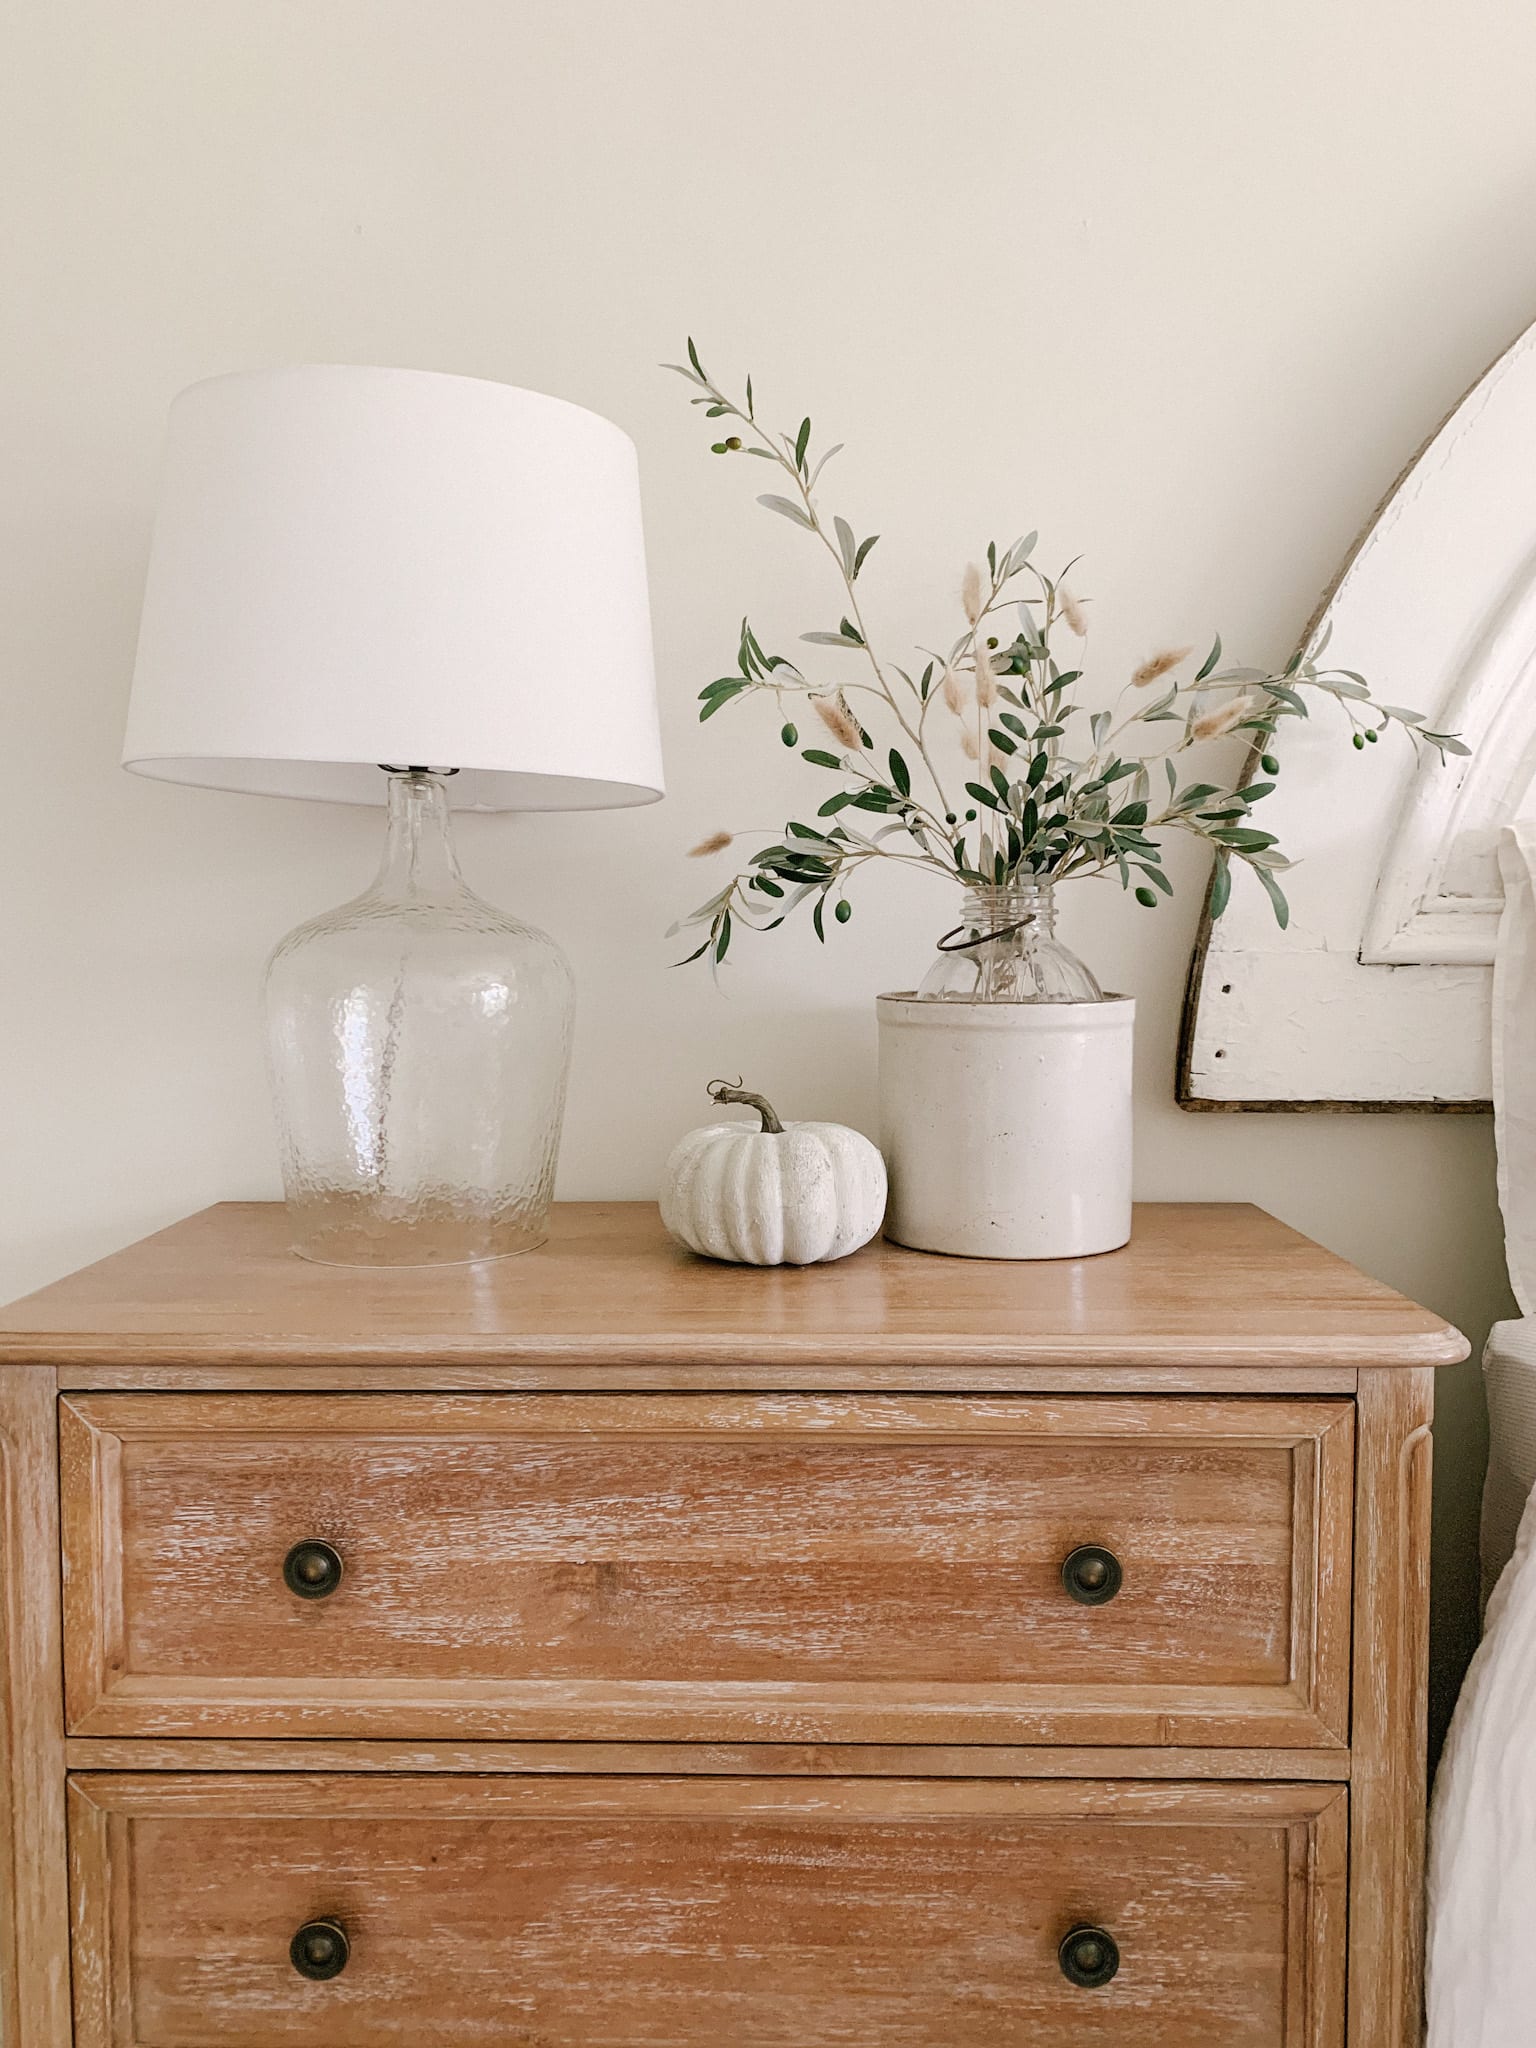
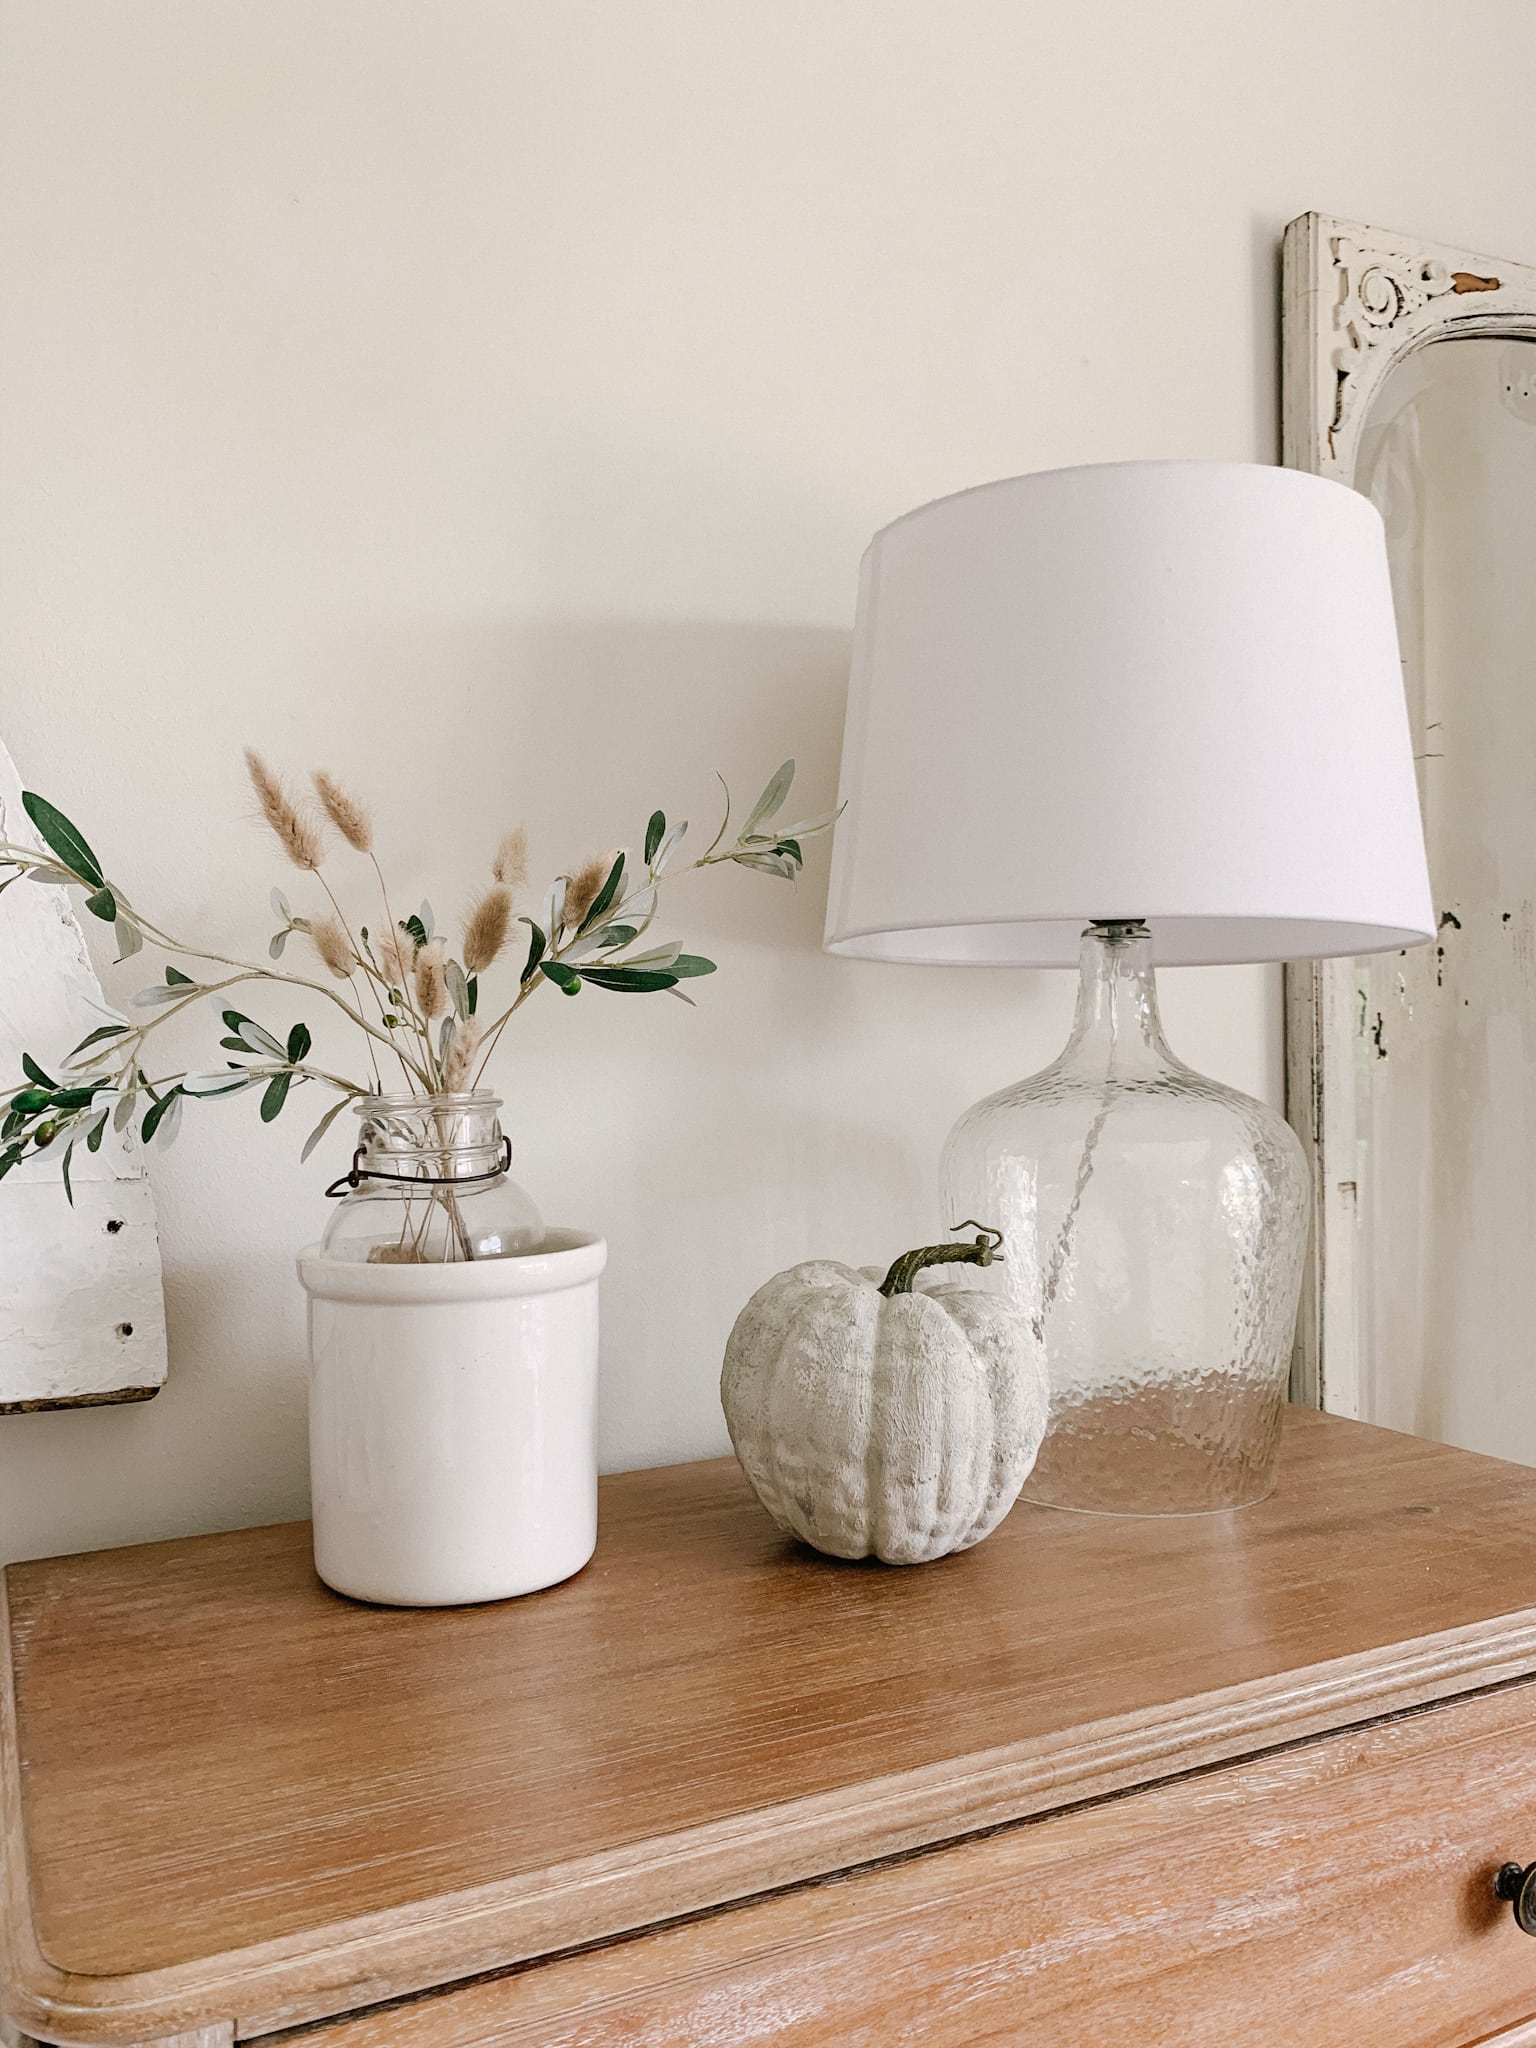
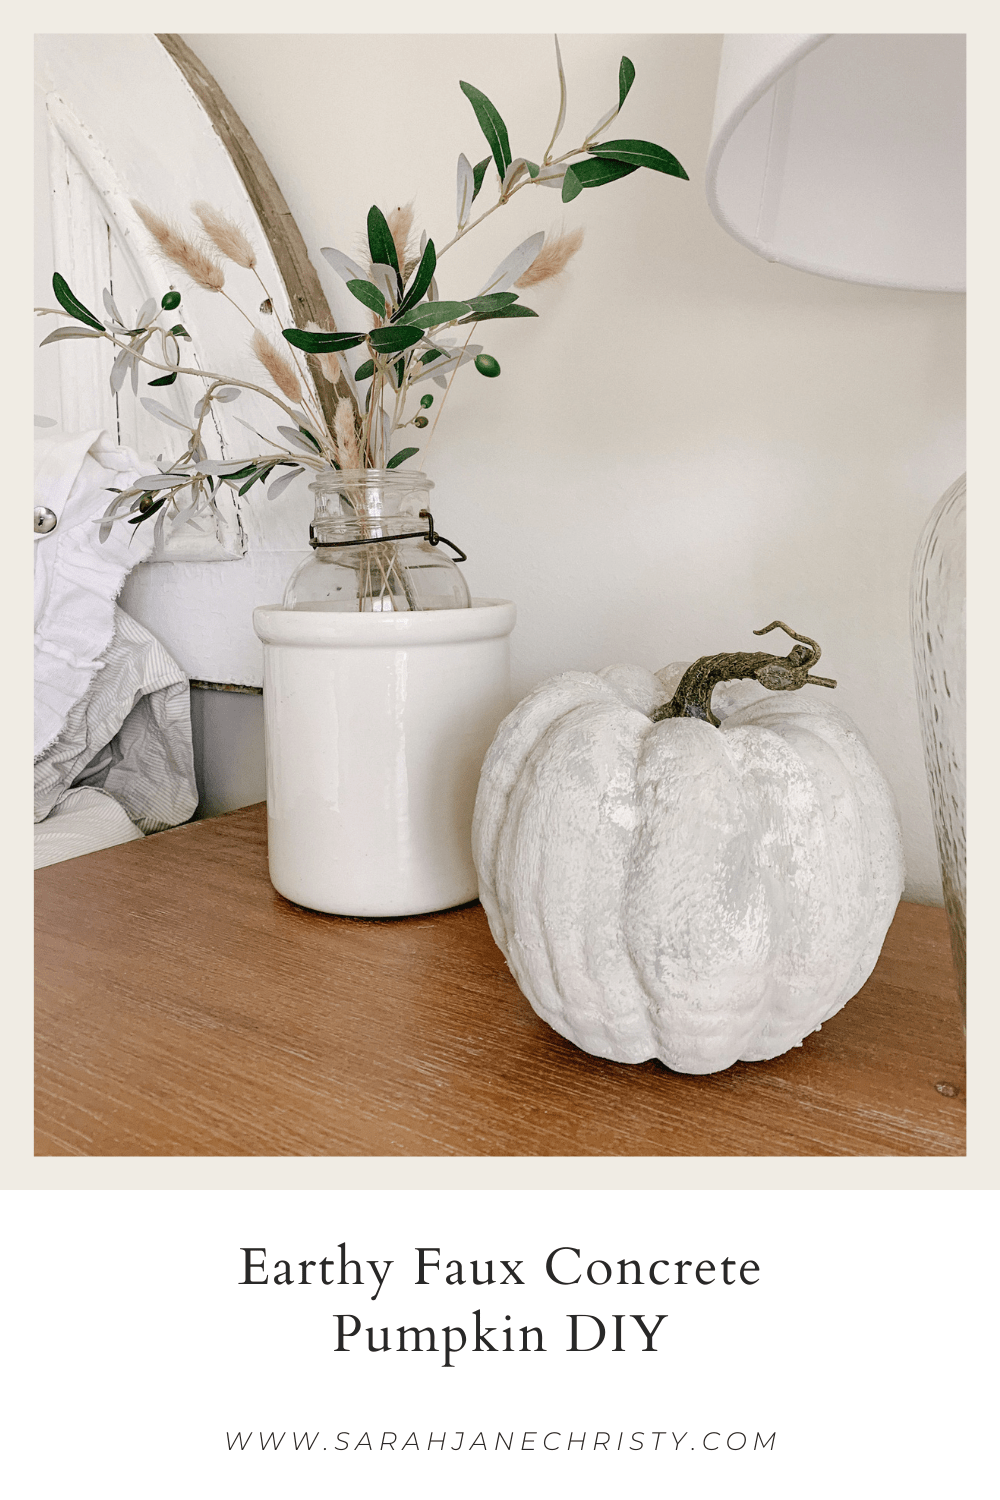
Have you ever thought of a DIY project out of the blue? It happens to me all of the time! With Fall just around the corner, I thought of an easy faux pumpkin DIY that I was itching to try. The goal? Update a cheap-looking pumpkin into an earthy textured faux pumpkin – on a budget.
I started out with two super cheap faux pumpkins that I picked up at Michael’s for 50% off. Both of these combined cost me around $10. Browse clearance sections, Walmart, this blog post, or the Target dollar spot for other budget friendly choices! Although I’m not always against color used in Fall decor, I was hoping to transition these originally bright orange and black pumpkins into something more my style. These days, I’m leaning towards earthy interior design.
First, I used painter’s tape to tape up the brown stems. This is just personal preference but I wanted to keep the stem the color it was upon purchase. You could totally paint the stem too, if you want!
Next, I picked out three colors of acrylic paint (each ran me around 80 cents). I went with CraftSmart paint in the colors: Grey, White & Suede. On a piece of cardboard, I mixed the colors together to create multiple shade options.
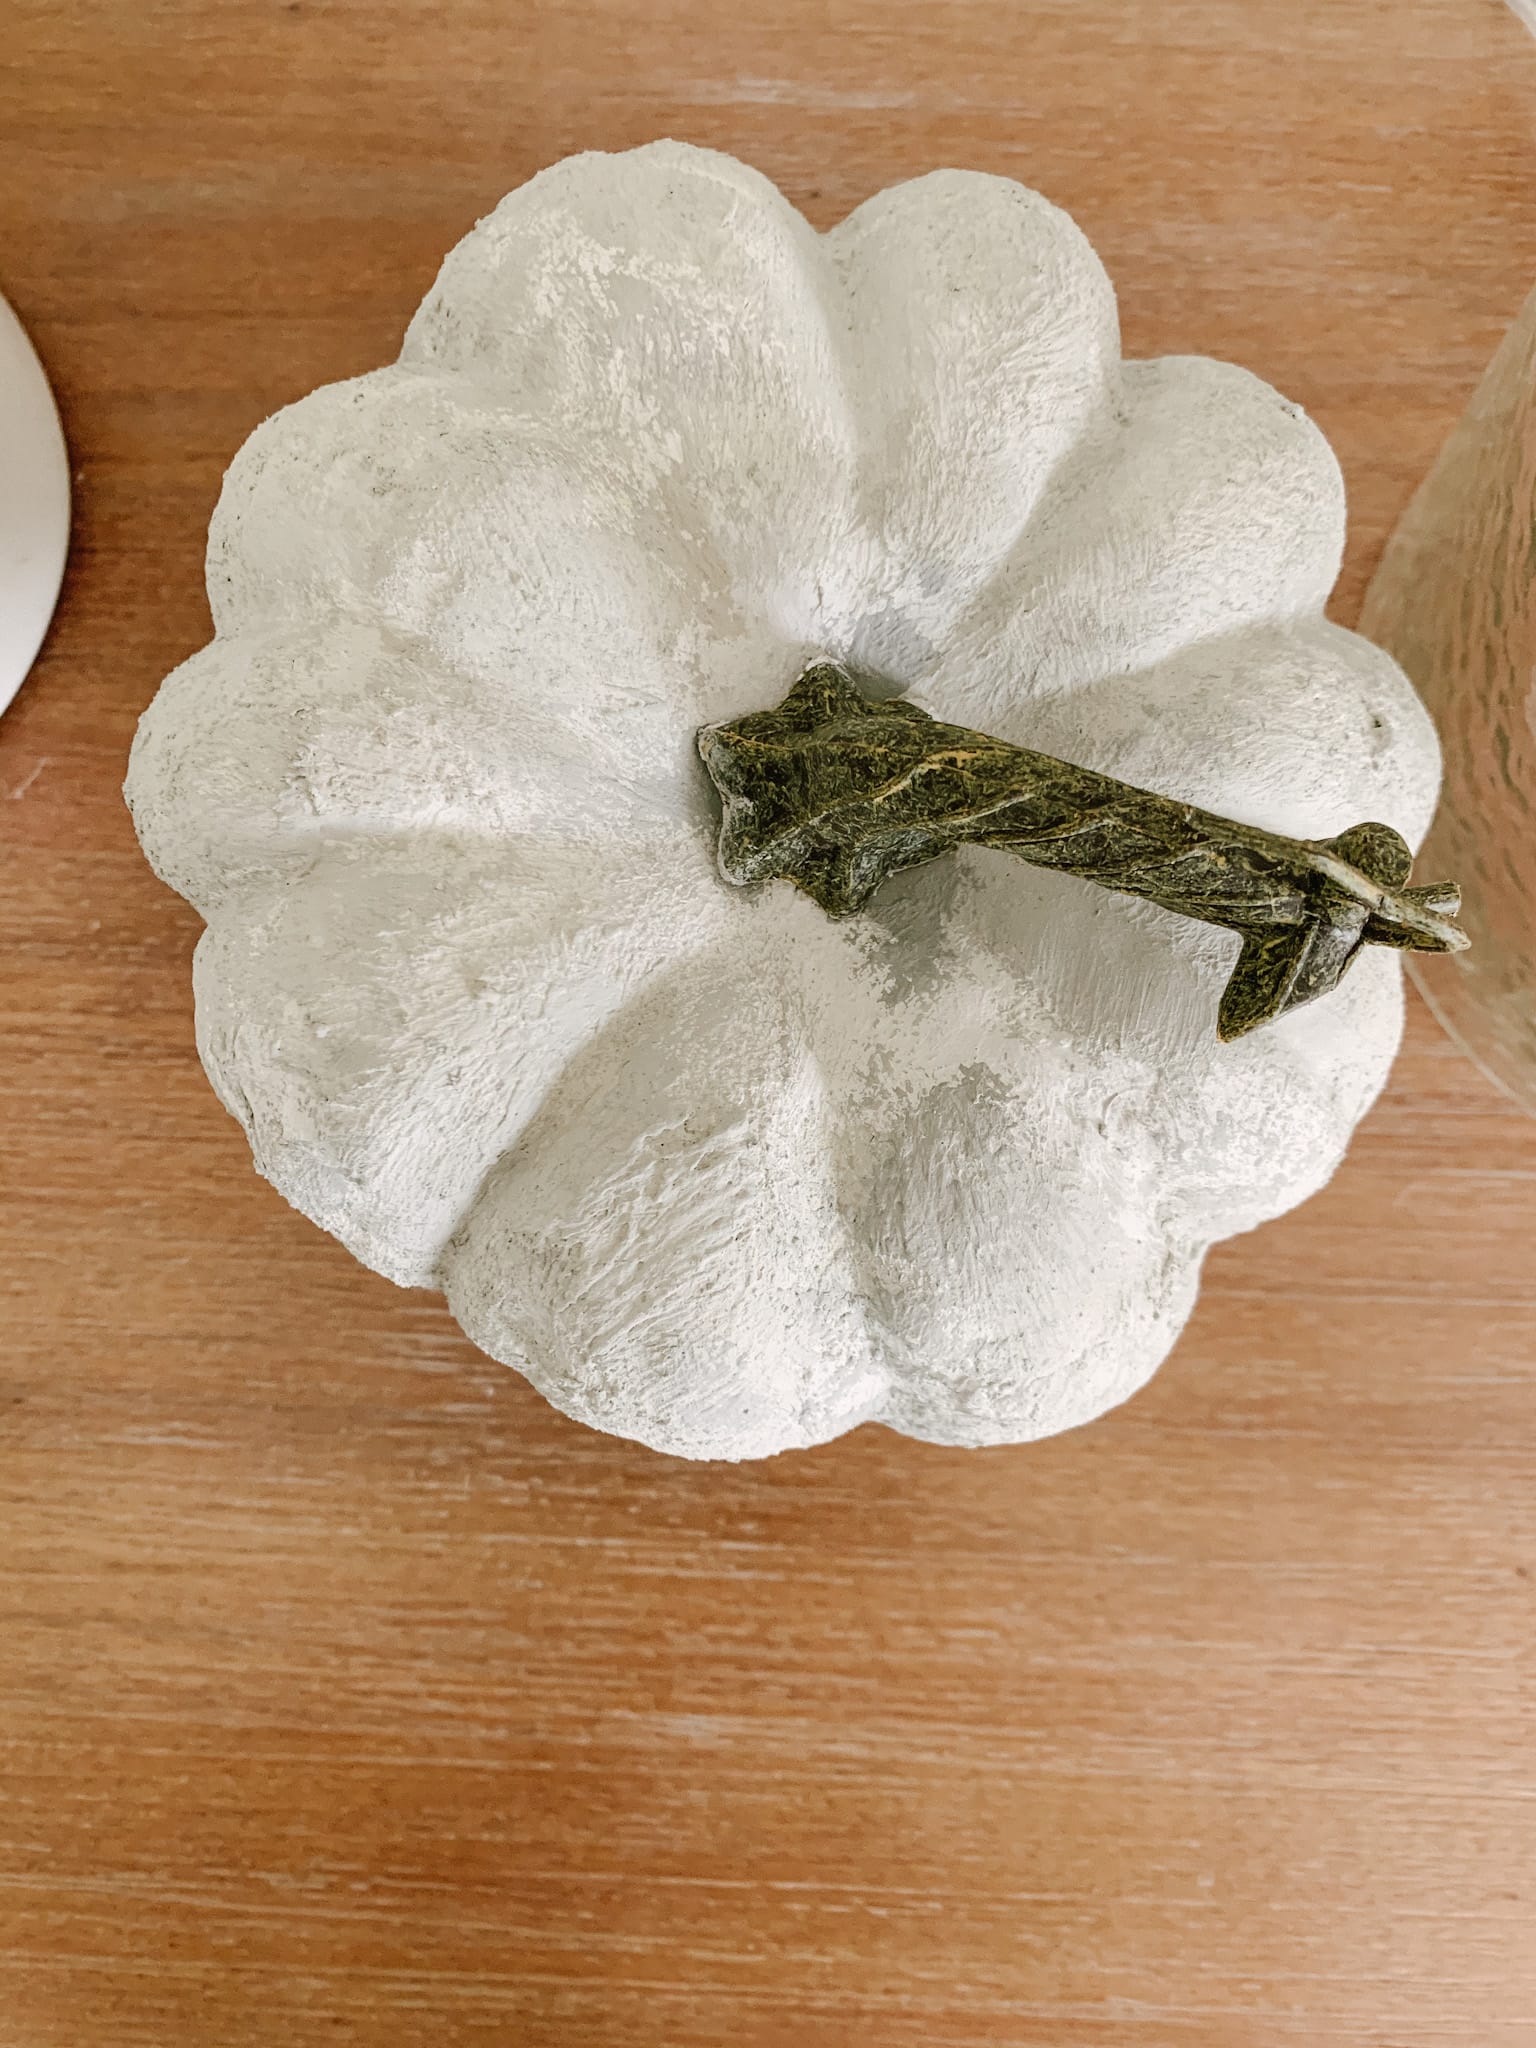
At this point, I poured a bit of baking powder on the paint to give it a gritty texture. Using a paint brush, I applied the colors in random spots all over the faux pumpkins. There’s no real rhyme or reason to this technique – in fact…the messier, the better.
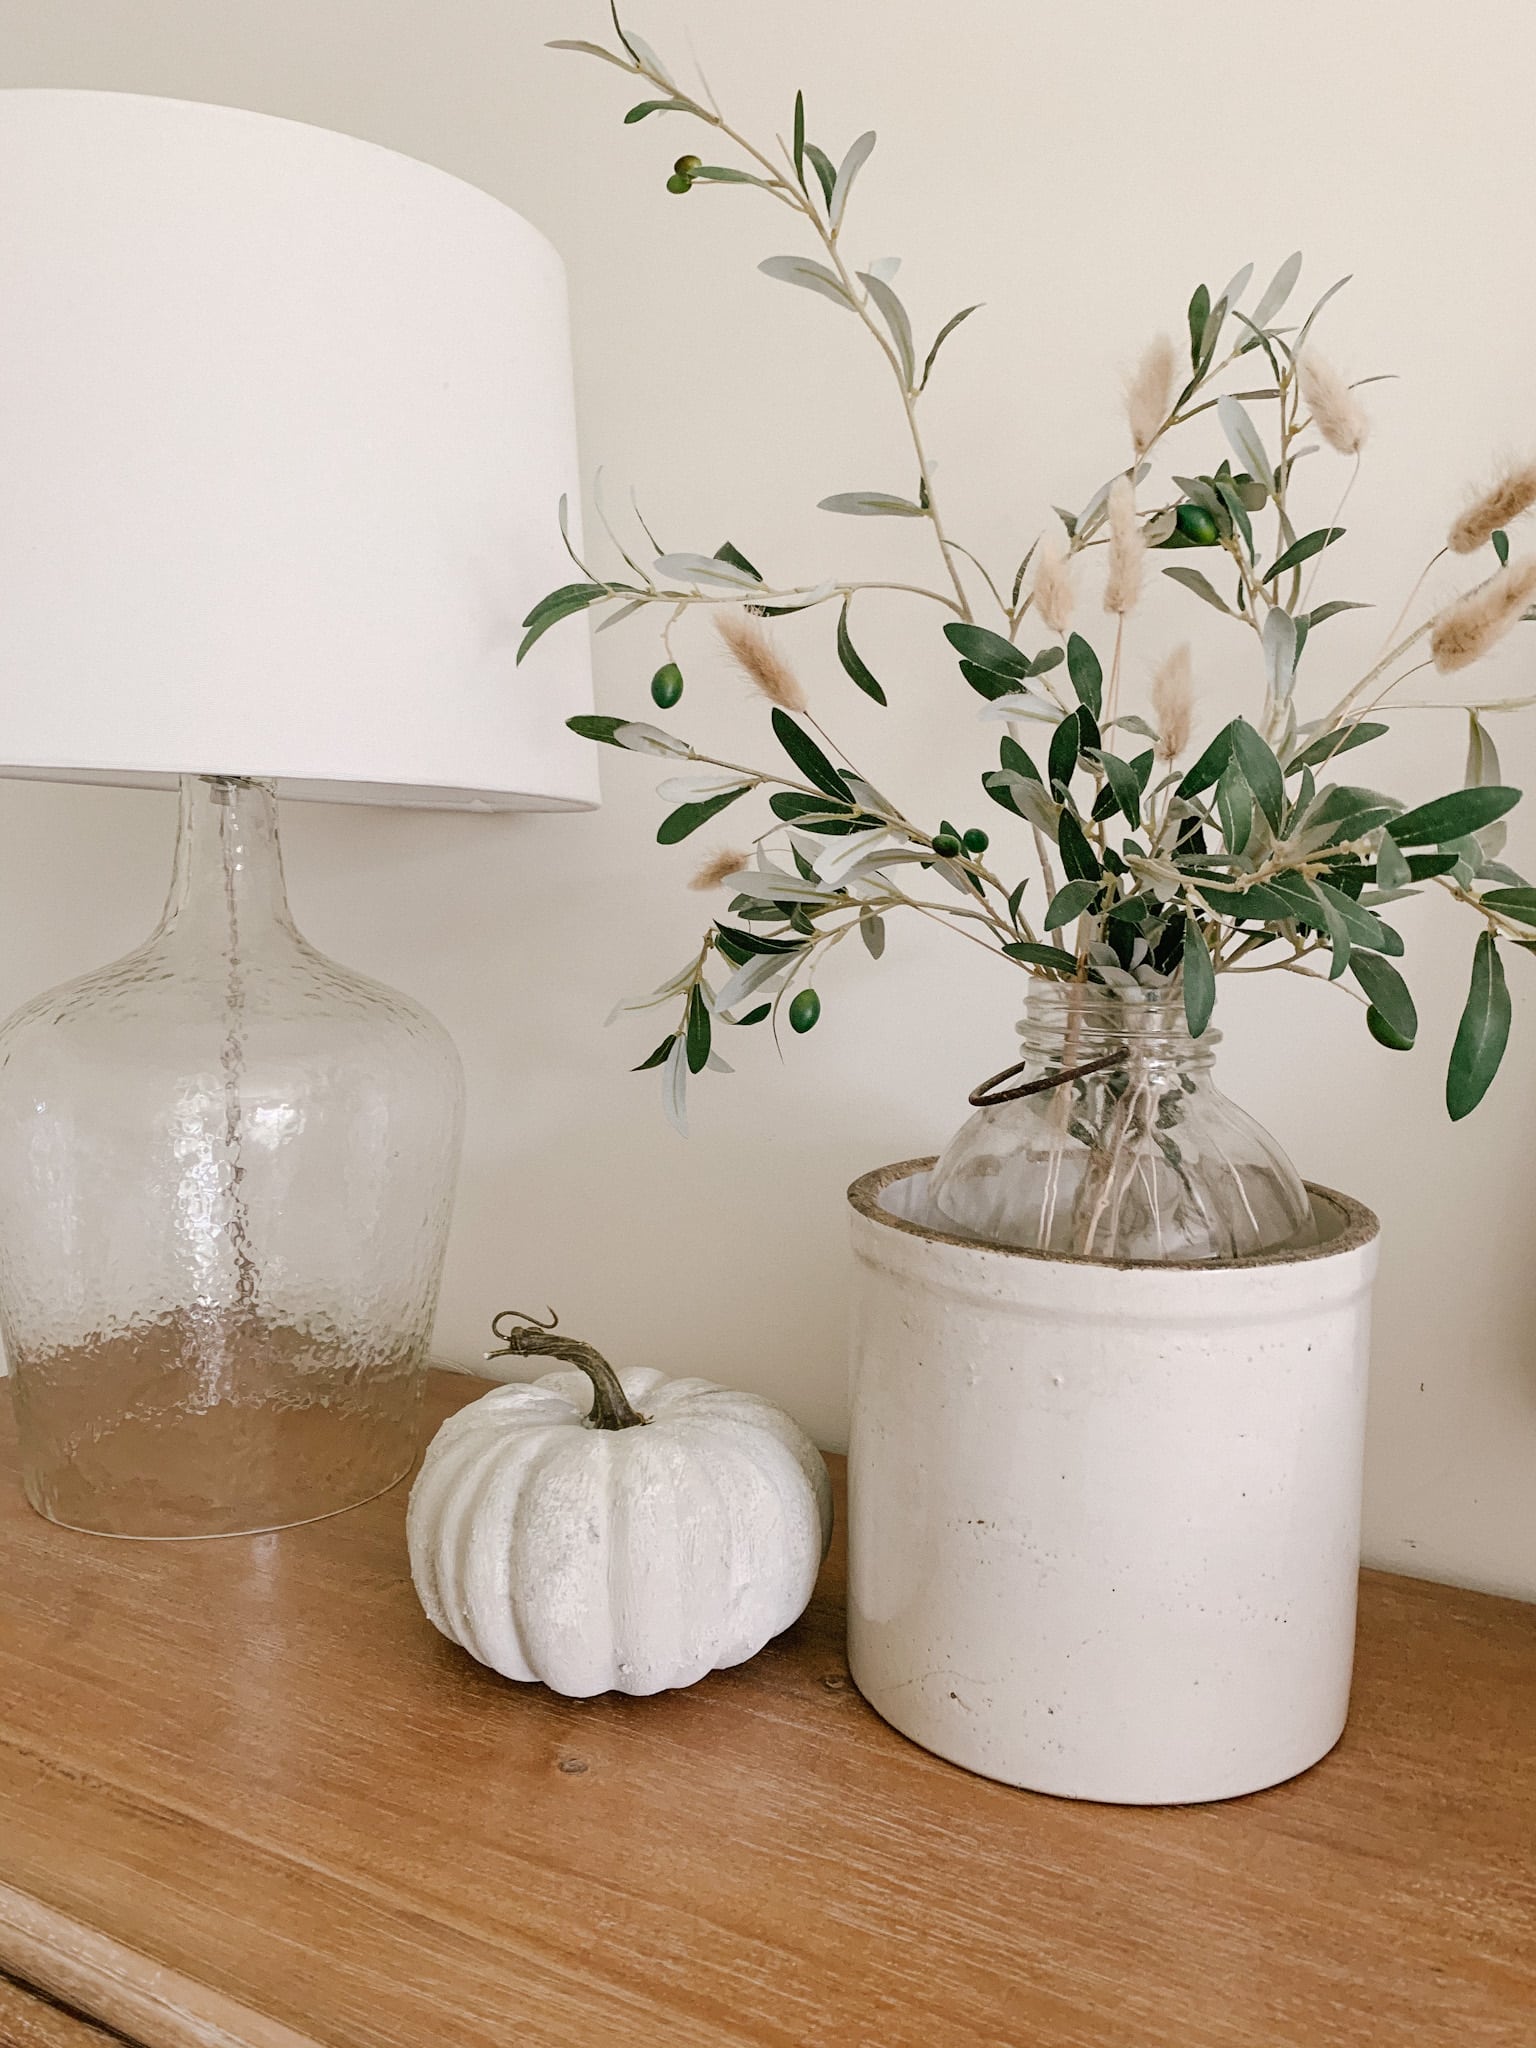
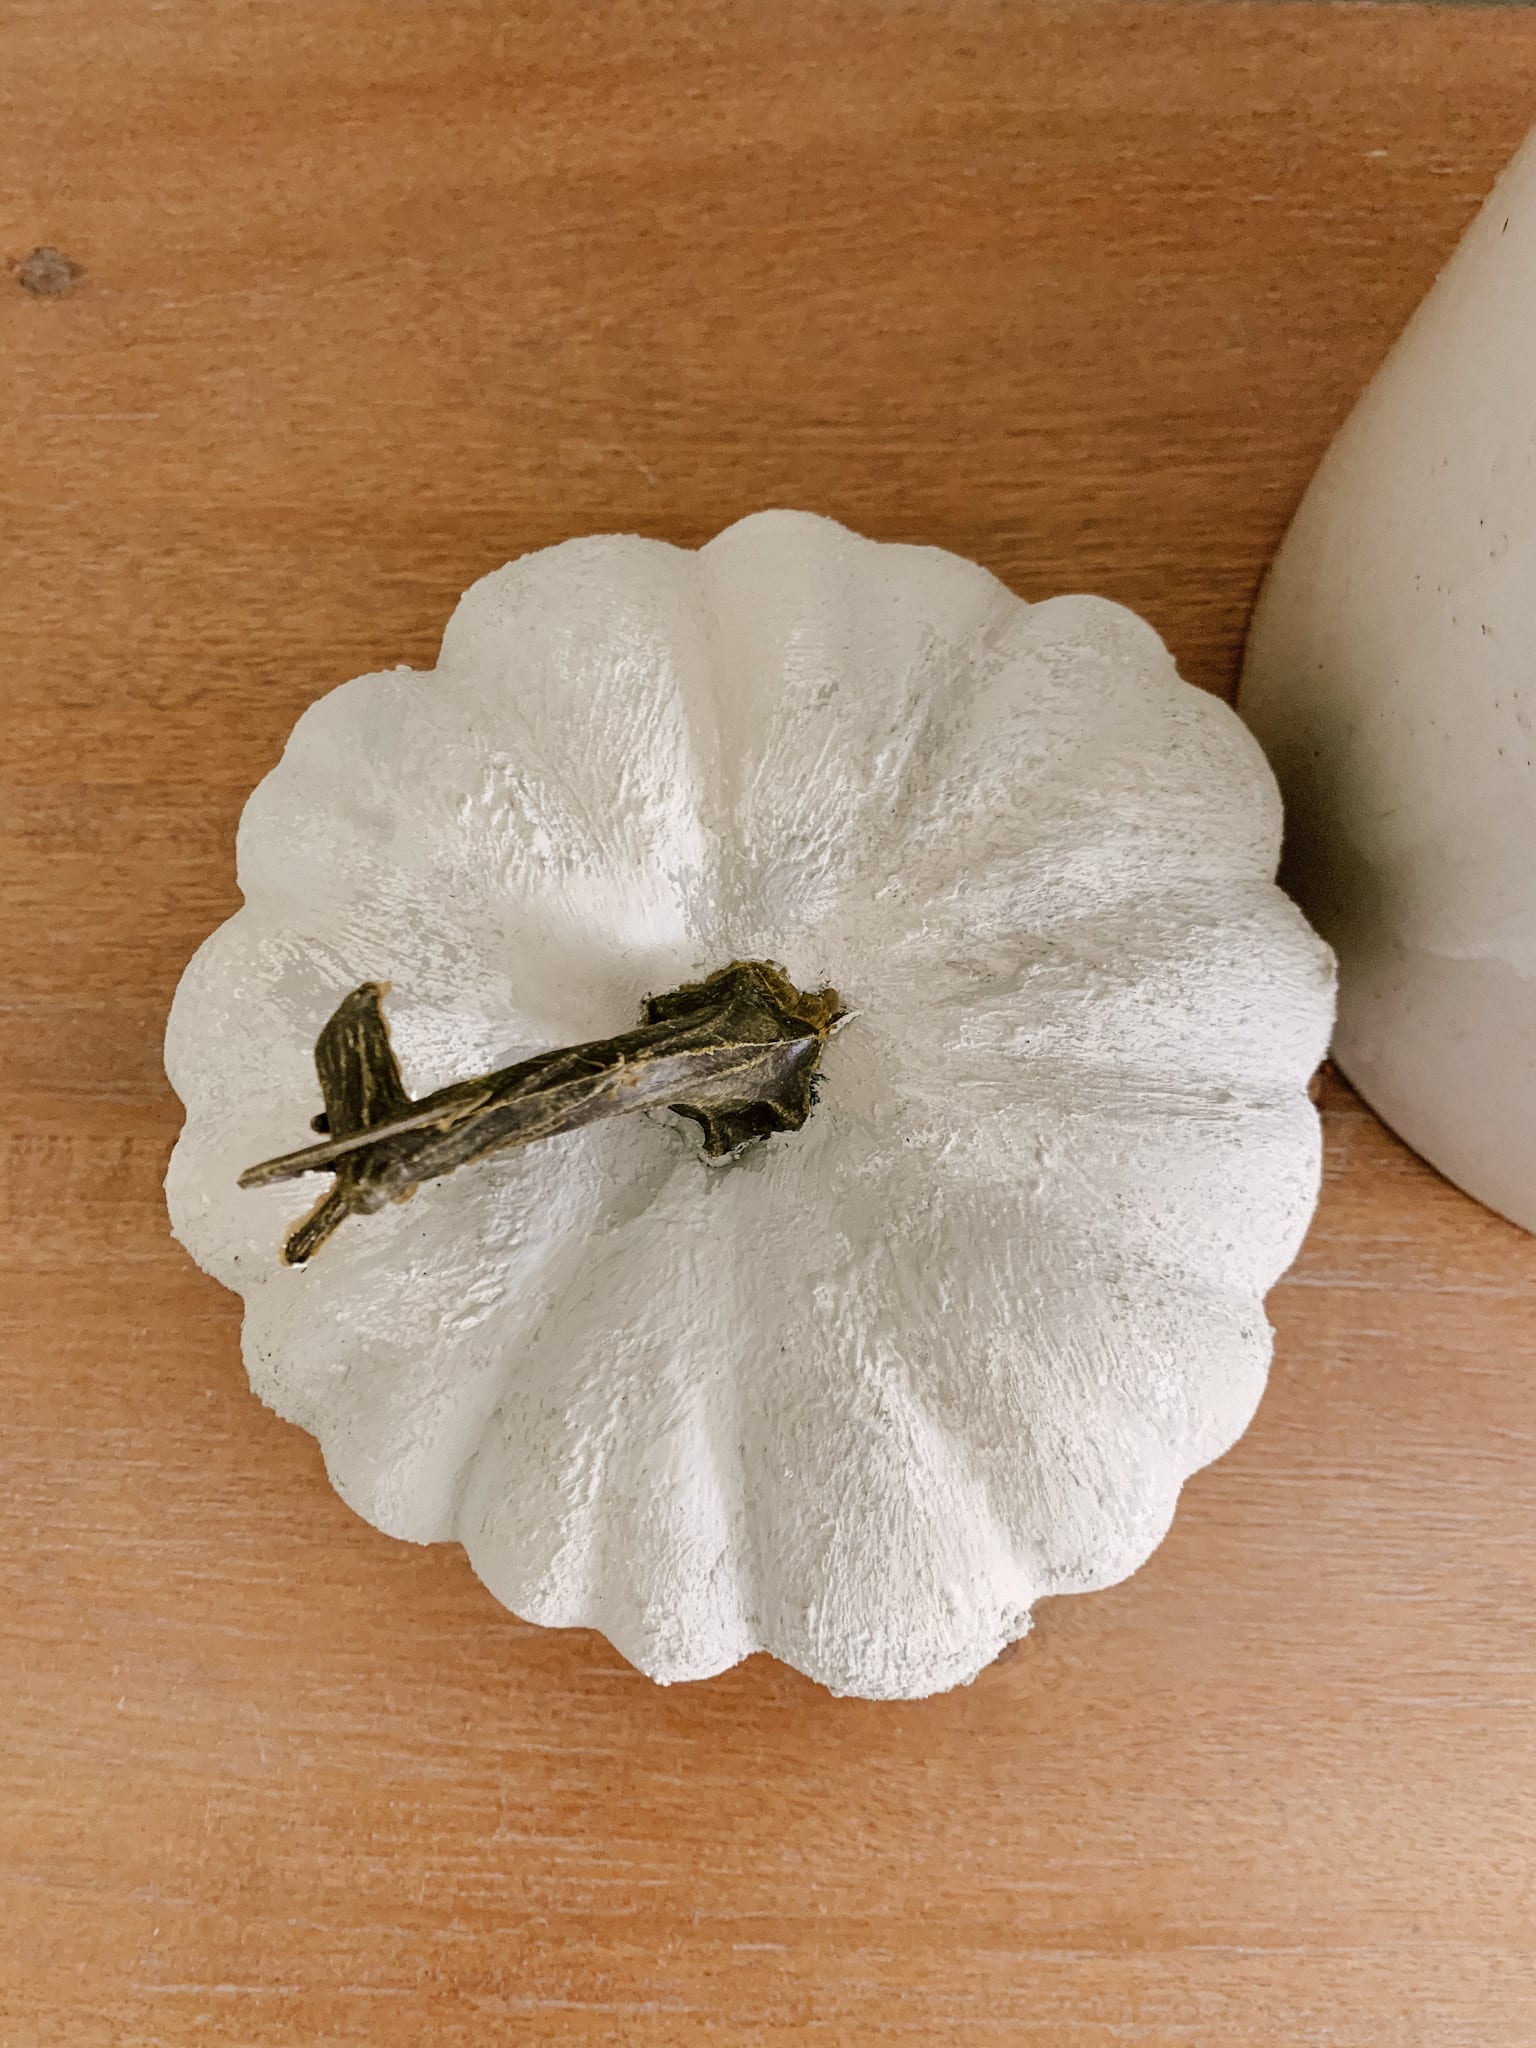
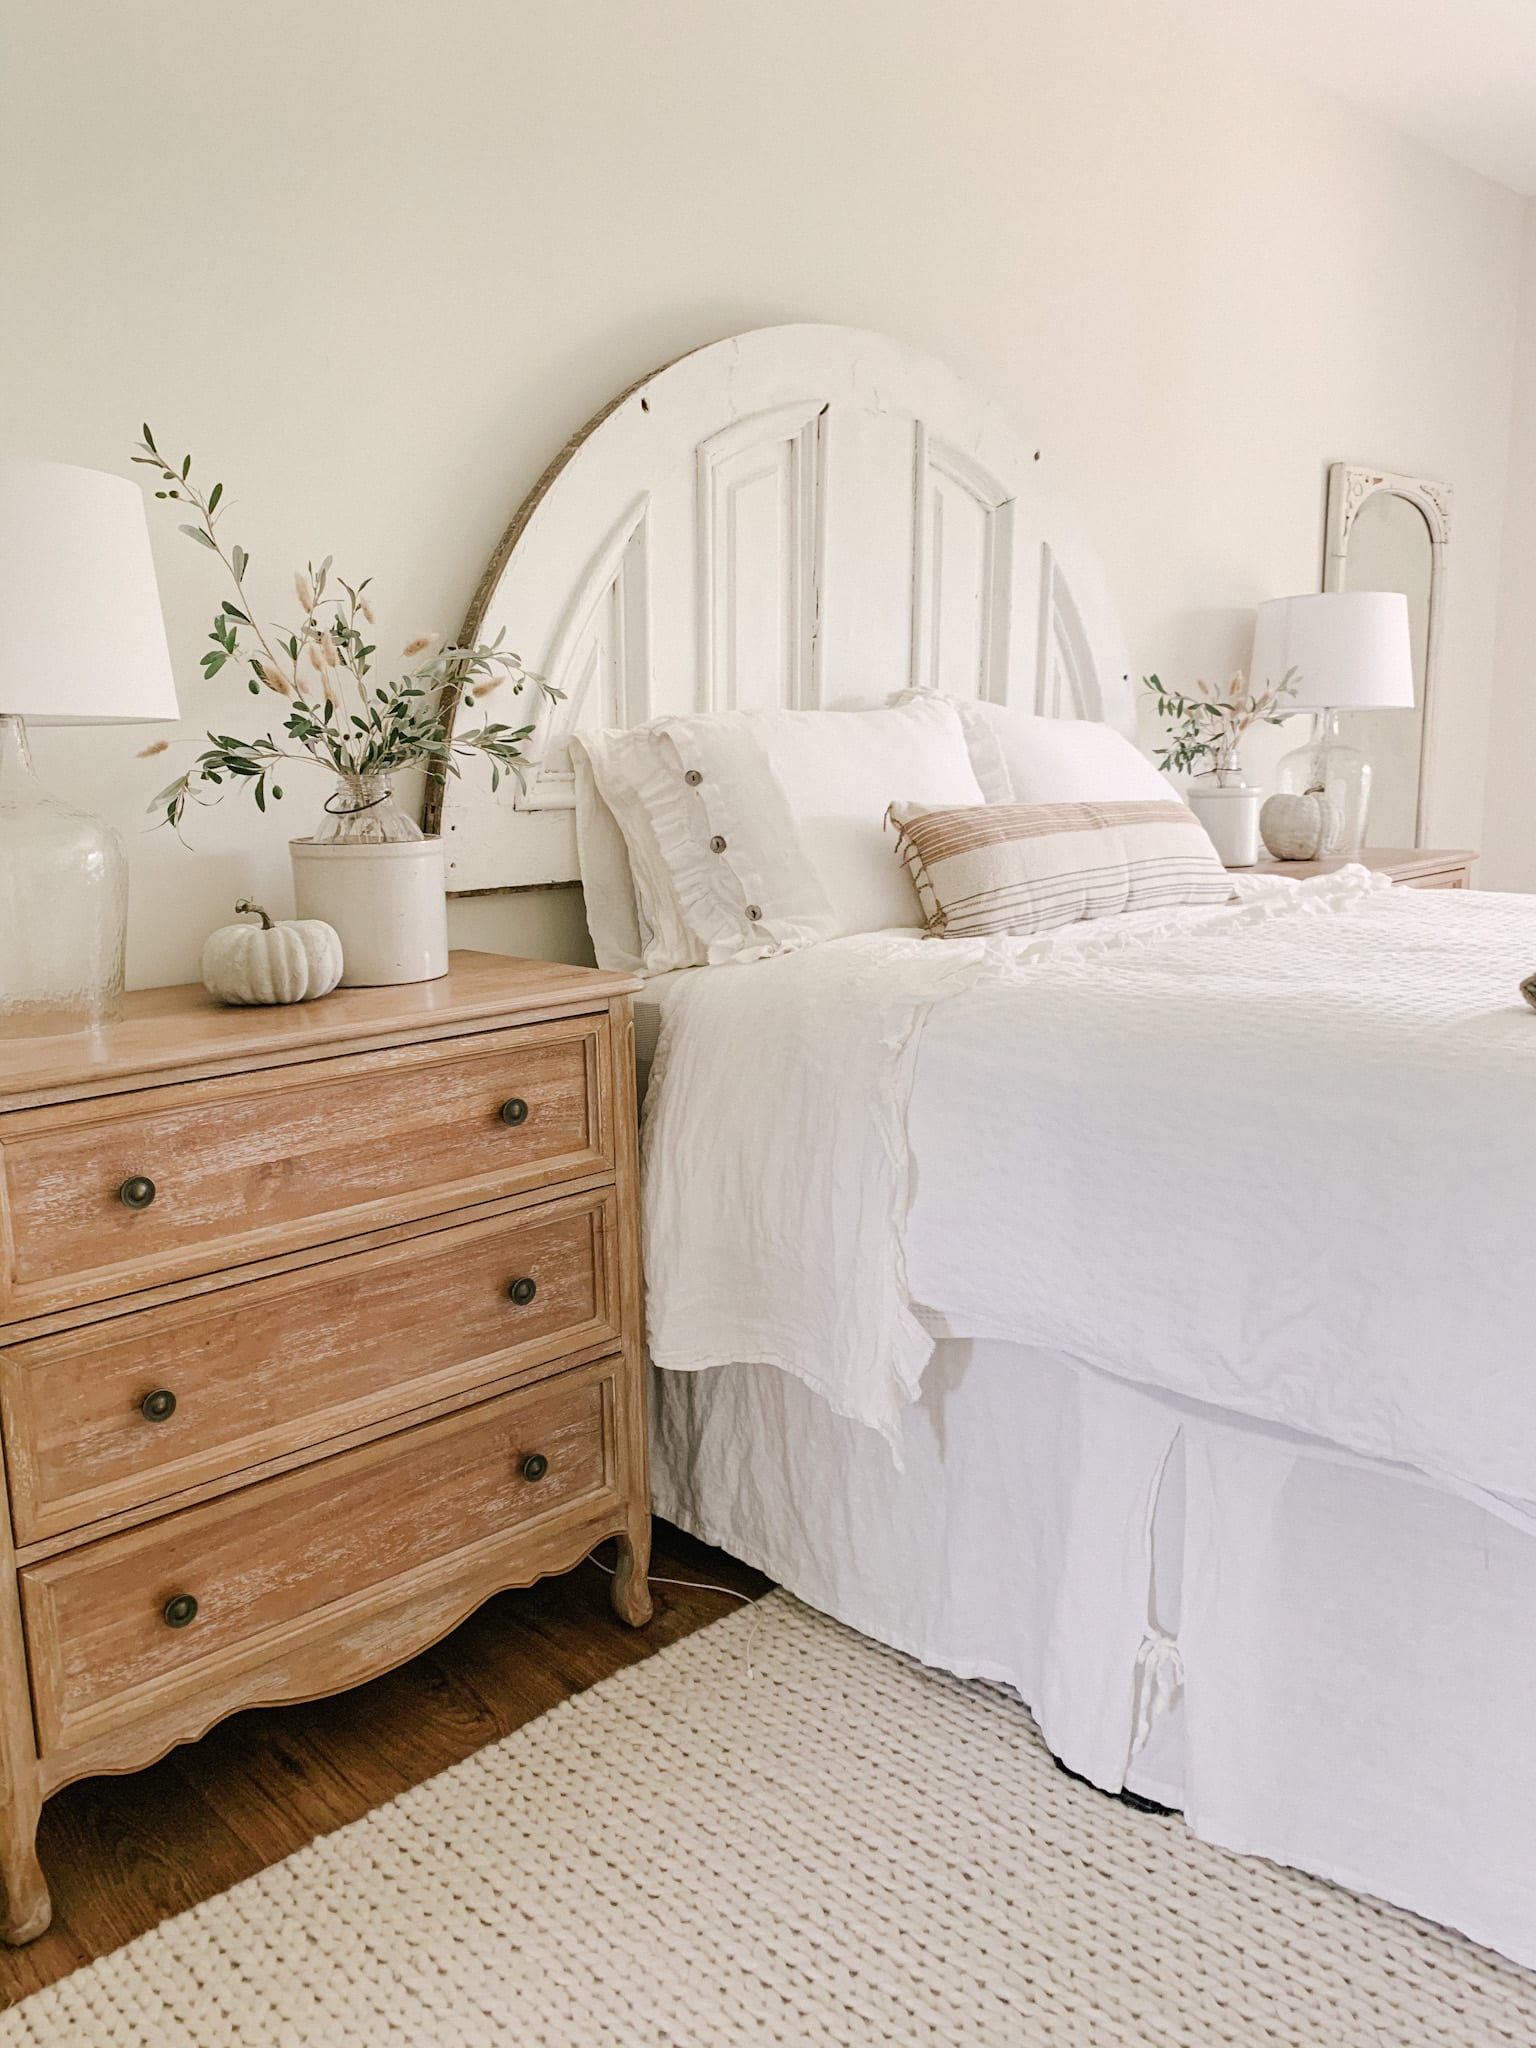
I used this same technique for two coats allowing each coat to dry completely before moving to the next. After removing the painter’s tape from the stems, my earthy textured faux pumpkin DIY project was complete!
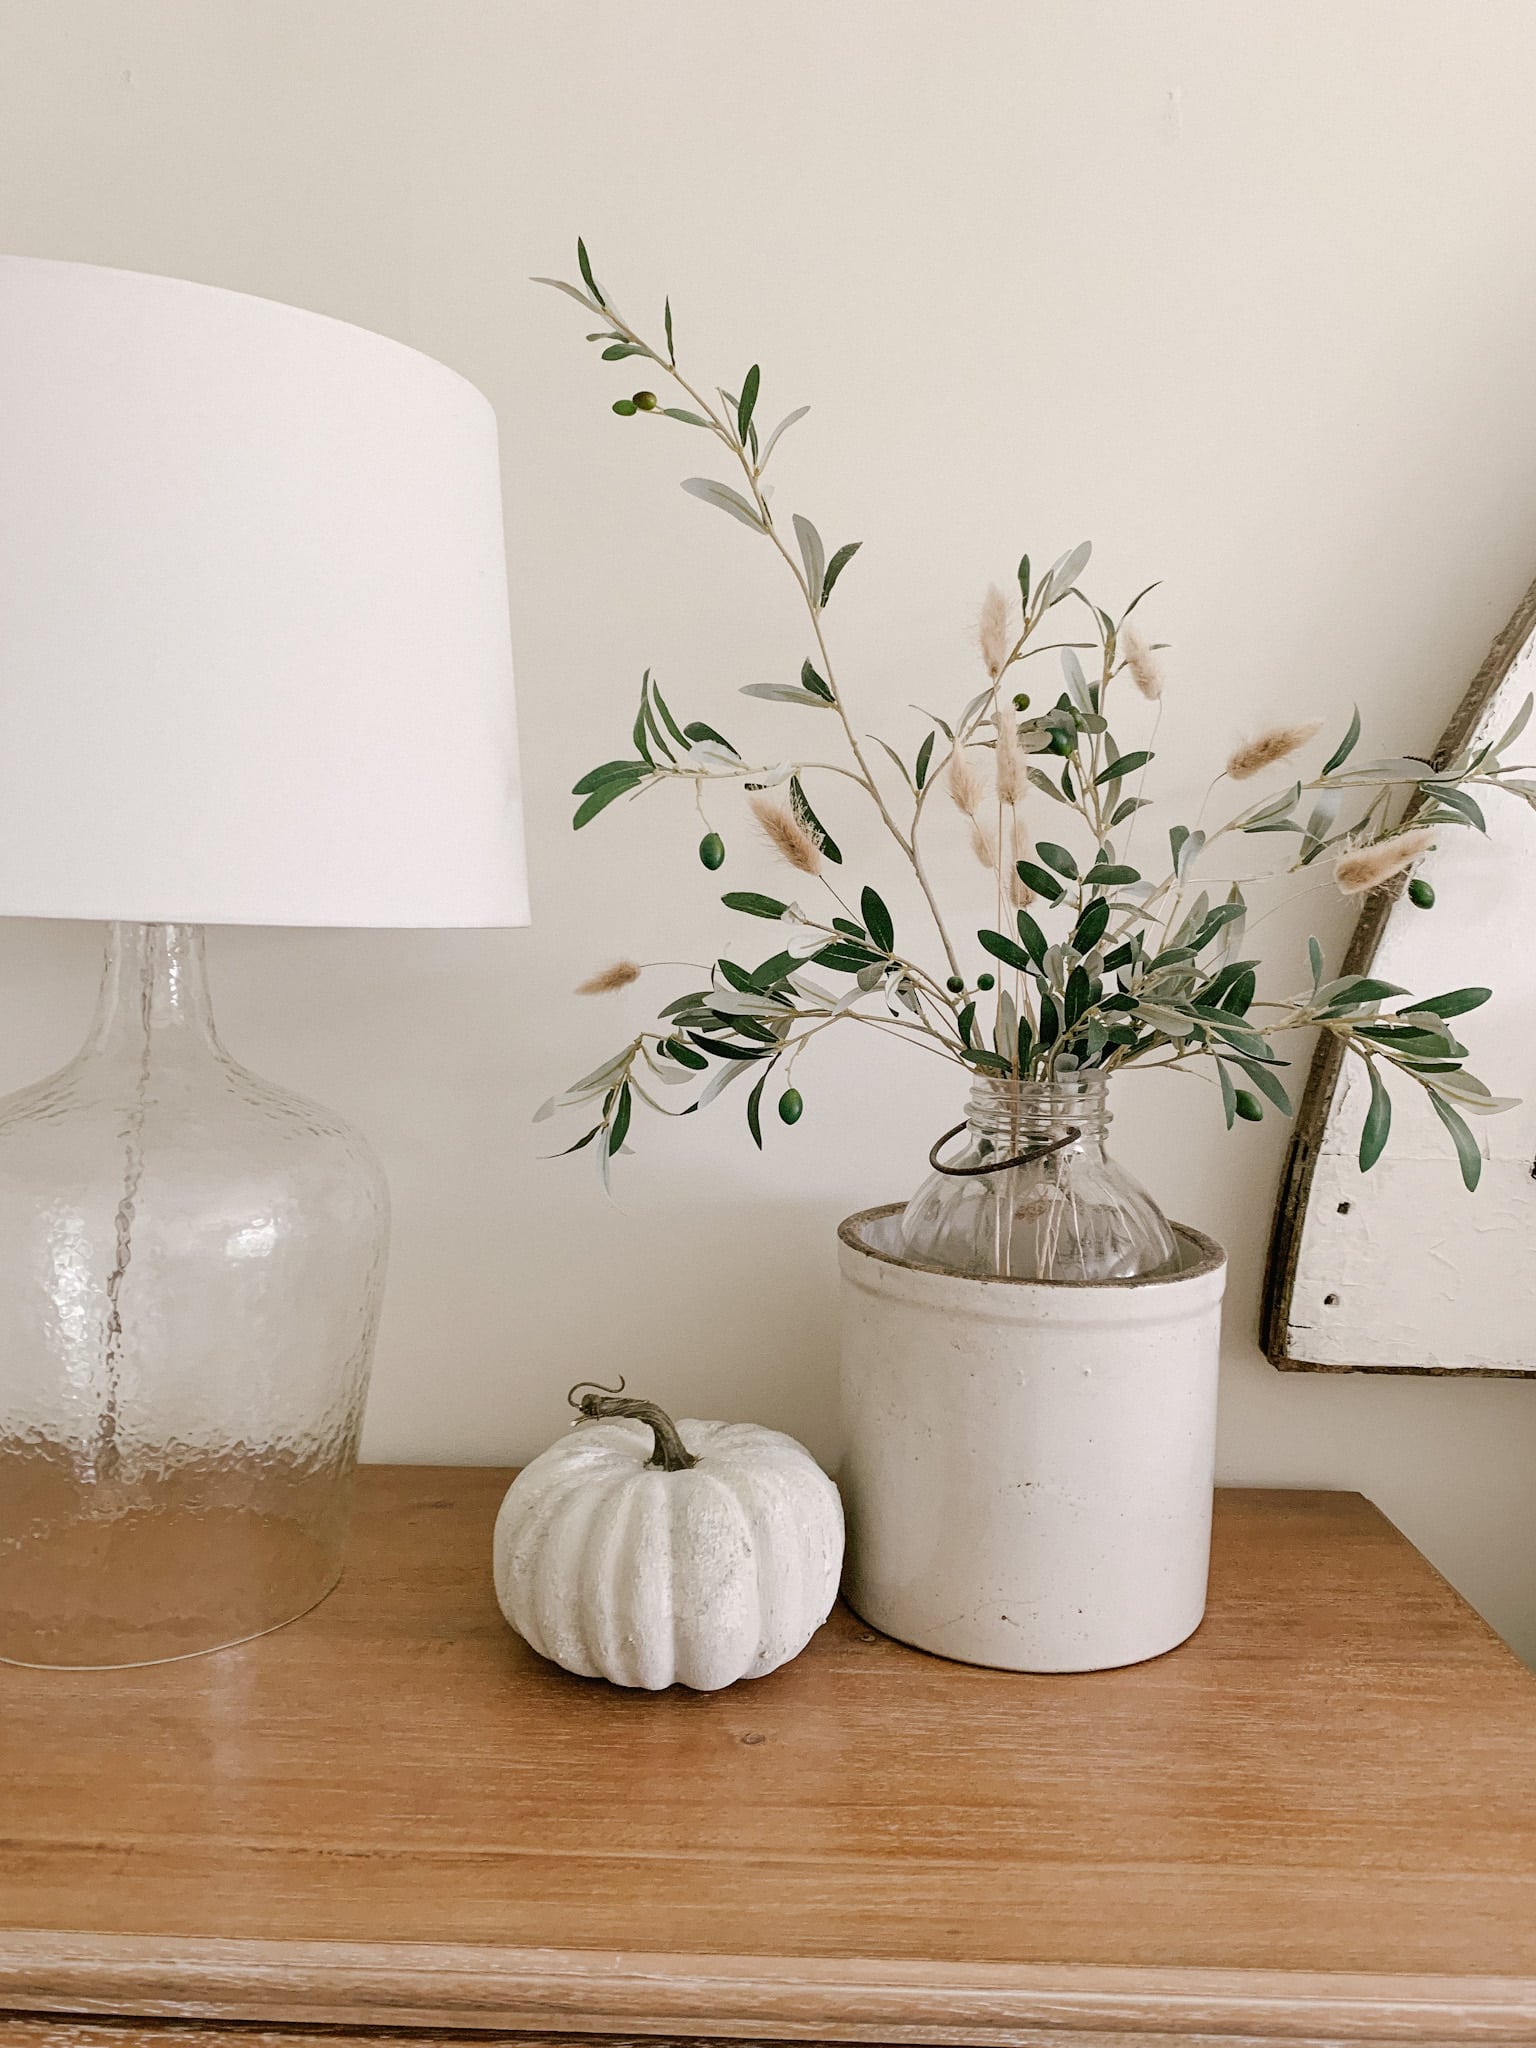
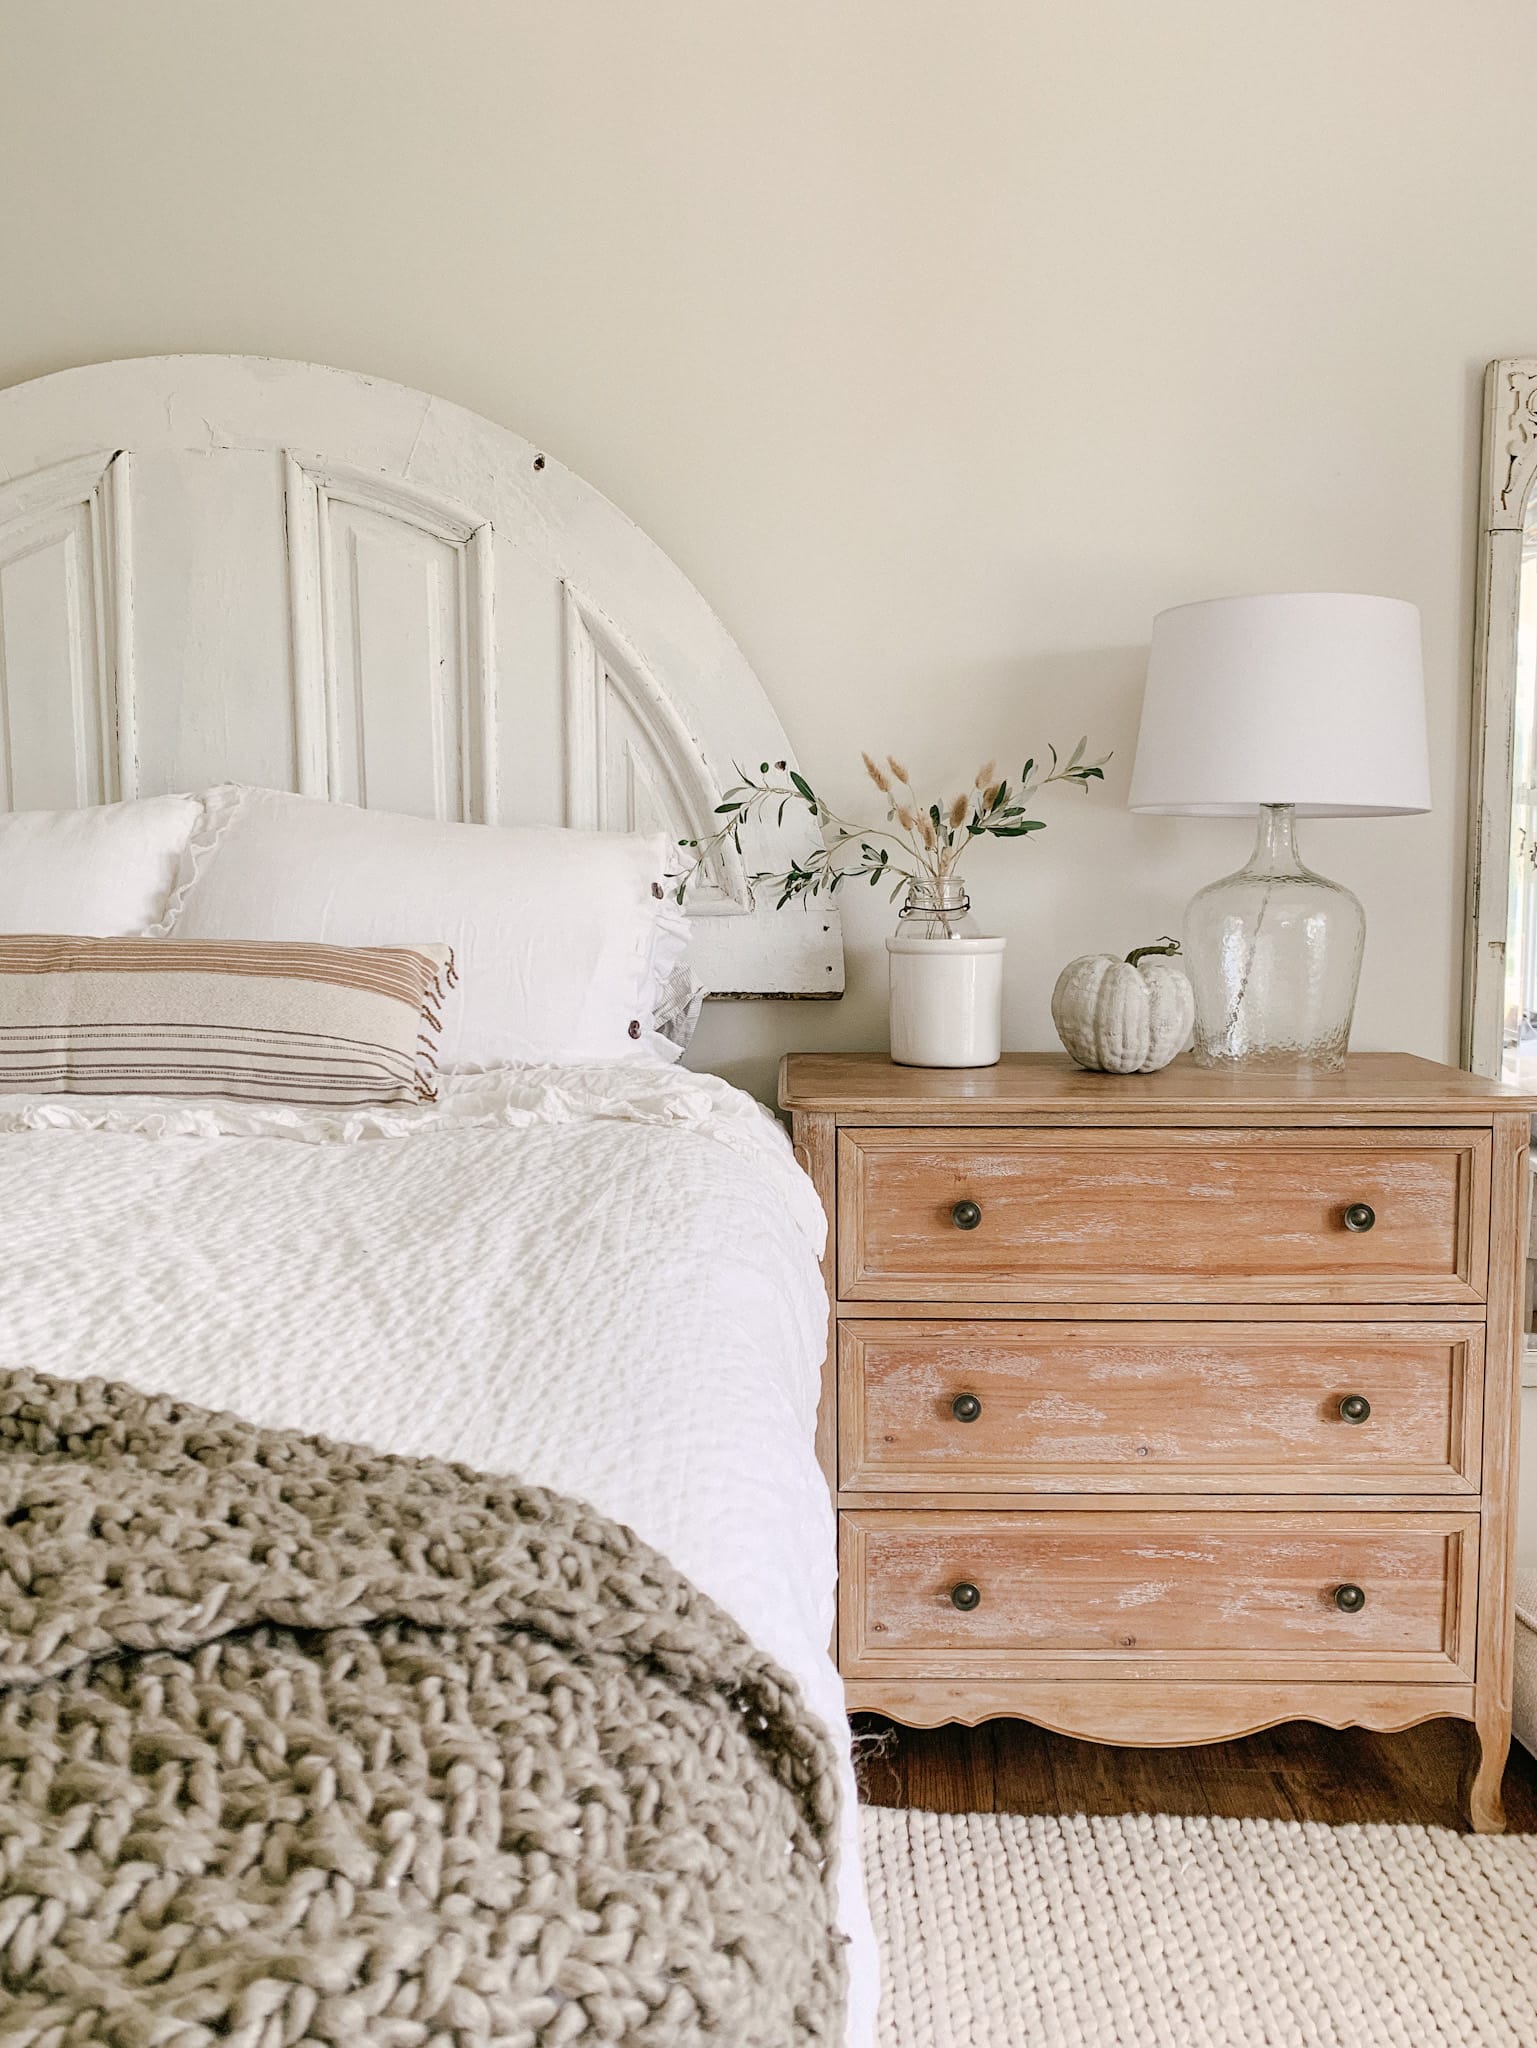
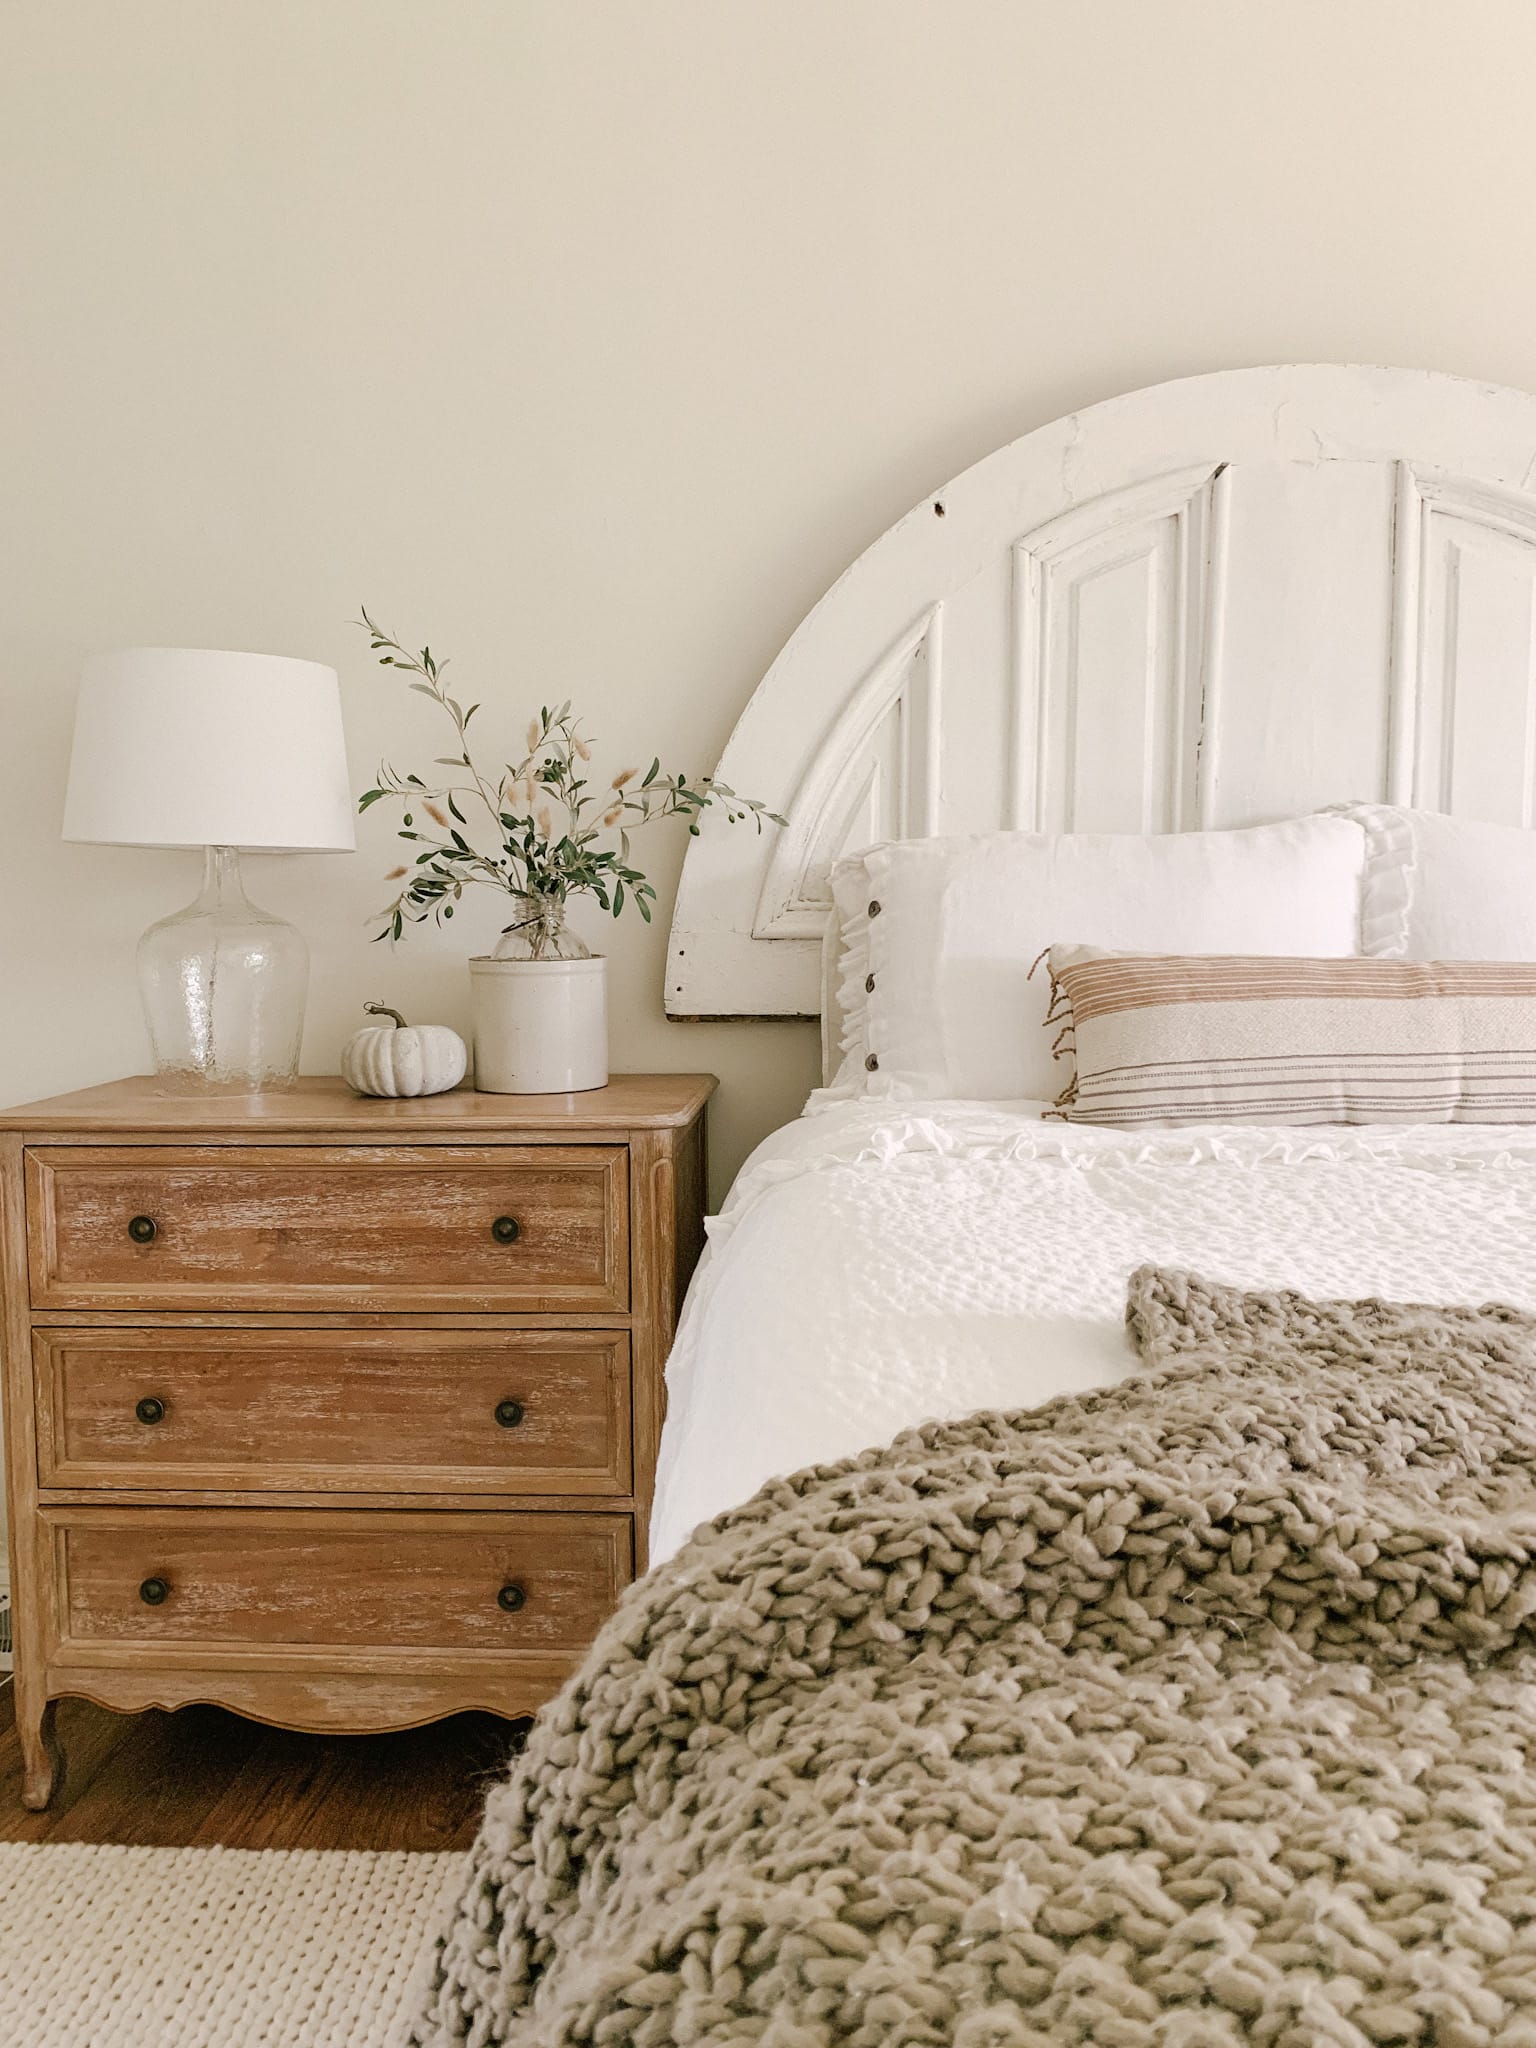
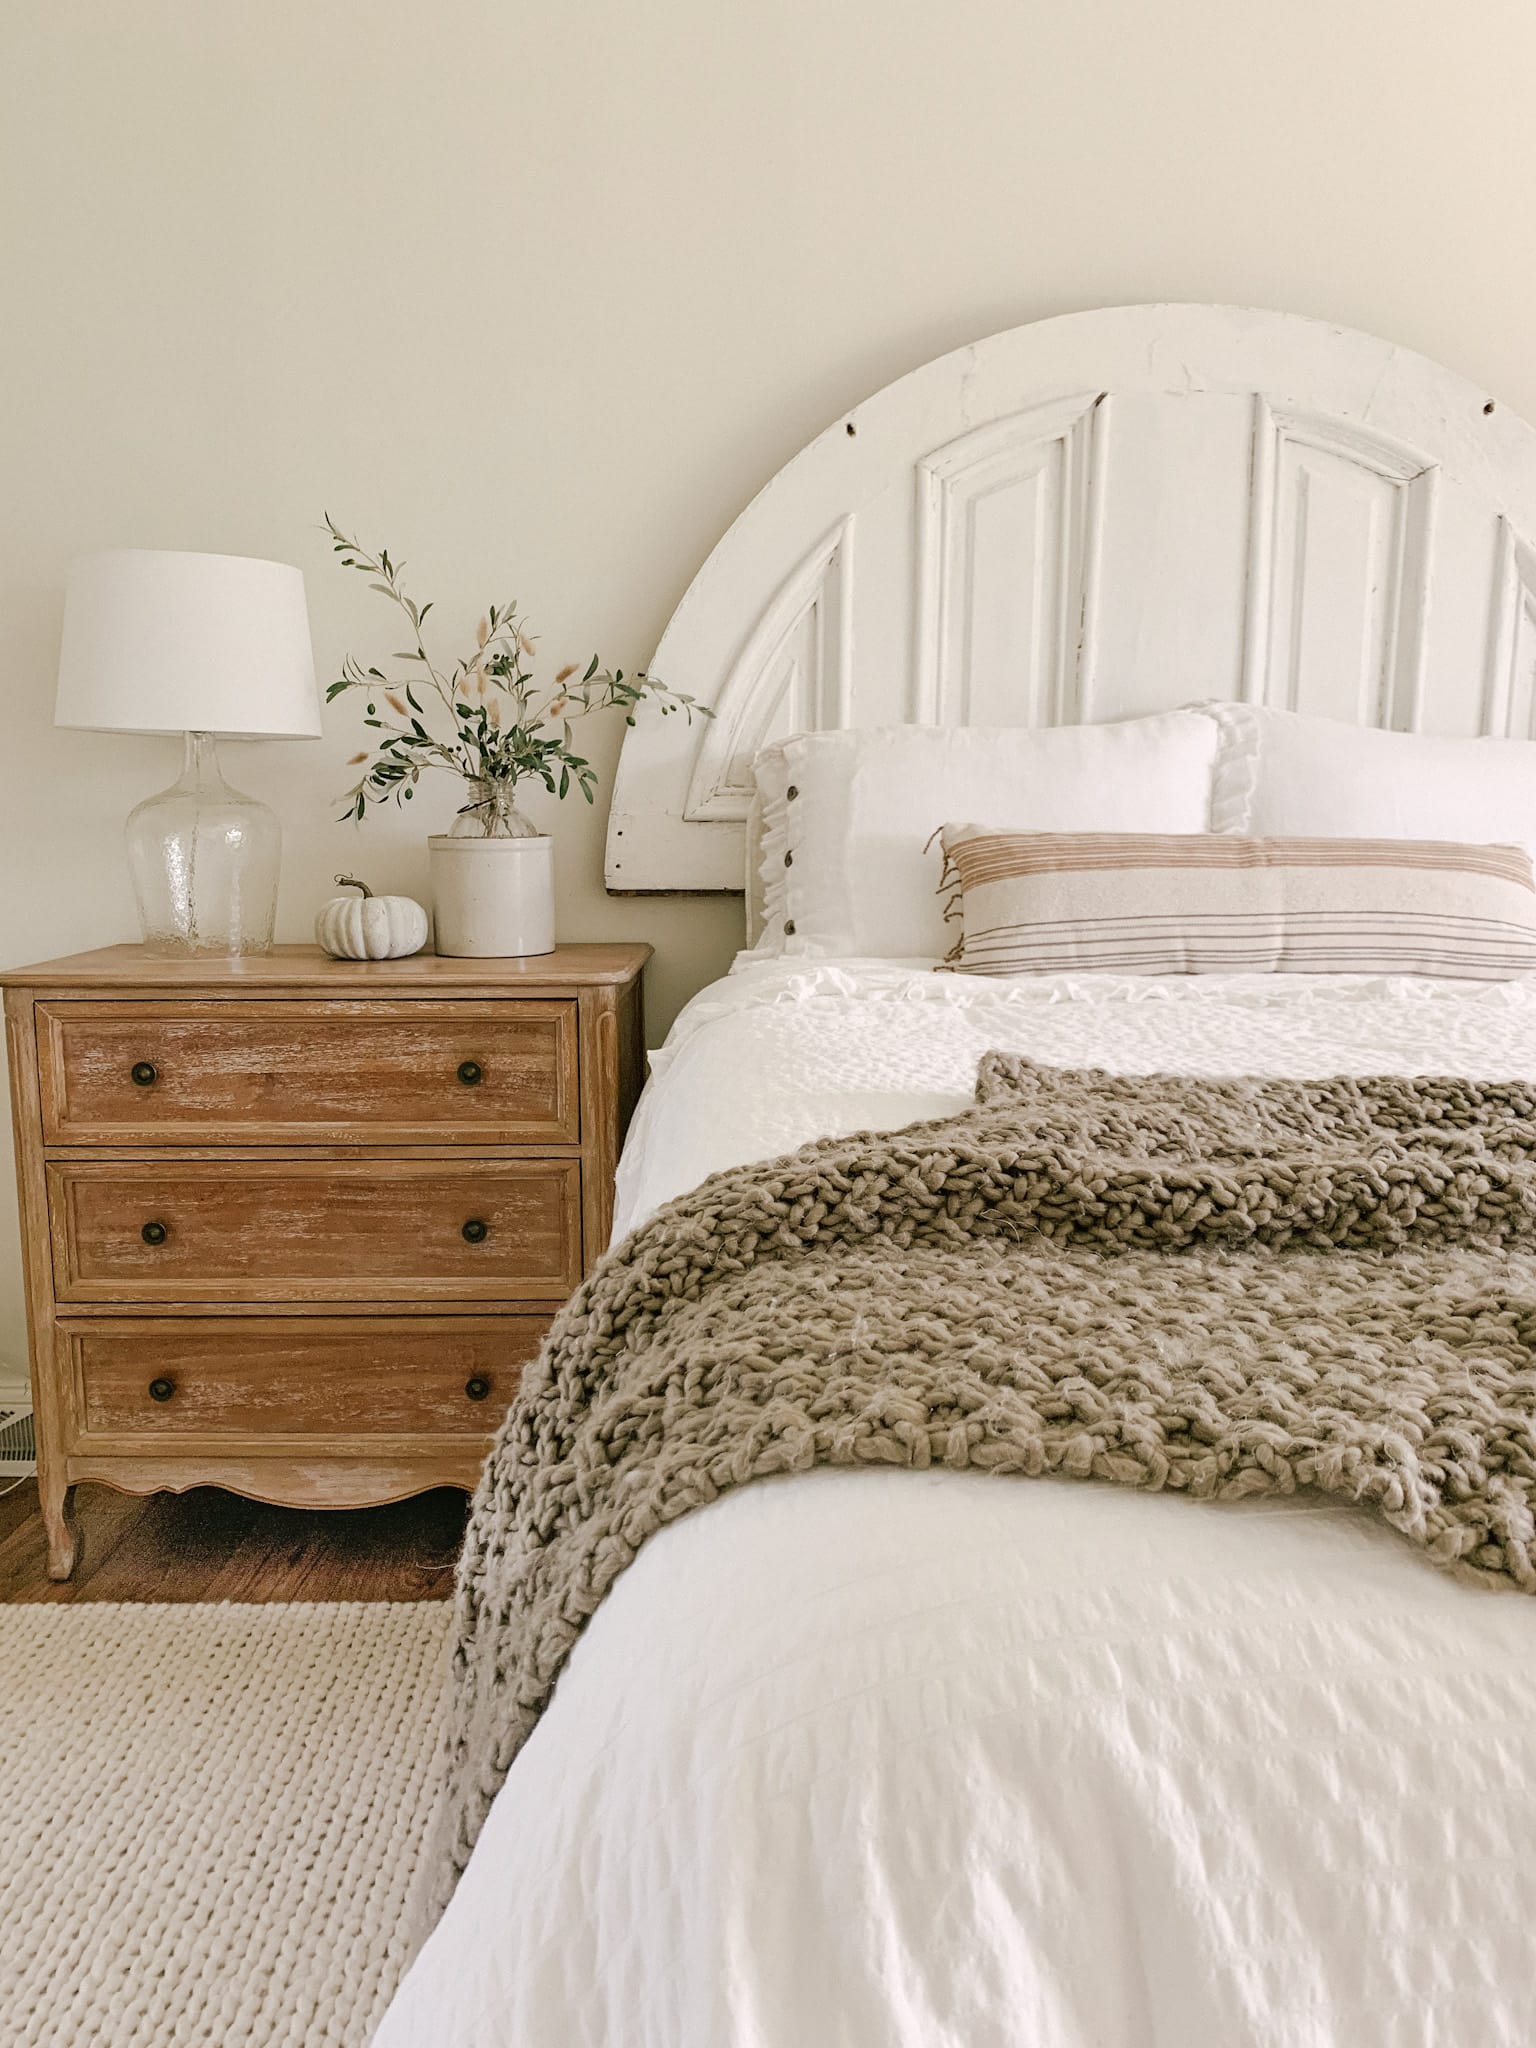
I hope this easy Fall DIY project inspires you if you’re looking to get the earthy vibe on a budget. I’m hoping to create a few more of these as the Fall season continues. You just can’t beat a cheap and easy DIY!
xo,
sarah jane
Leave a Reply