Alright, friends. We’re on week two of our little laundry room makeover. We made lots of progress in this space & I’m excited to show you guys how things turned out in here! This week, we added a few elements in this space to create a functional laundry room for our home. In case you missed part one, check it out here to get caught up.
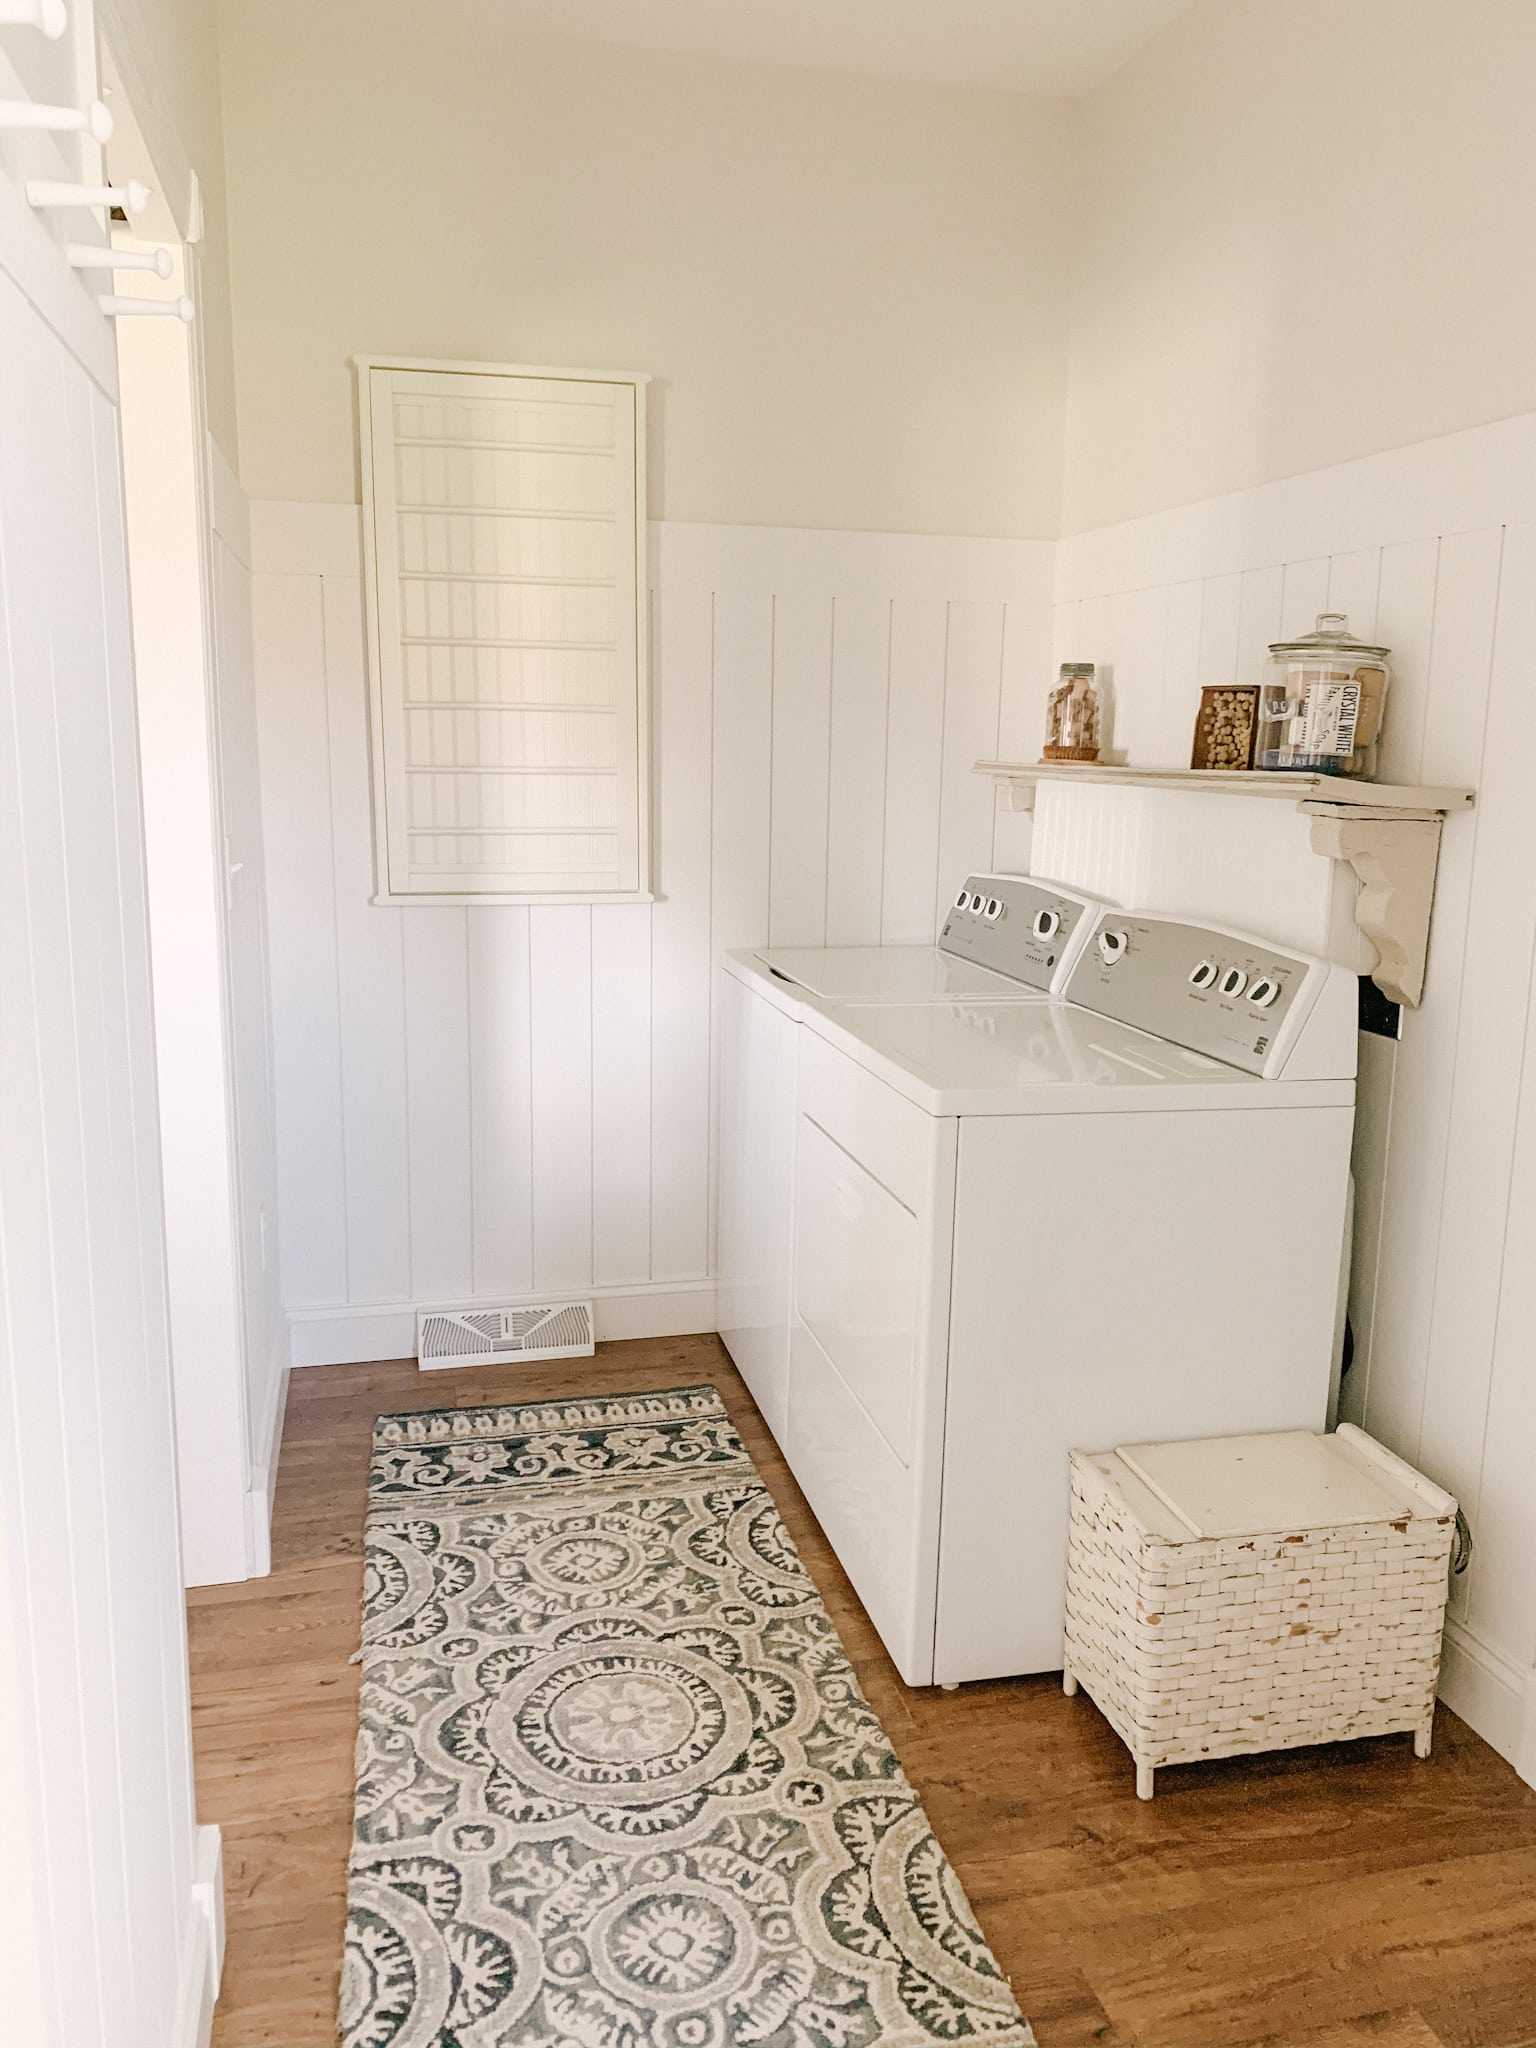
Continuing on with the vertical shiplap in this room, we made our way around the other two walls. I wanted this space to feel cohesive & have a cottage vibe. We used the same technique to hang our vertical shiplap that I shared on last week’s blog post. After our shiplap was hung & the header pieces were attached, we were able to paint it “Pure White” by Sherwin Williams.
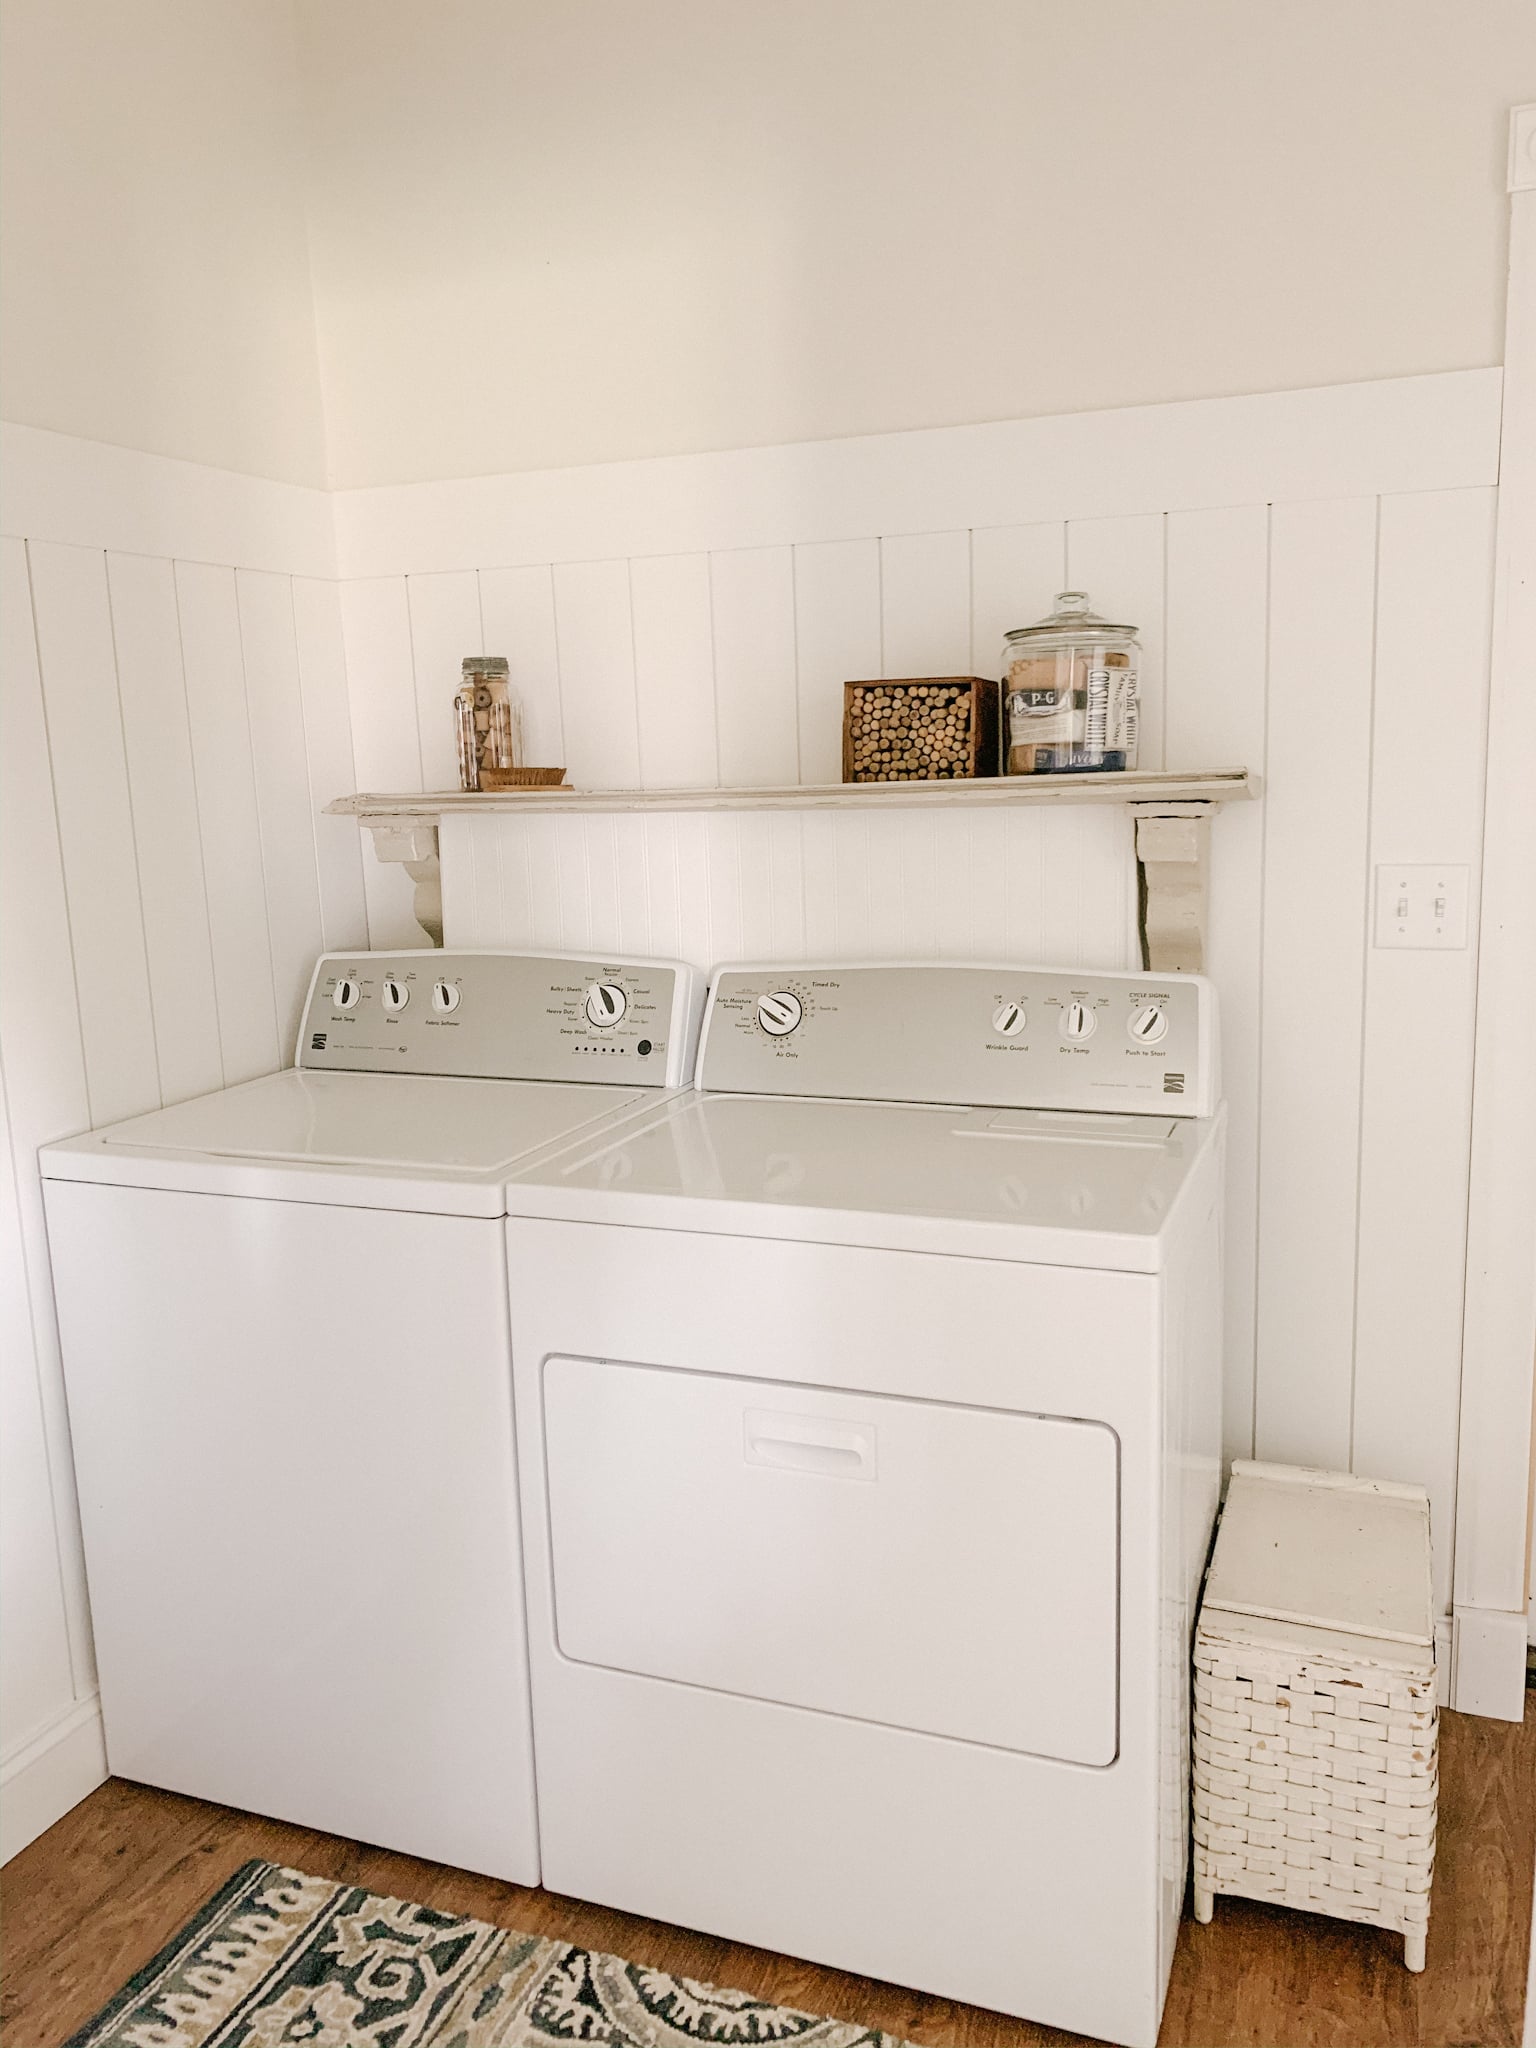
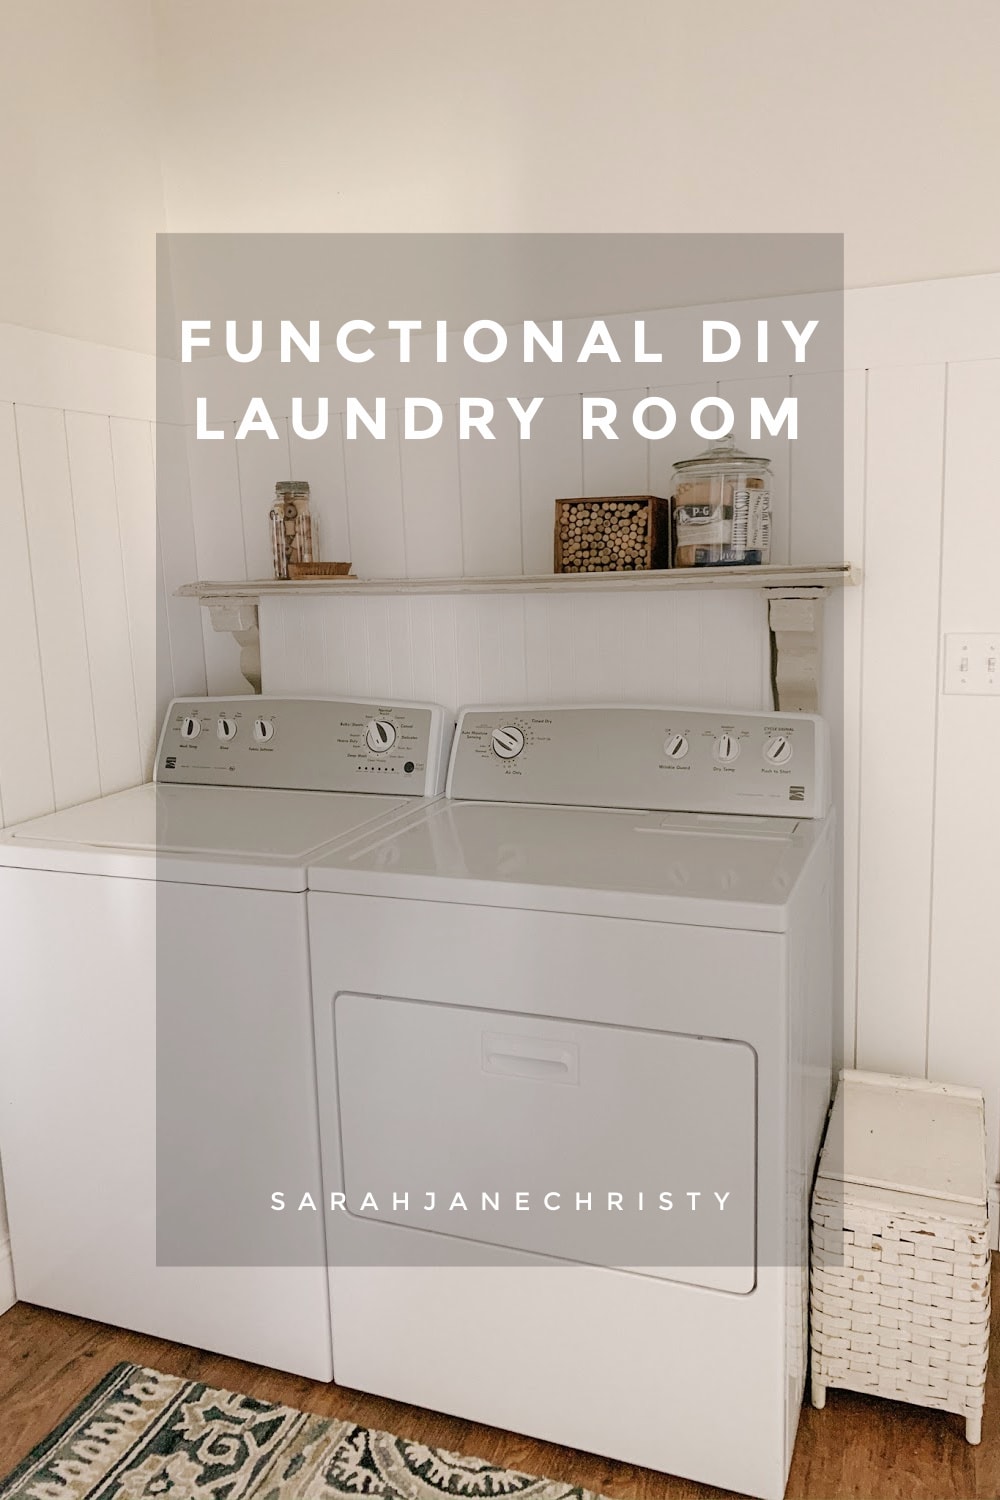
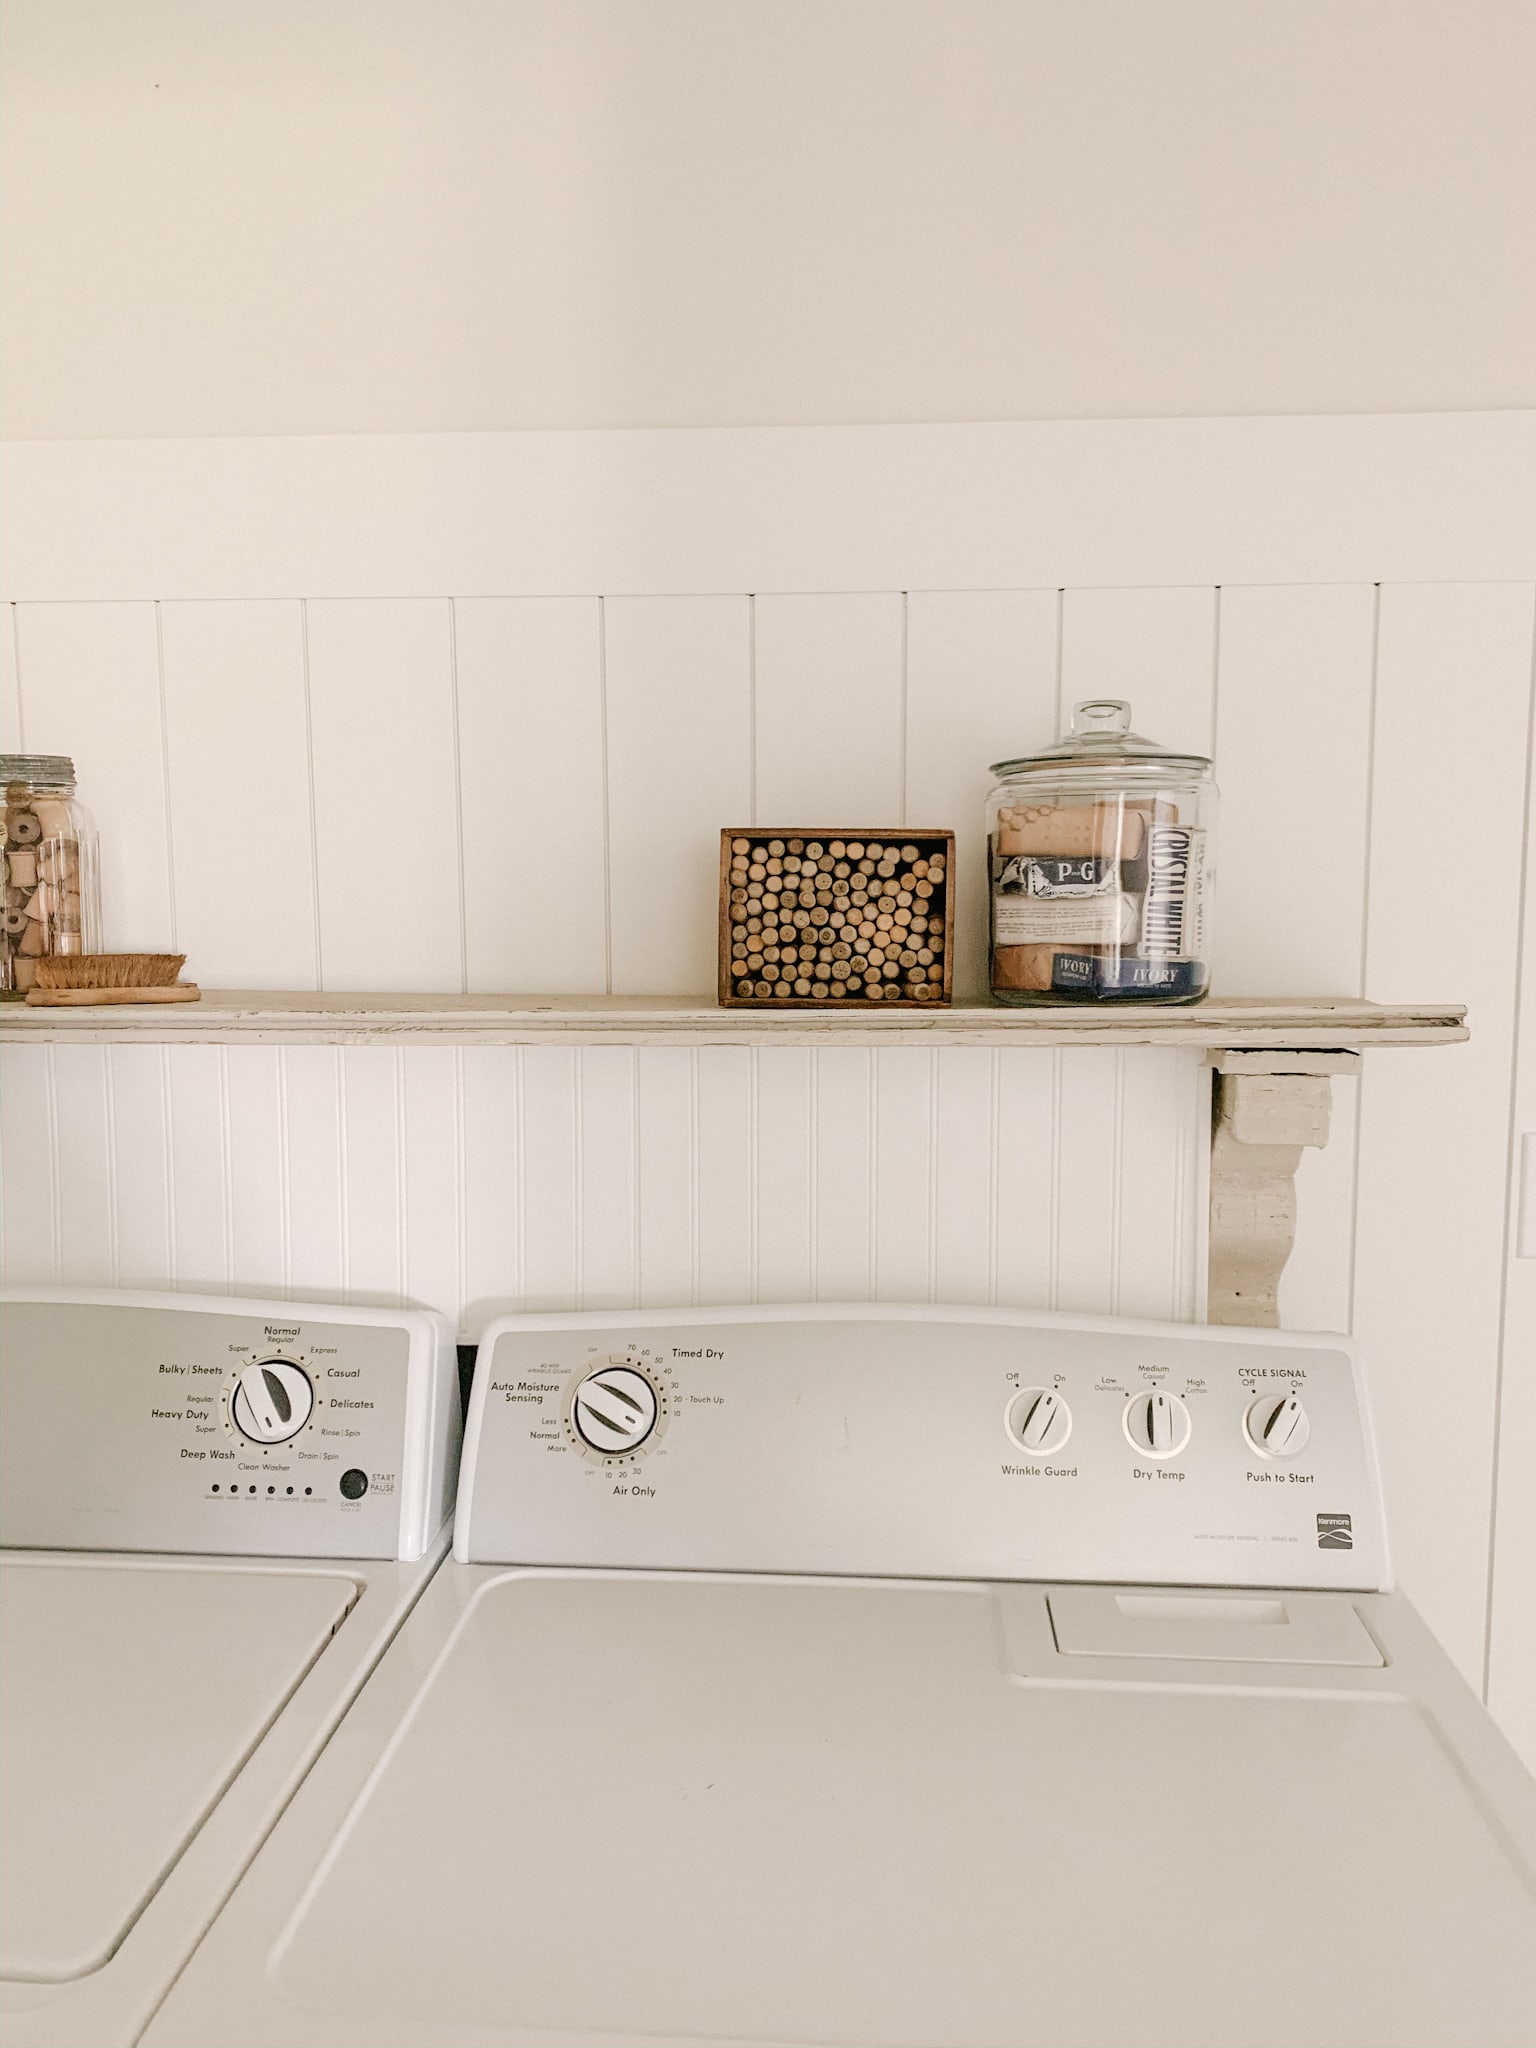
Now that the whole room was shiplapped, we wanted to try to figure out a solution for behind our washer and dryer. To save money, I reused this reclaimed shelf that I found years ago at an antique shop. I definitely wanted to keep the shelf here to store detergent, dryer sheets & more. The problem? All of those not-so-attractive outlets and cords.
We created an apron front on the underside of the reclaimed shelf to hide the outlets etc. I used some beadboard that we had lying around from previous projects and attached it using a nail gun. Next, I decided to paint this apron the same color as the walls so that things would flow & look as cohesive as possible.
I want to mention – we still have access to the important hookups behind the washer & dryer. All we’d have to do to access them is to take the shelf off (which we hung using two alligator hooks & some screws in the wall) To remove it, it’s just like taking a picture frame off of the wall.
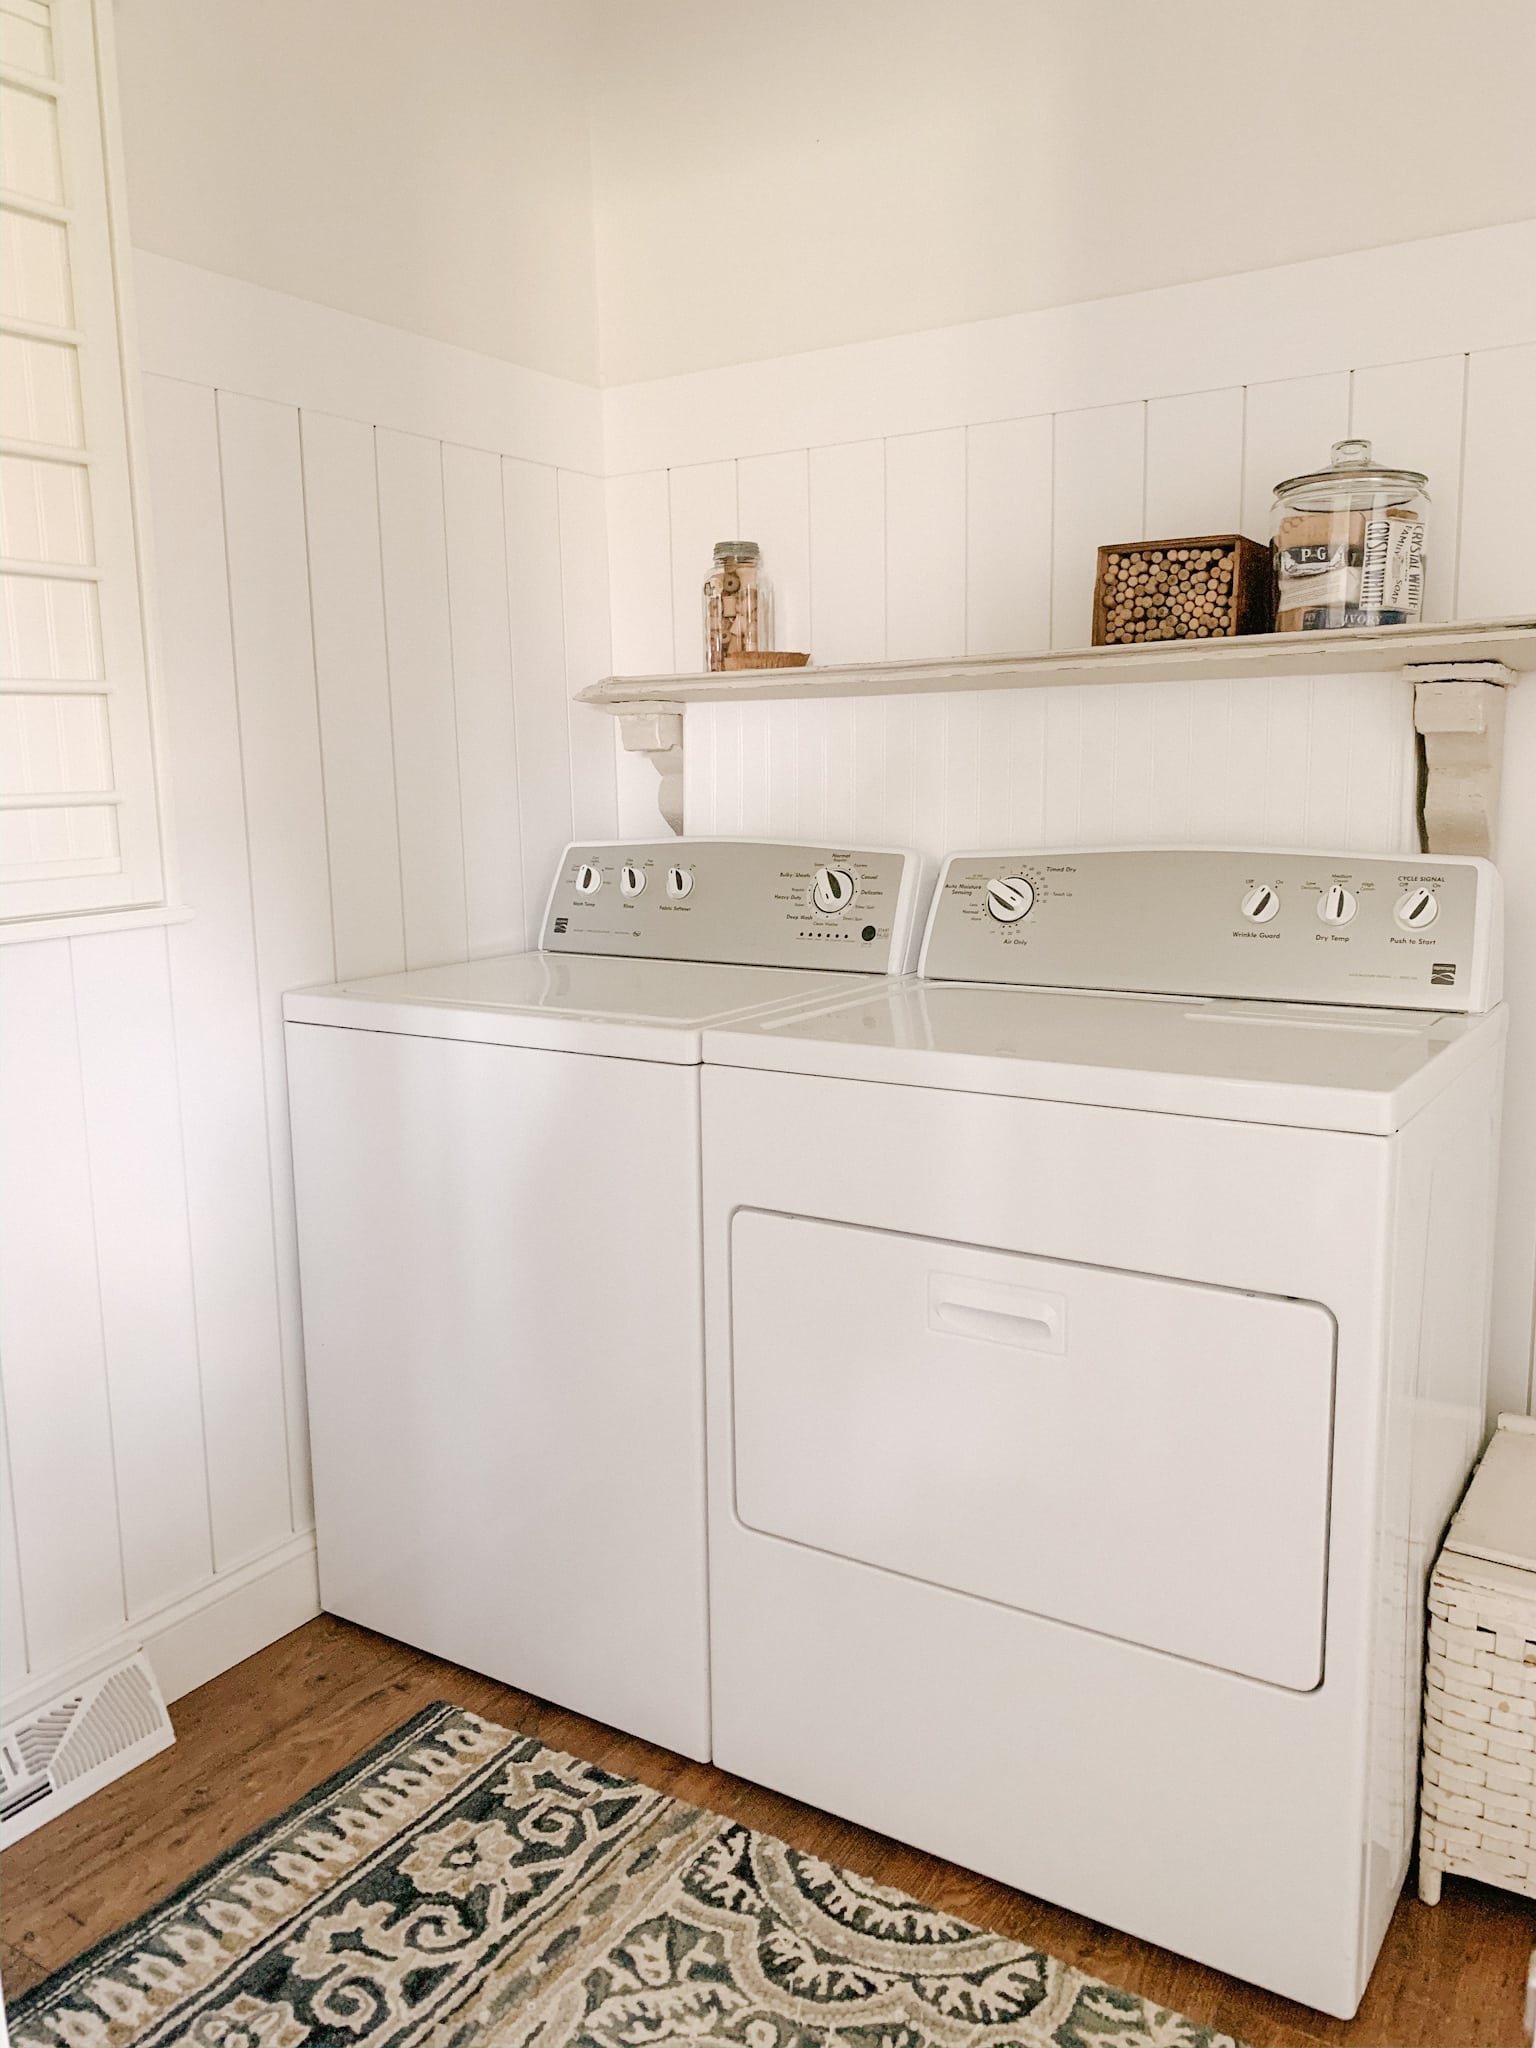
I’m SO happy we decided to do this. The room looks a lot less “messy” and much more simple. Just this small solution made such an impact and I love that this virtually cost us nothing because we used supplies that we already had!
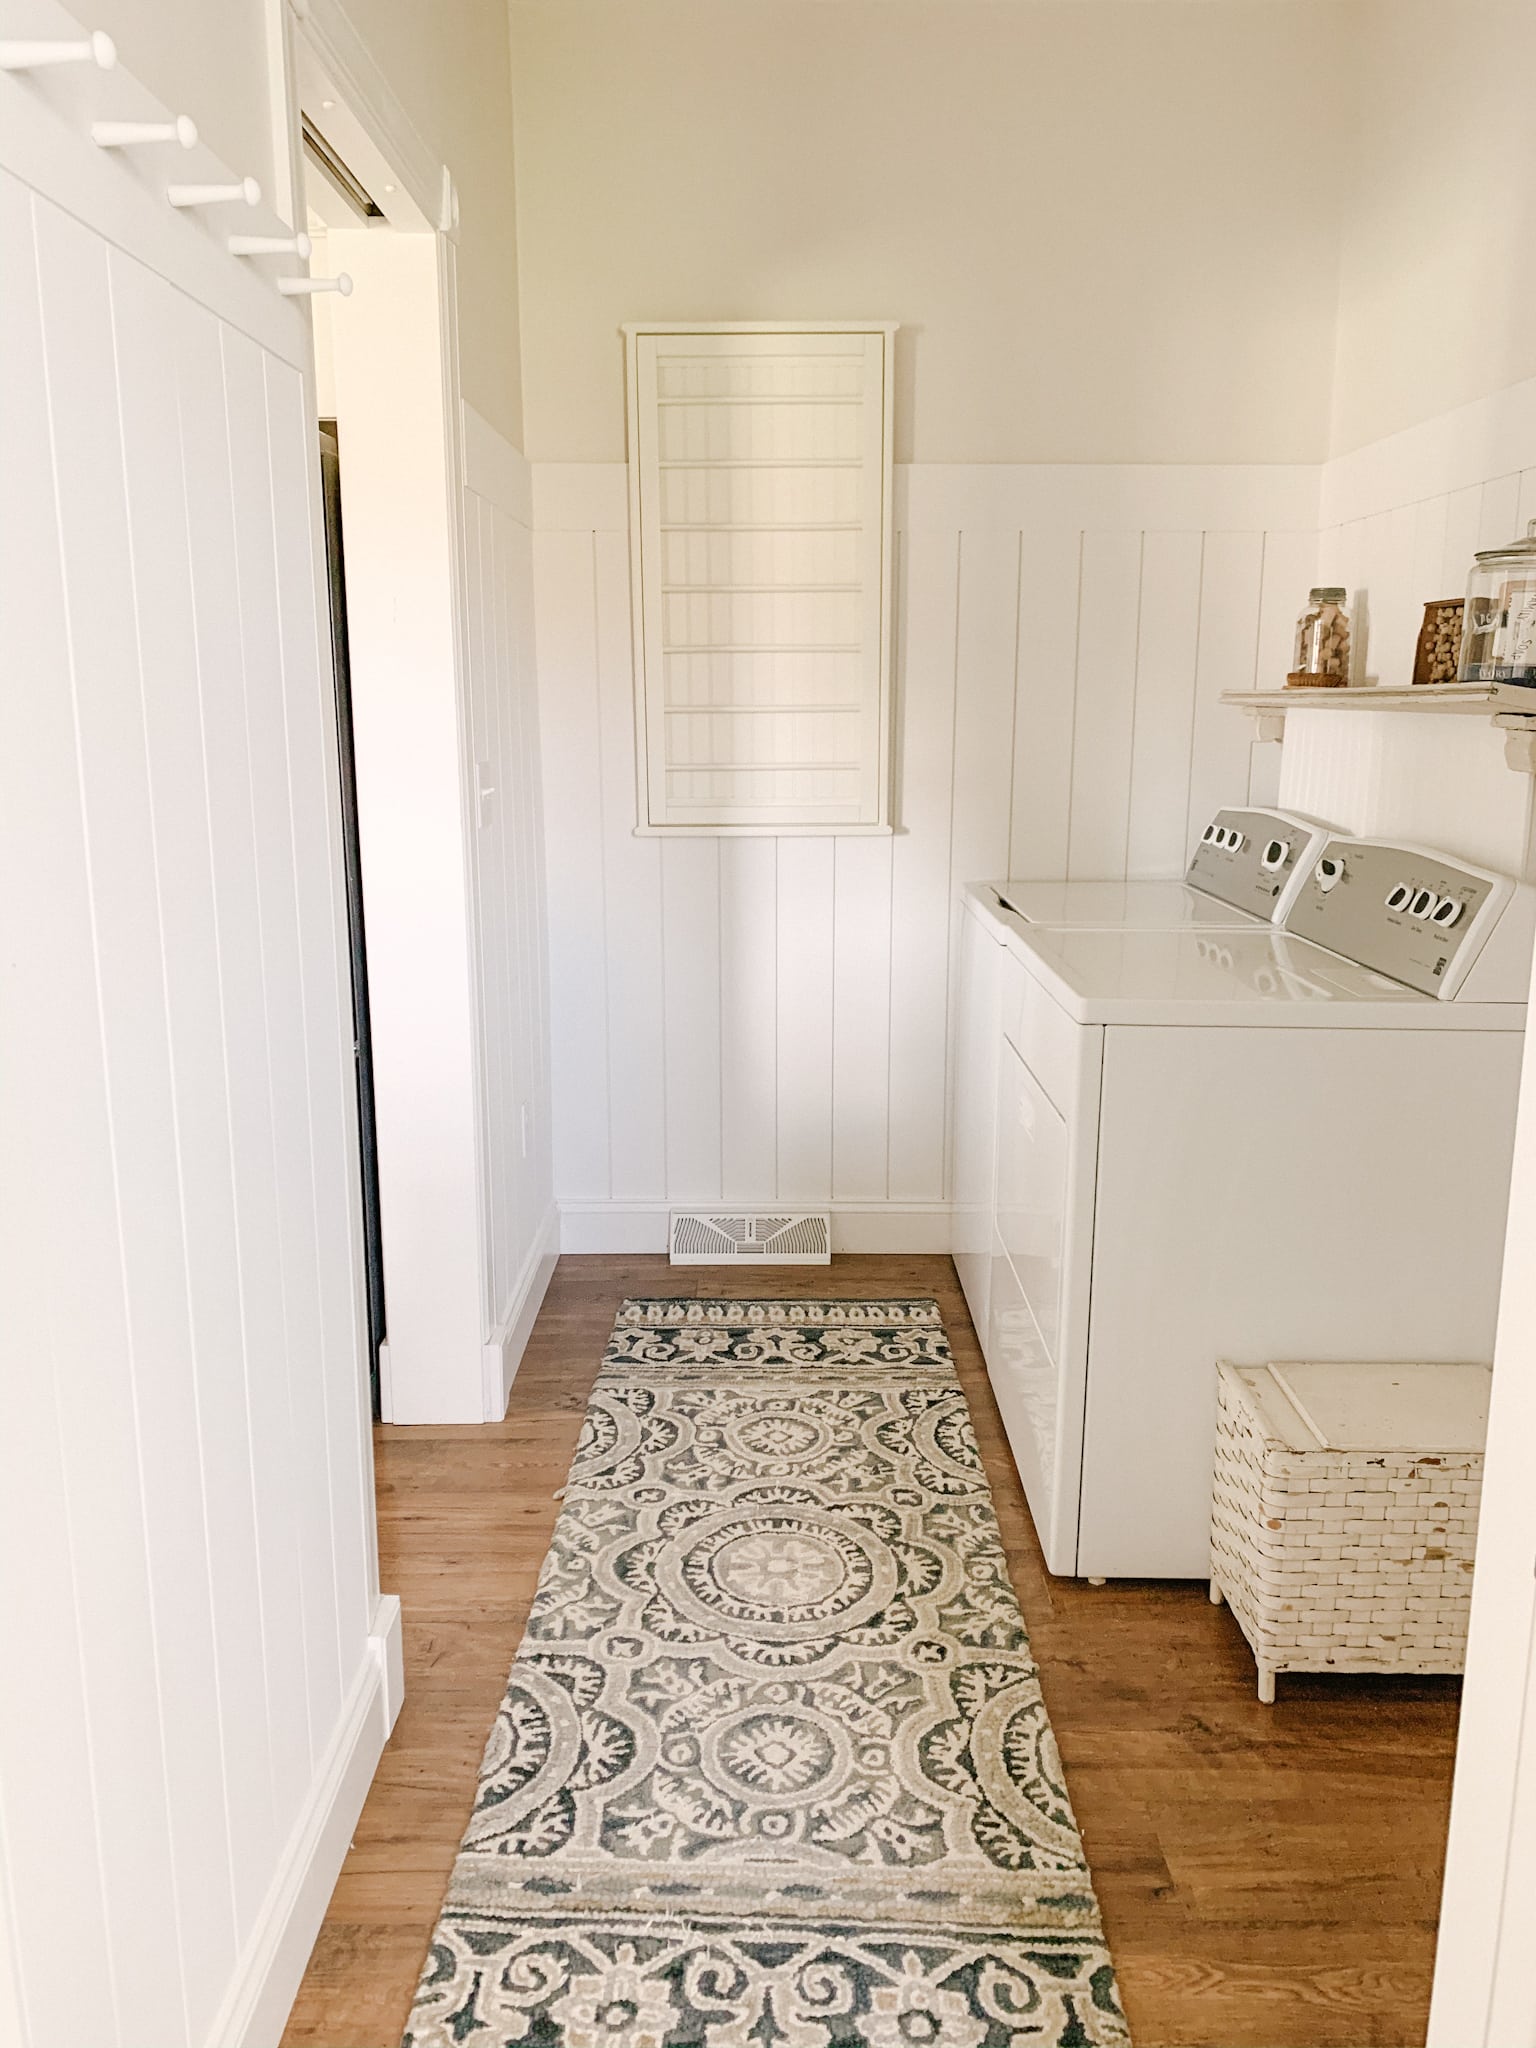
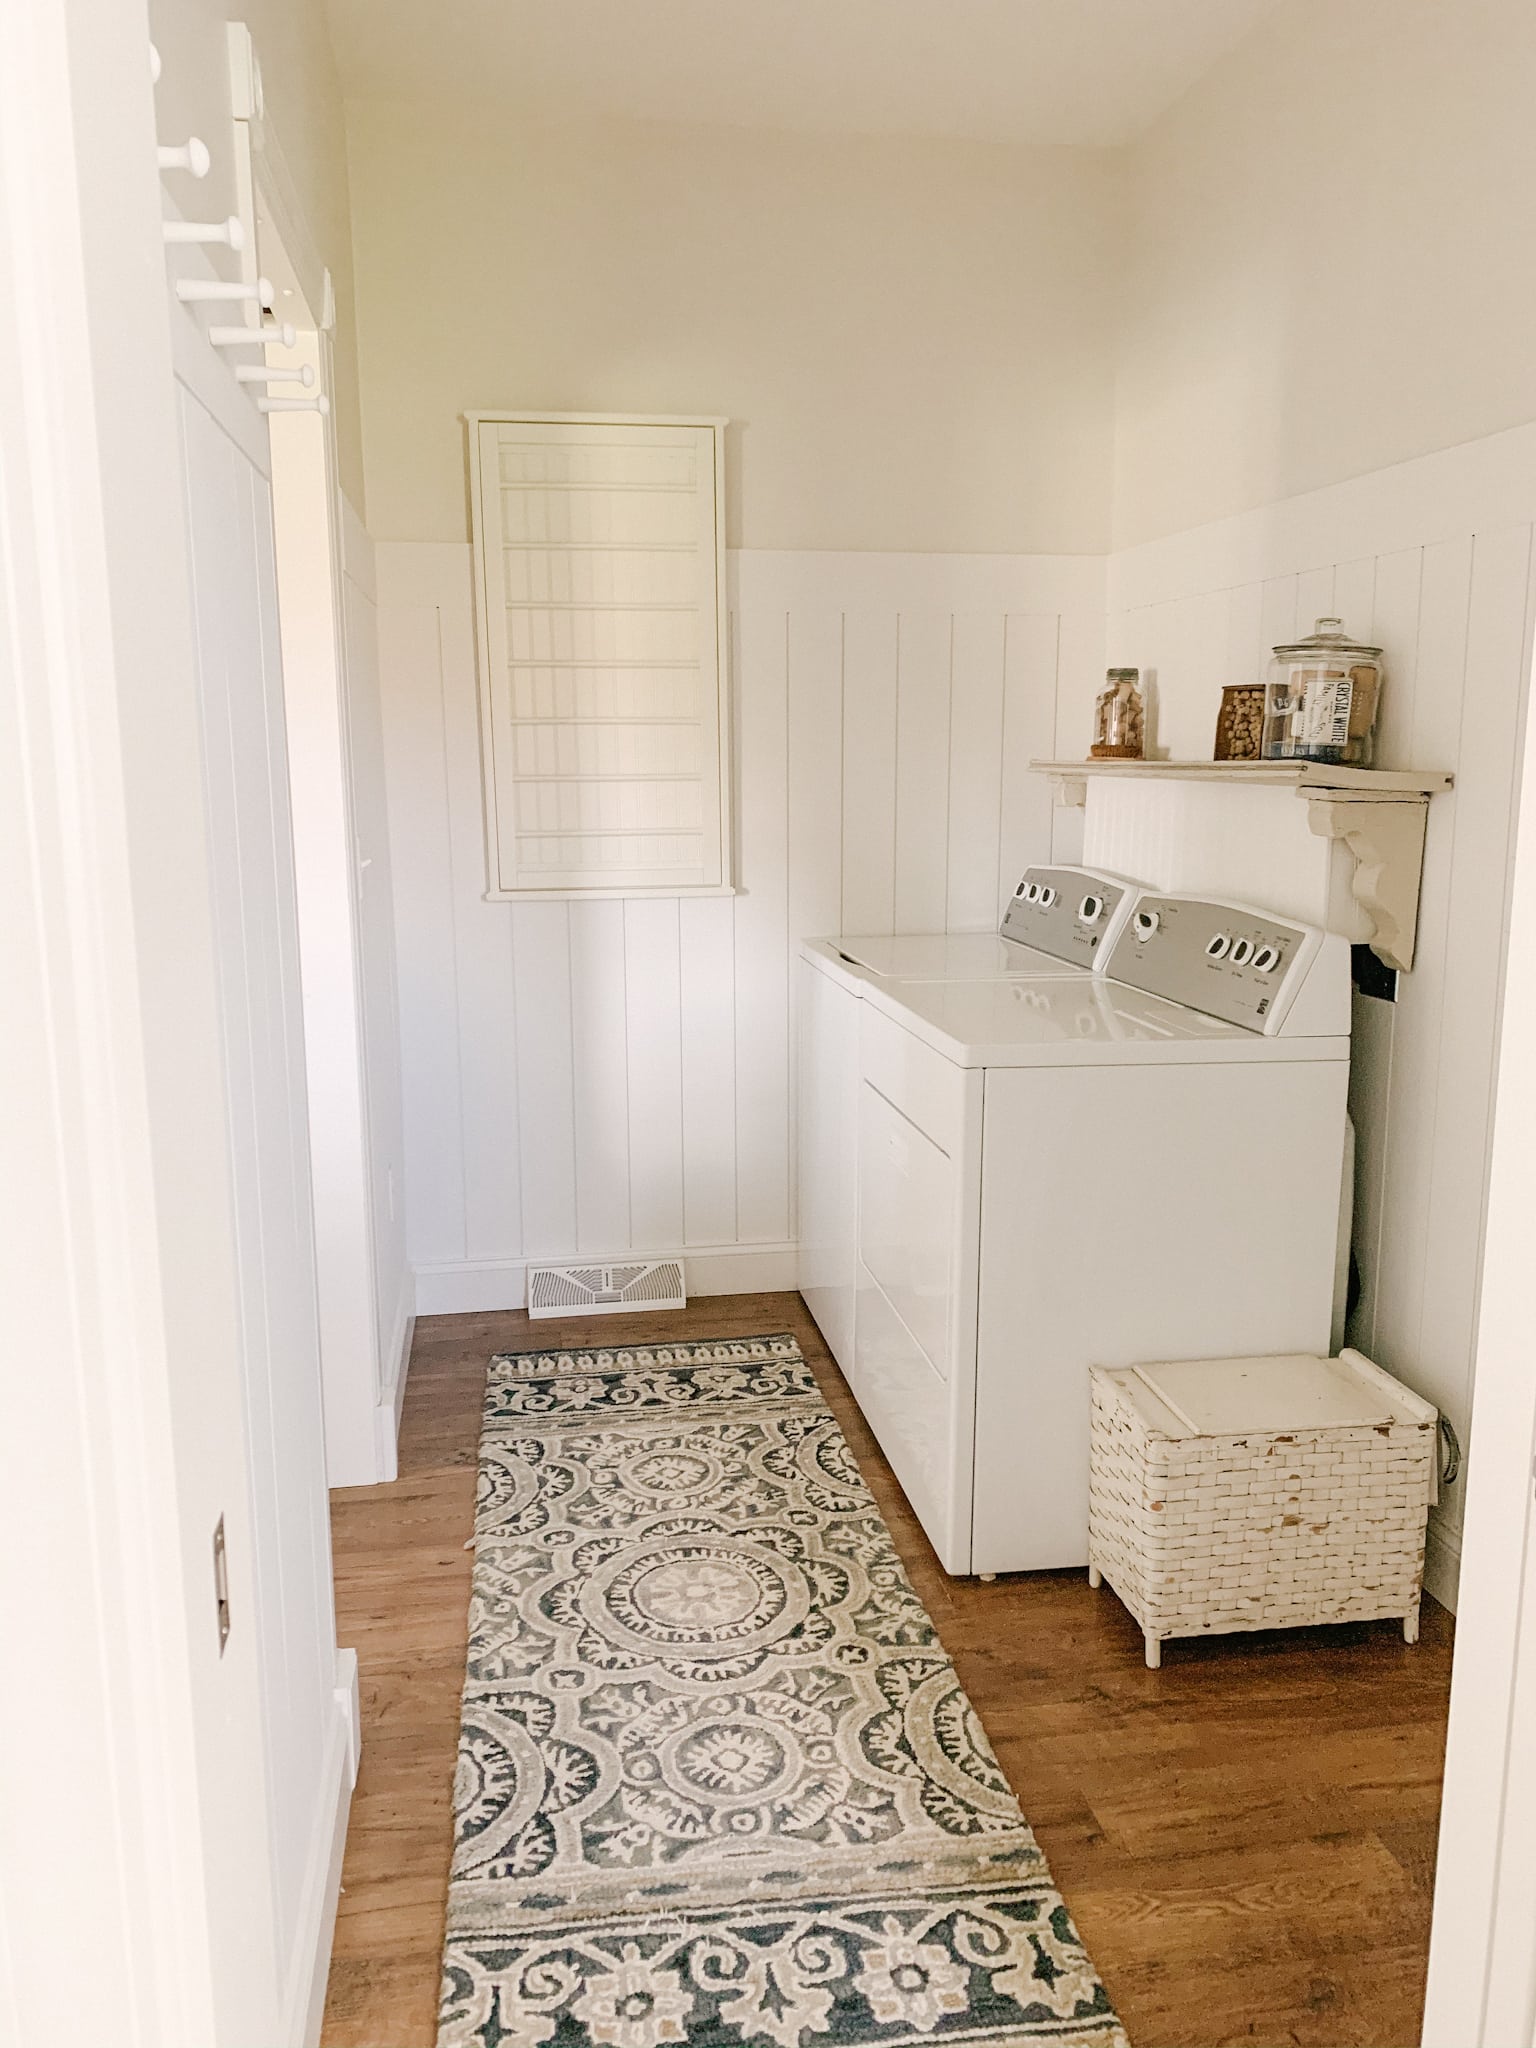
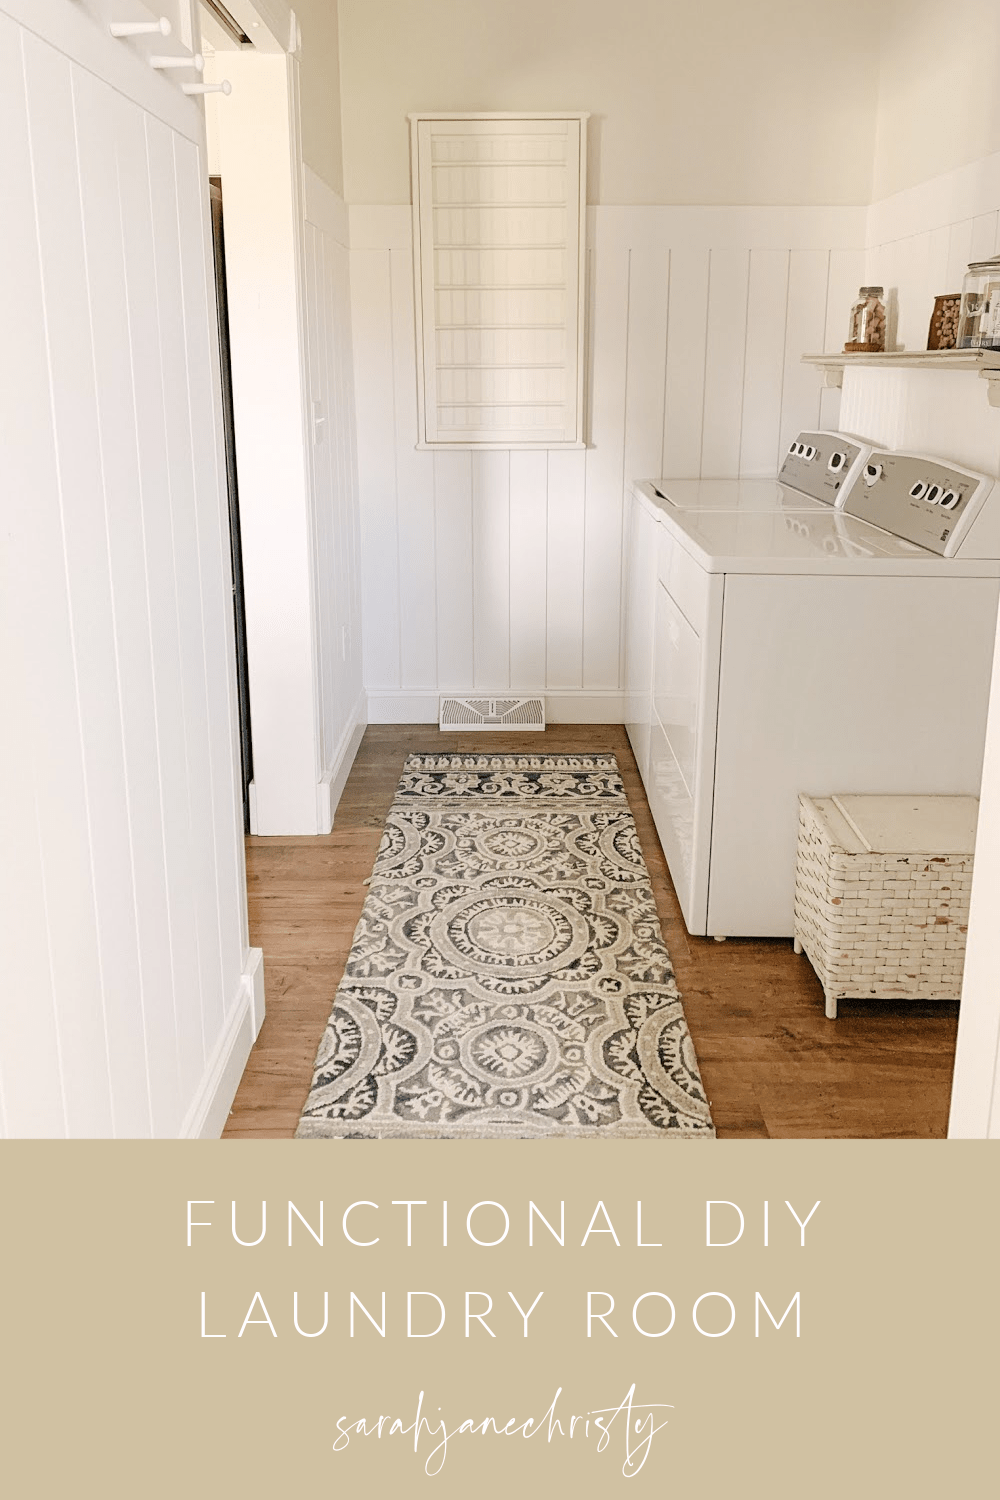
Since this is a smaller space, functionality is key. One thing I really wanted to add to this space was a drying rack for clothes that need air dried. With limited space, I was having a hard time finding something that would work well without taking up too much space. I found this one and fell in love! The beadboard backing is a dream & I love the fact that it can be hung on the wall. Yay for not taking up precious floor space!
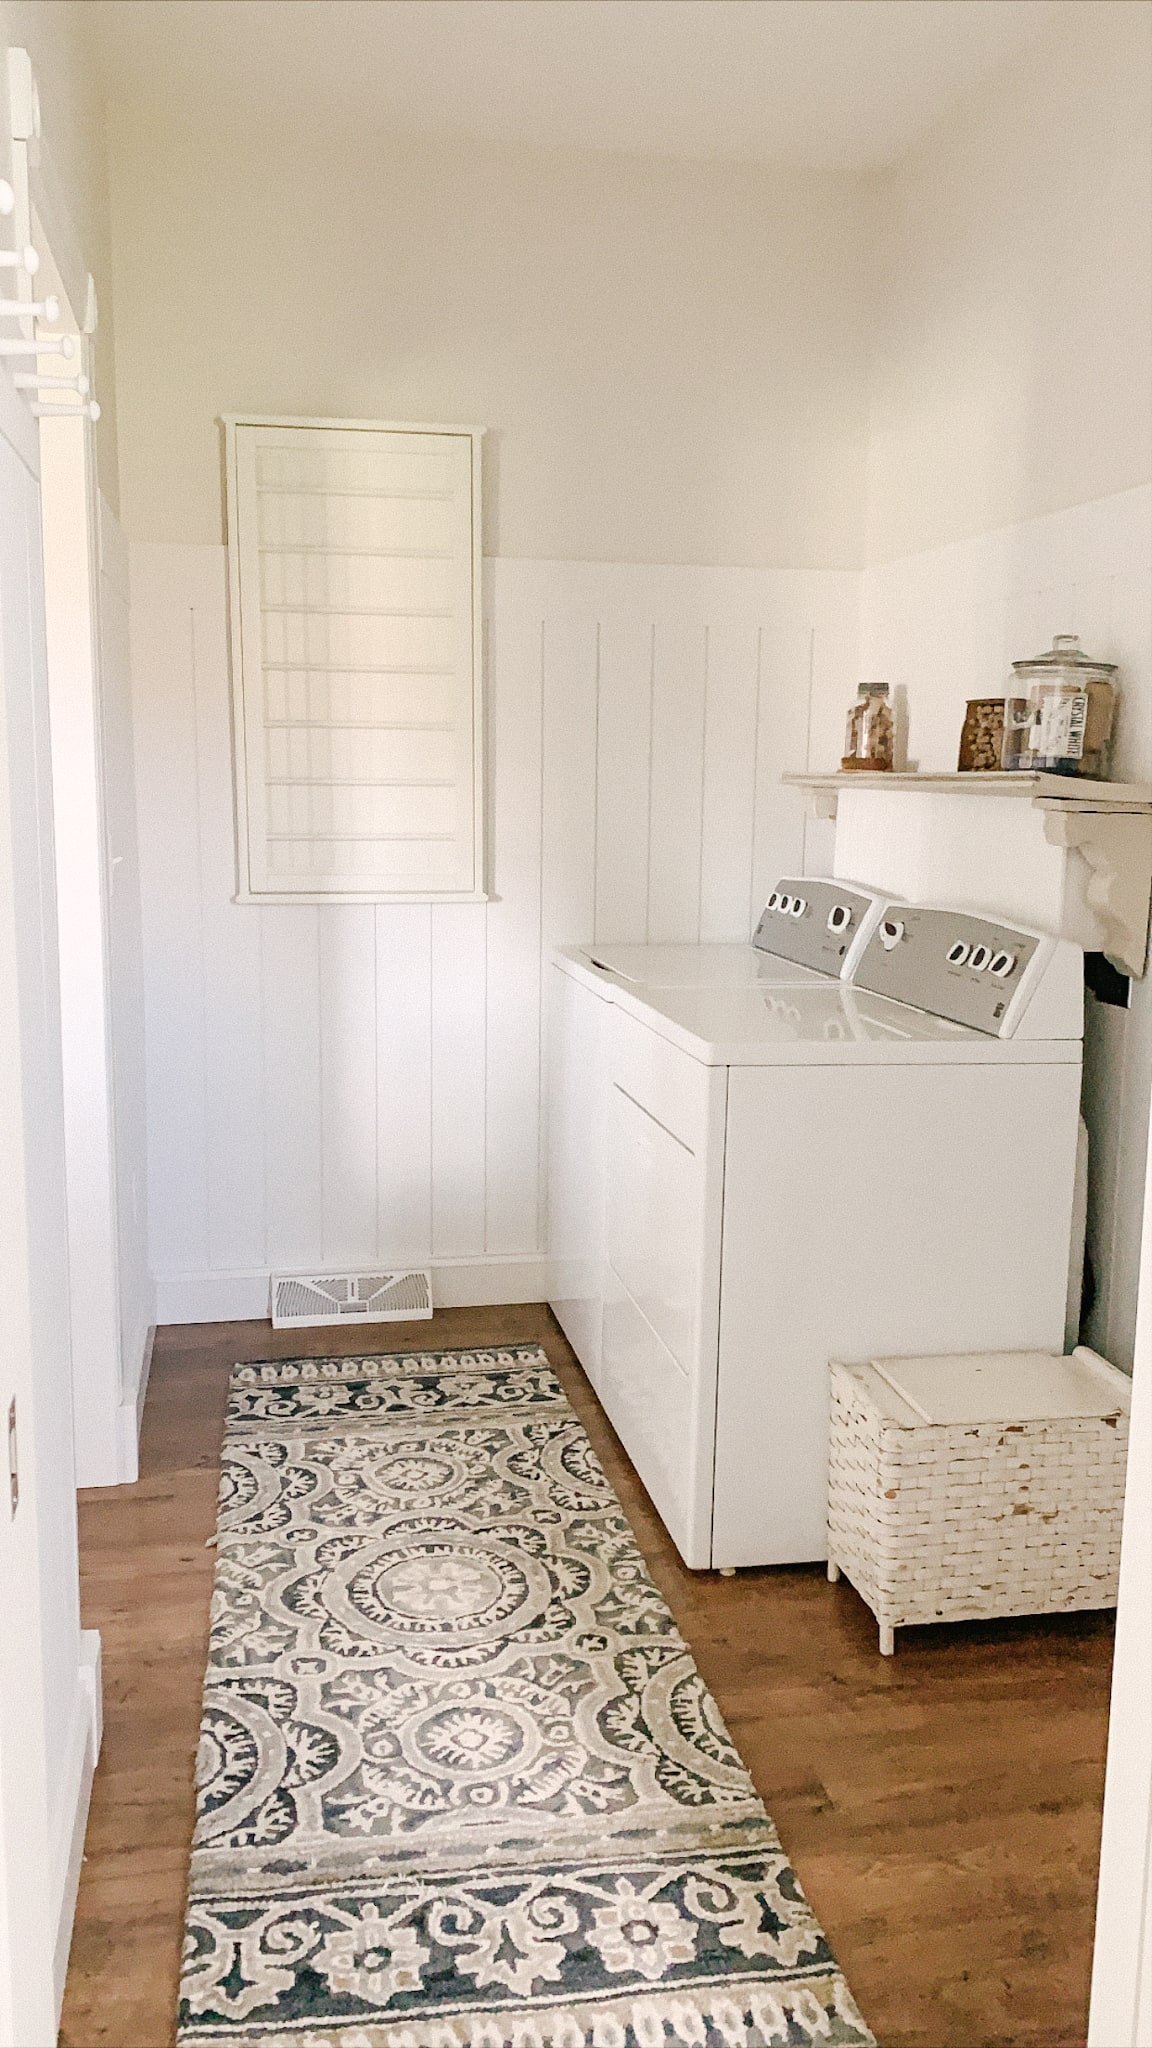
I’m so happy with the progress we’ve made in this space & I cant wait to decorate! I have lots more planned for this space but I’m thankful it’s coming together to be a functional laundry room for us. Thanks so much for checking out the blog today & supporting our projects.
xo,
sarah jane
It’s looking amazing!
Thanks so much Diana!