Well, it’s 2020 and the projects are well underway in our home! The first one of the year was installing some shiplap in our living room. This project has been on our to-do list for a few months and with our little Christmas break a few weeks ago we were finally able to get to it. Now all I can ask myself is, “Why in the world didn’t we do this sooner!?“

We started by heading to our local Lowe’s home improvement store & picked up some 7.25 x 8 ft white pine shiplap wall planks. These run about $8.50 per board so we did the measurements on our wall to determine how many boards we would need to cover the wall entirely. A little word from the wise: Grab a few more than you think you’ll need! We had to make a second trip because we were a few shiplap planks short.

We went with this option because the planks have the tongue and groove detail along the sides that made installing much easier. The tongue and groove creates the little “gap” in between each board on it’s own so there’s no need to worry about using spacers or nickels (a common technique used in the DIY world)


We started by measuring the height of our wall & the width of each shiplap board. Starting at our ceiling, we used a tape measure to mark (going down the wall) how tall each board would be. We found out we needed about 15 rows of shiplap at full widths and at the very bottom of our wall, we’d need a piece that was trimmed a bit width-wise. Doing this step allows all of the rows at the top to be full boards. This helps avoid having a super skinny board along your ceiling!

Next up, we used a stud finder to mark our studs and draw a vertical line using a pencil from floor to ceiling. This helps you know where you need to nail the boards so that they are secured to the studs in your wall.

Starting at the floor, we installed the first row of shiplap. (Again, the first piece wasn’t a full width but rather trimmed to about 5 inches…your measurement will depend on your wall height) Be very careful installing this first row! This one is CRUCIAL in making sure that your shiplap is straight and not slanted. Use a level to make sure that your shiplap is as straight as possible.

Using a nail gun, we nailed each board into the wall making sure to place the nail into the stud (which we had predetermined by drawing that vertical line on the wall with the pencil). We made sure to use the level as we went up the wall to ensure straight shiplap installation.

We painted ours “Pure White” by Sherwin Williams which is a very true white. We are very happy with the result & can’t wait to finish out the rest of the room! My farmhouse-loving heart is so happy we finally got around to tackling this project.
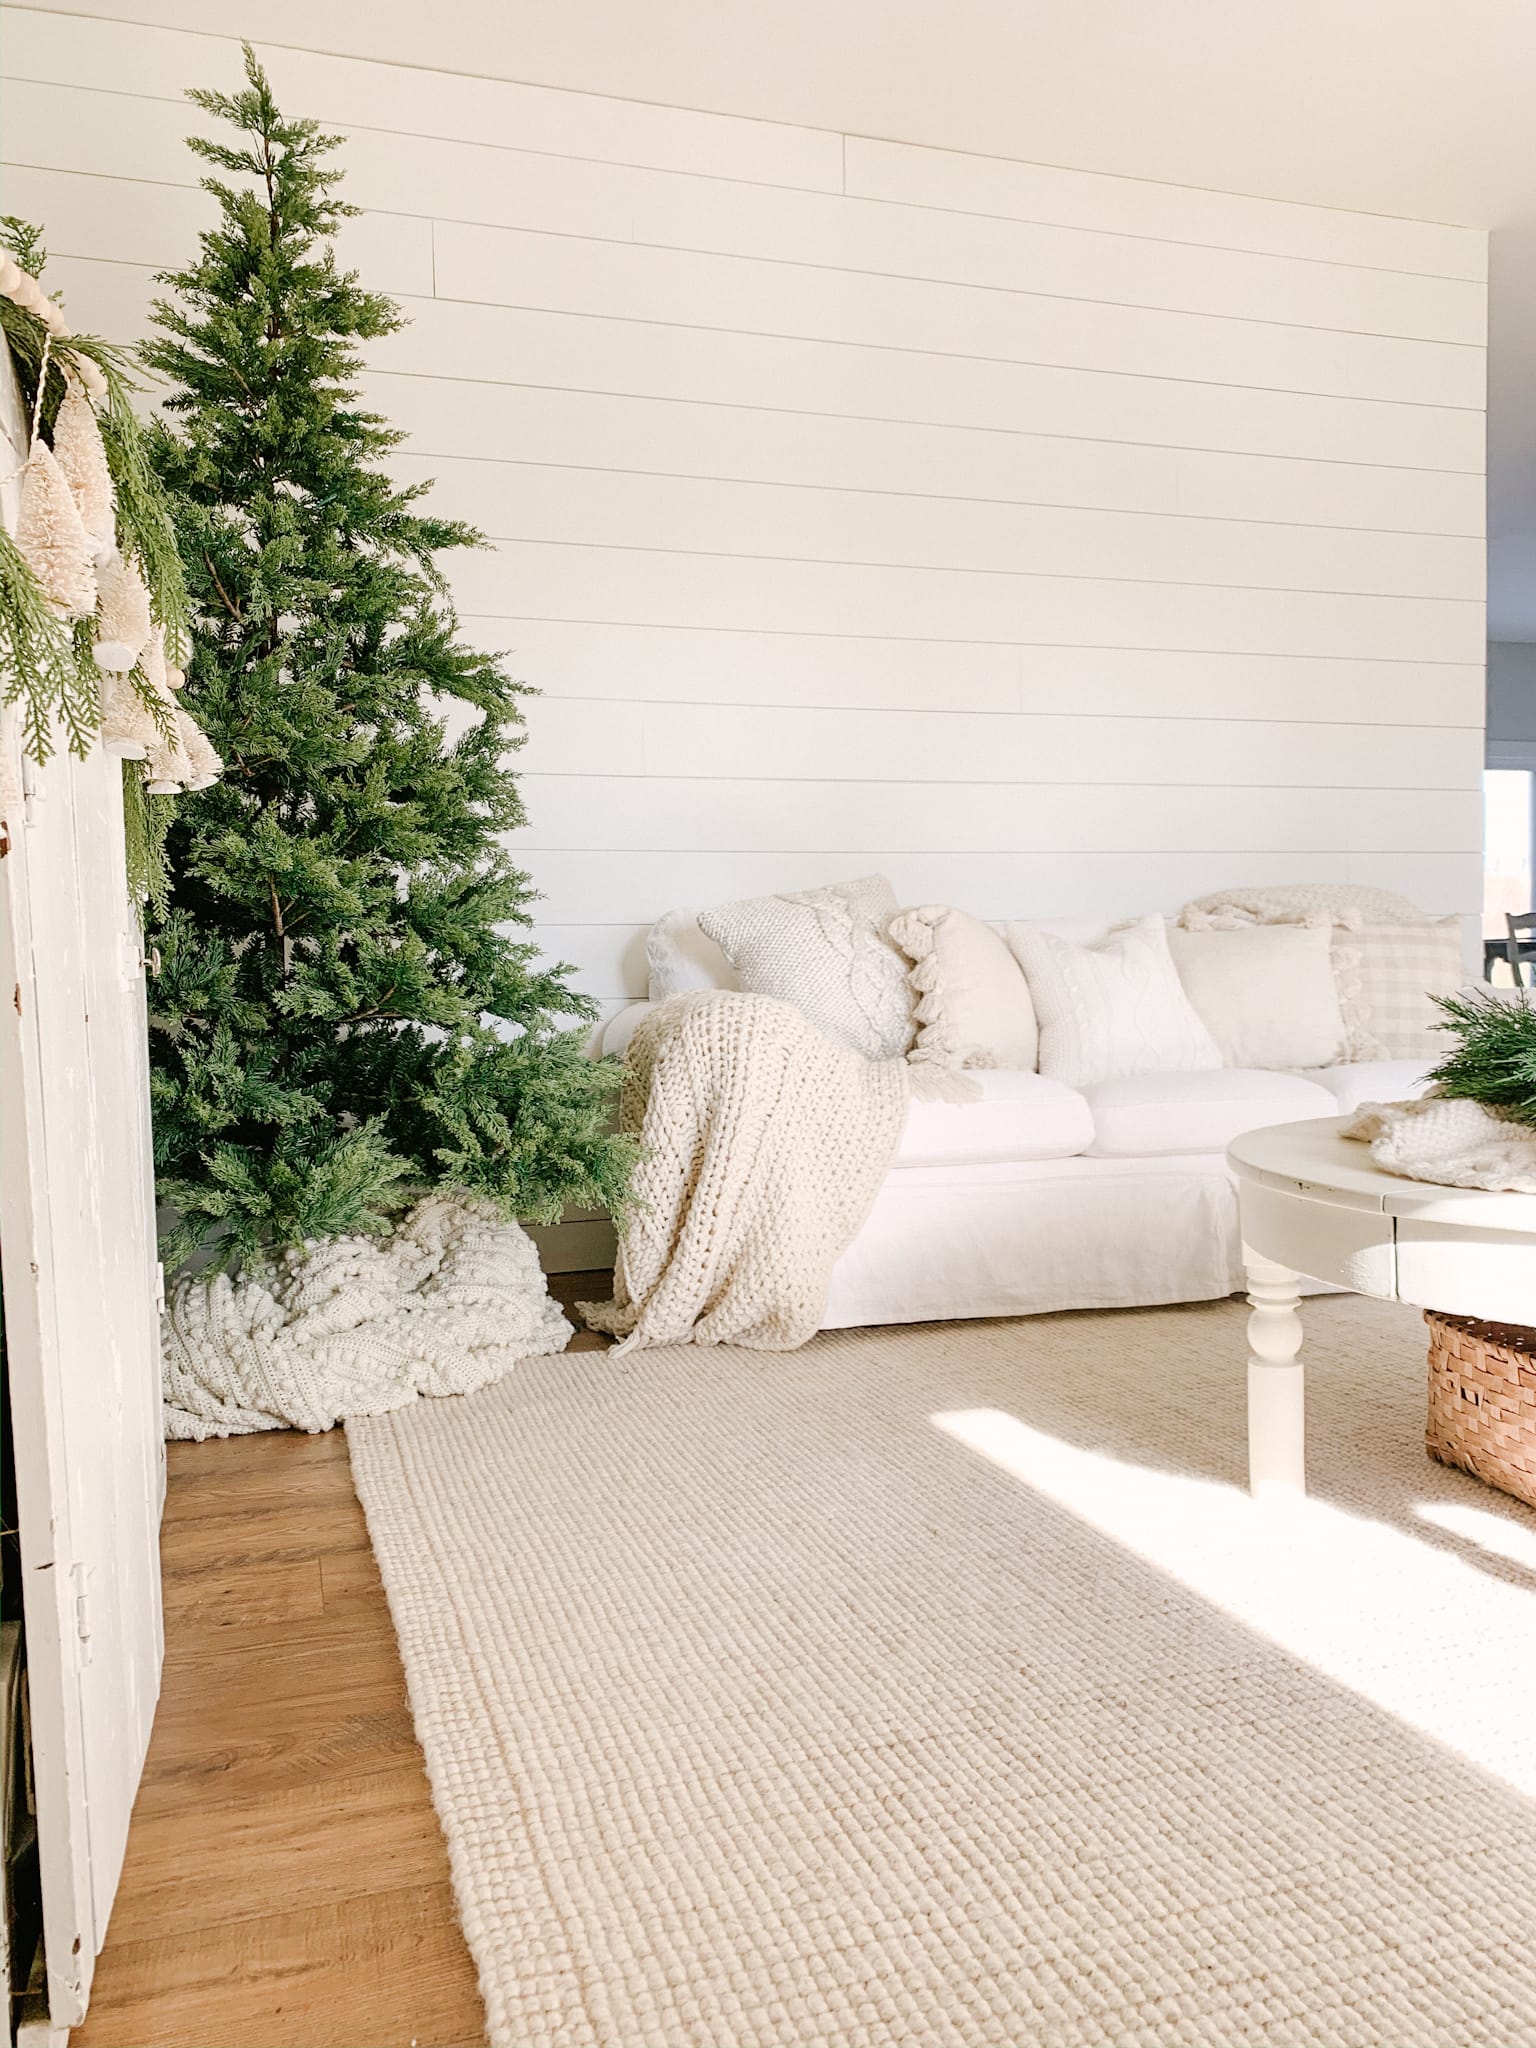
We still have a bit of trim work to do but we thought it would be best to finish the room in its entirety before installing it. This project cost us about $250 (we had the paint and tools) and took us an evening to install and about an hour & a half to paint (two coats!)
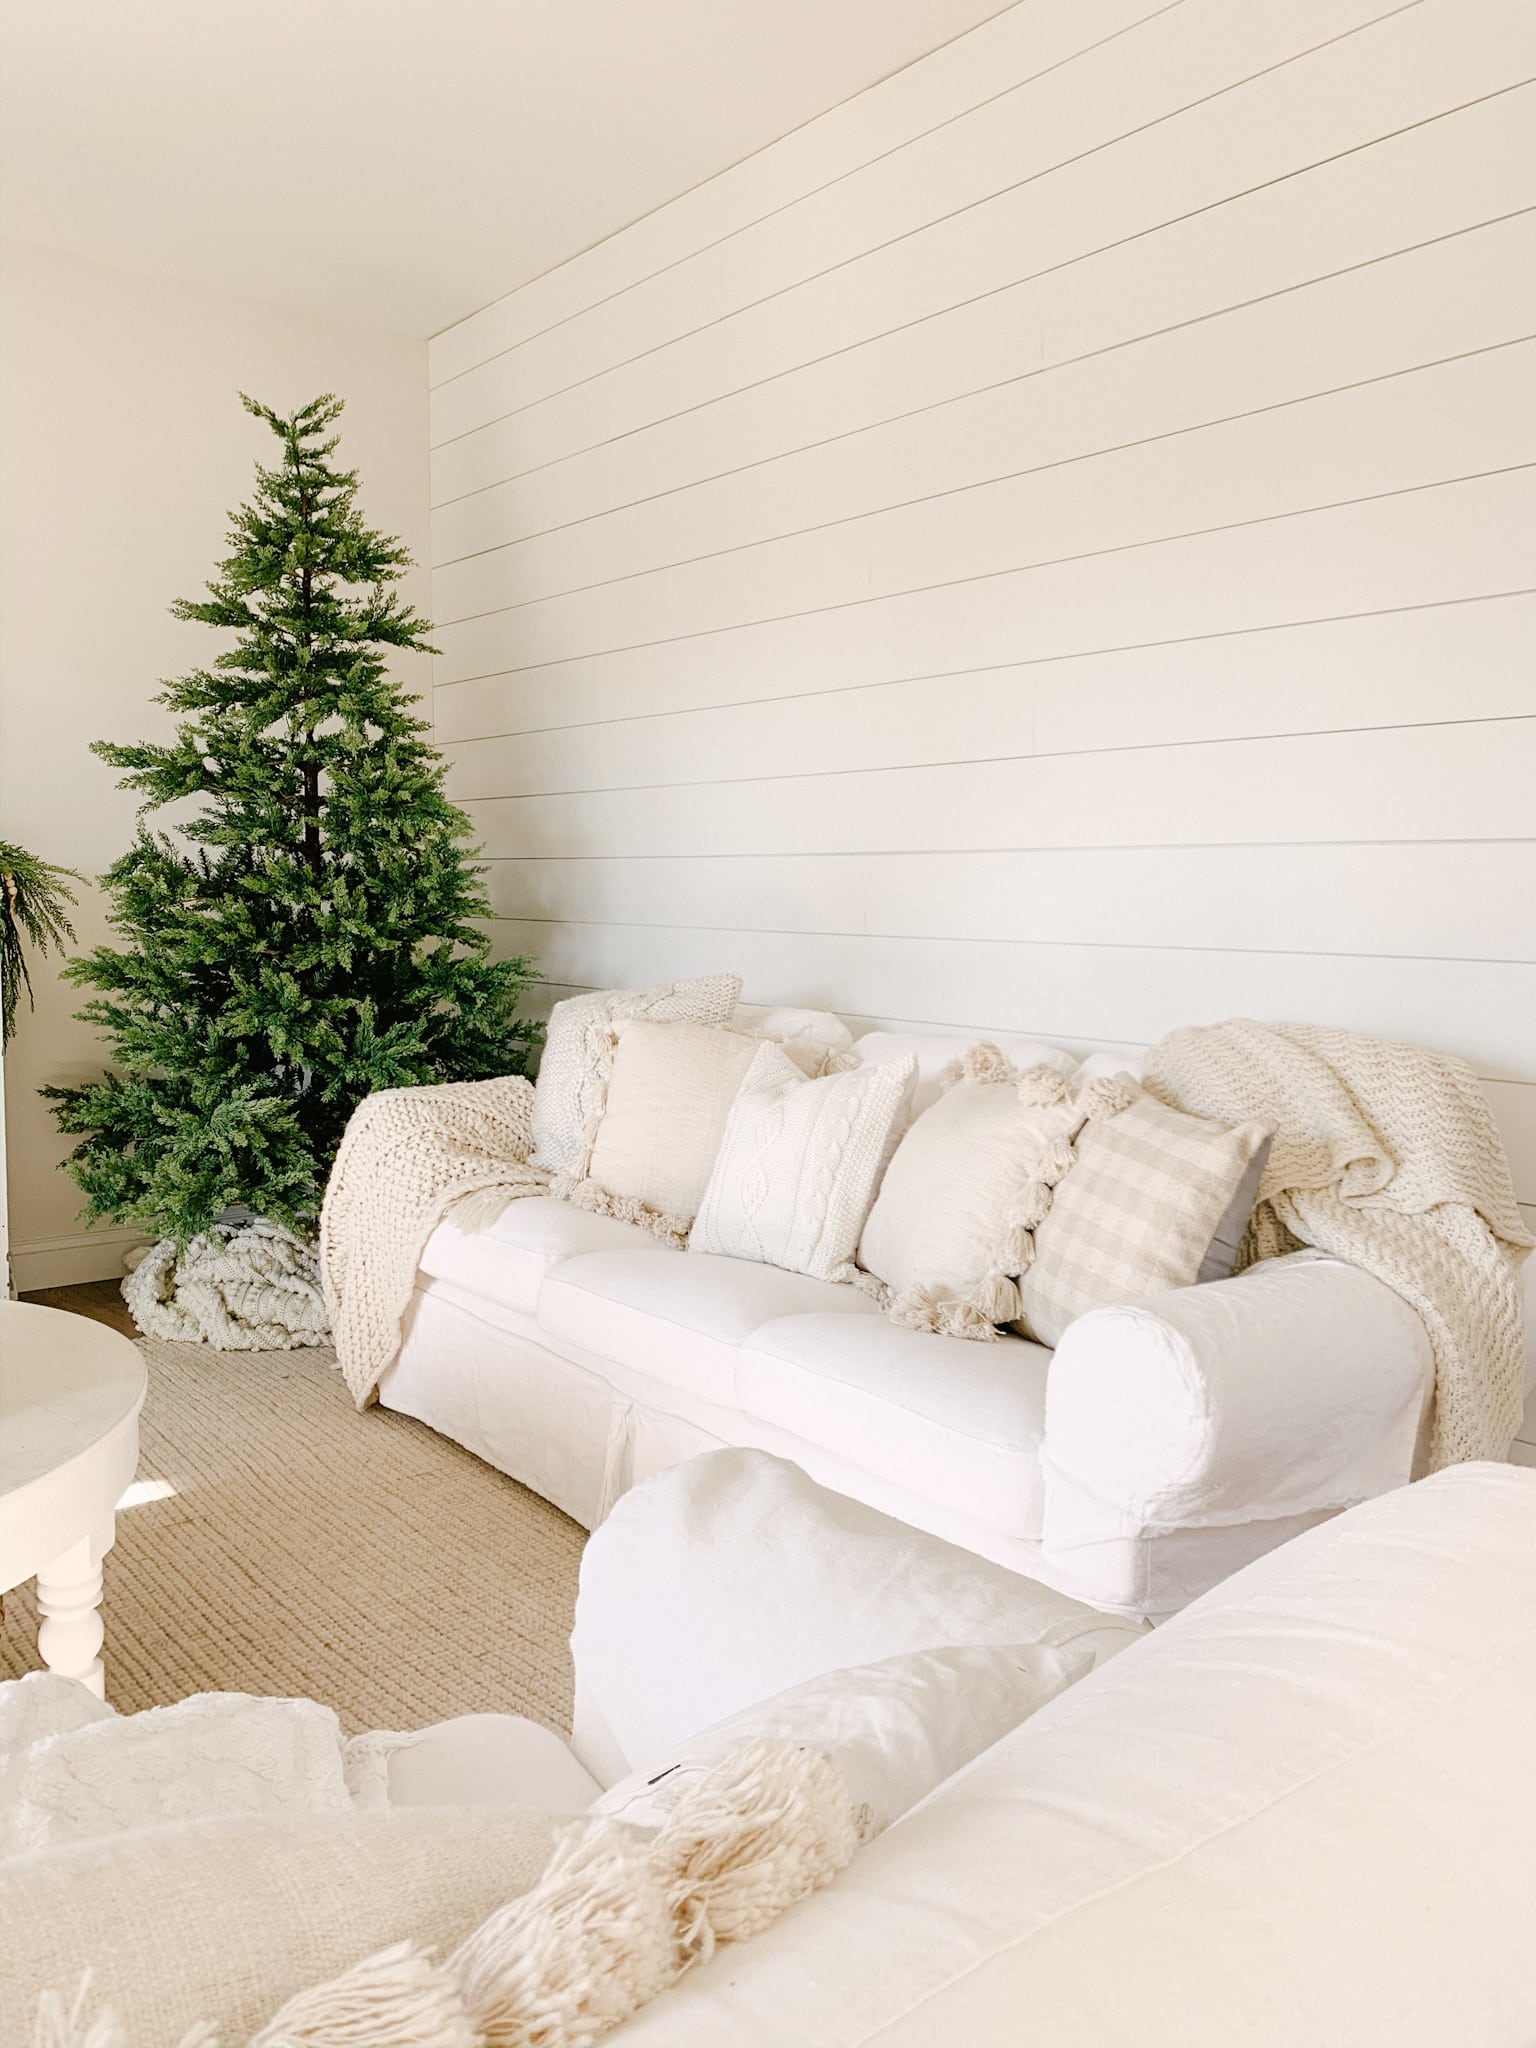
I hope this post was helpful if you’re looking to add shiplap to your home. We love the character it added to our new home. It made the room feel so much more cozy and full of charm. Comment below with any questions you have! Thanks for checking out the blog today
xo,
sarah jane
Hi there 🙂 Did you paint the shiplap before or after installing? We are tackling a shiplap project this wknd so any tips that you may have for the painting aspect, would be appreciated!
Hi there! We painted it once it was up but if you have the time, it may be easier to paint prior to hanging it up. Either way will work just fine 🙂 Just personal preference!
Hello! I just came crossed your post in my research, this came out beautiful! On a sidetone, I was wondering if you could tell me where you got your tree? Much Appreciation!
Hi there! It’s from Balsam Hill
Where did you find your couch?
It’s from IKEA!
How did you determine how to stagger the boards? We have a 13ft wide wall so we will have to stagger them and we are trying to decide how best to do that. Random staggers or similar patterns?
Random staggers always look best!