It’s been almost three years since Eli and I got married, which blows my mind! As a creative, decorating for my wedding was honestly so much fun to me and I loved coming up with ideas to make our big day “us”. One of my favorite things that I did for our wedding was make candles as the wedding favors for our guests. I made a few at a time on the weekends leading up to our wedding & I’ve actually continued making my own after our wedding was over.
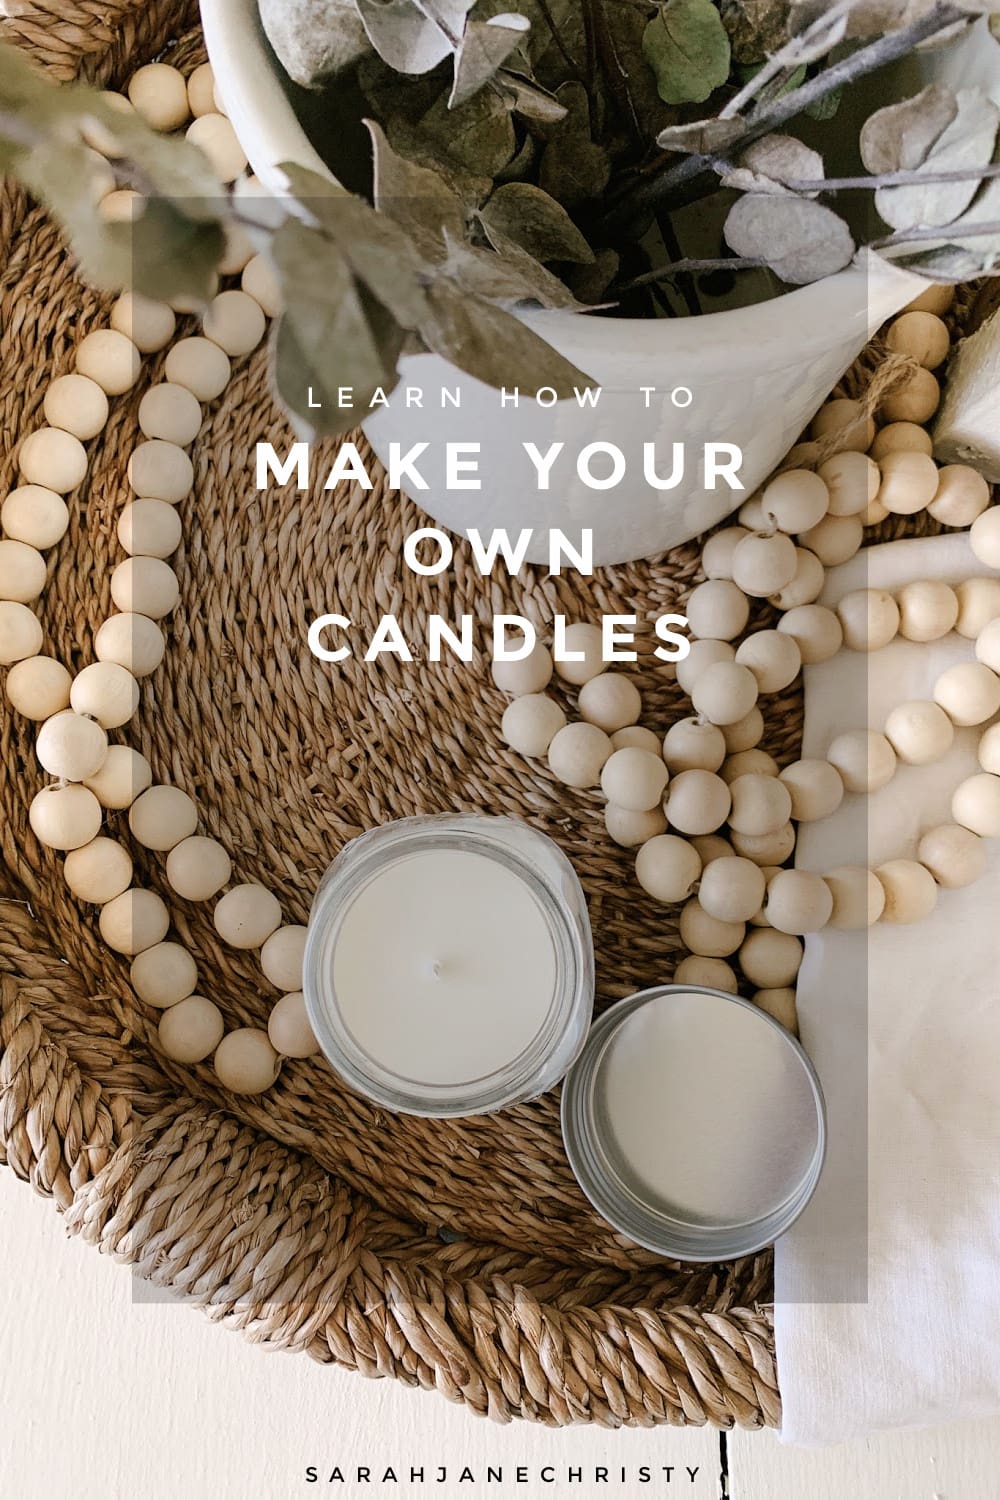
Making candles is a fun way to get creative & actually not very hard to do. Today, I want to share my step-by-step process on how to make candles in case you ever want to try to make your own.
The supplies you’ll need:
vase/jar/candle container
soy wax flakes
wick
essential oils
glass pouring pitcher
wick centering device/wooden skewer/straw
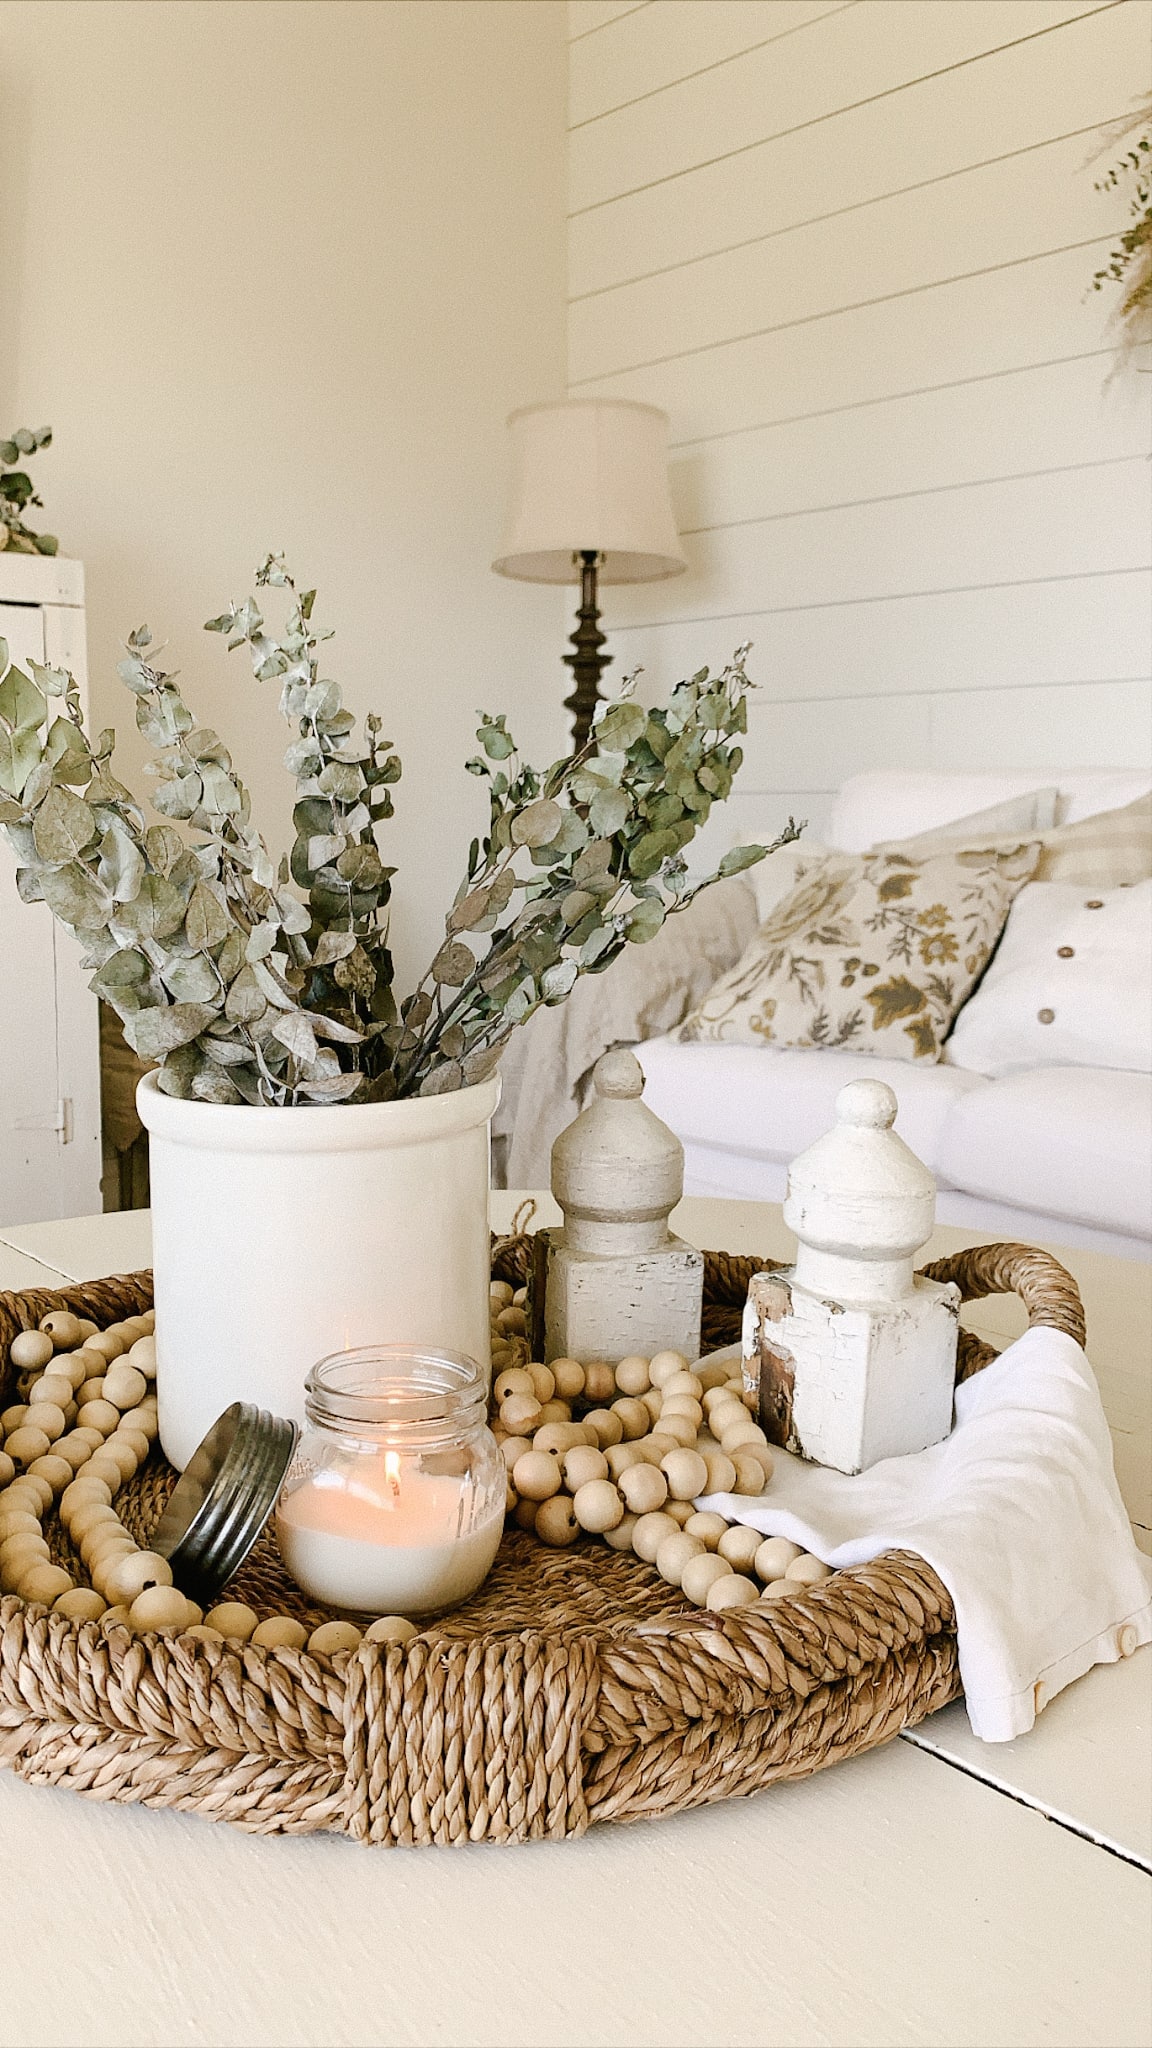
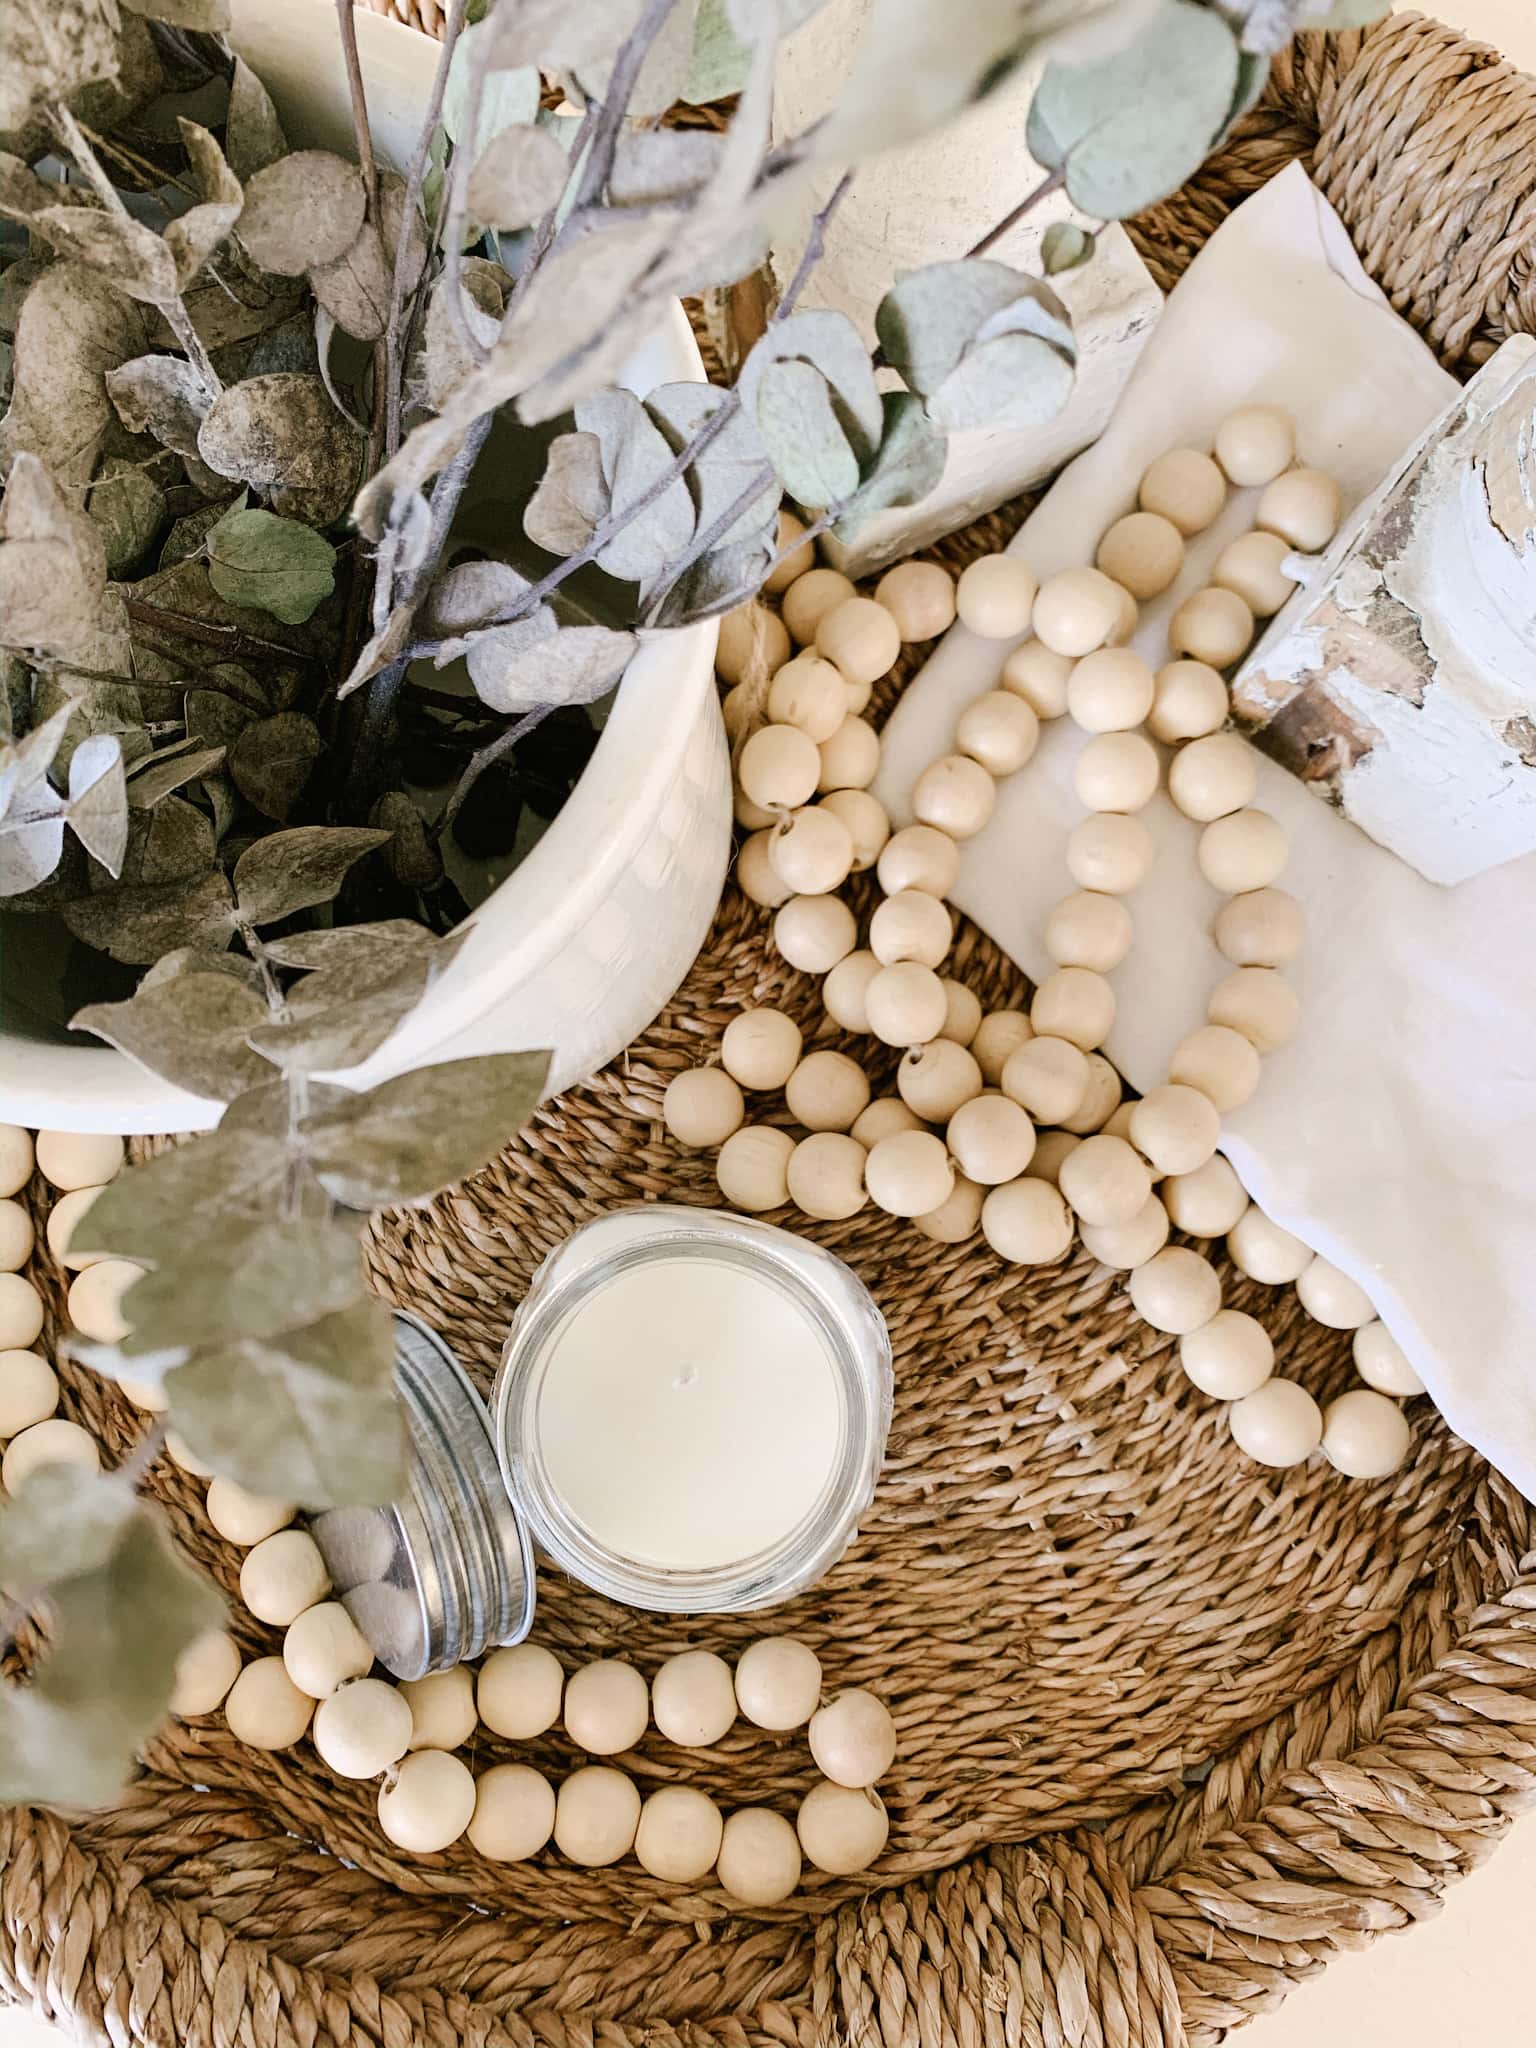
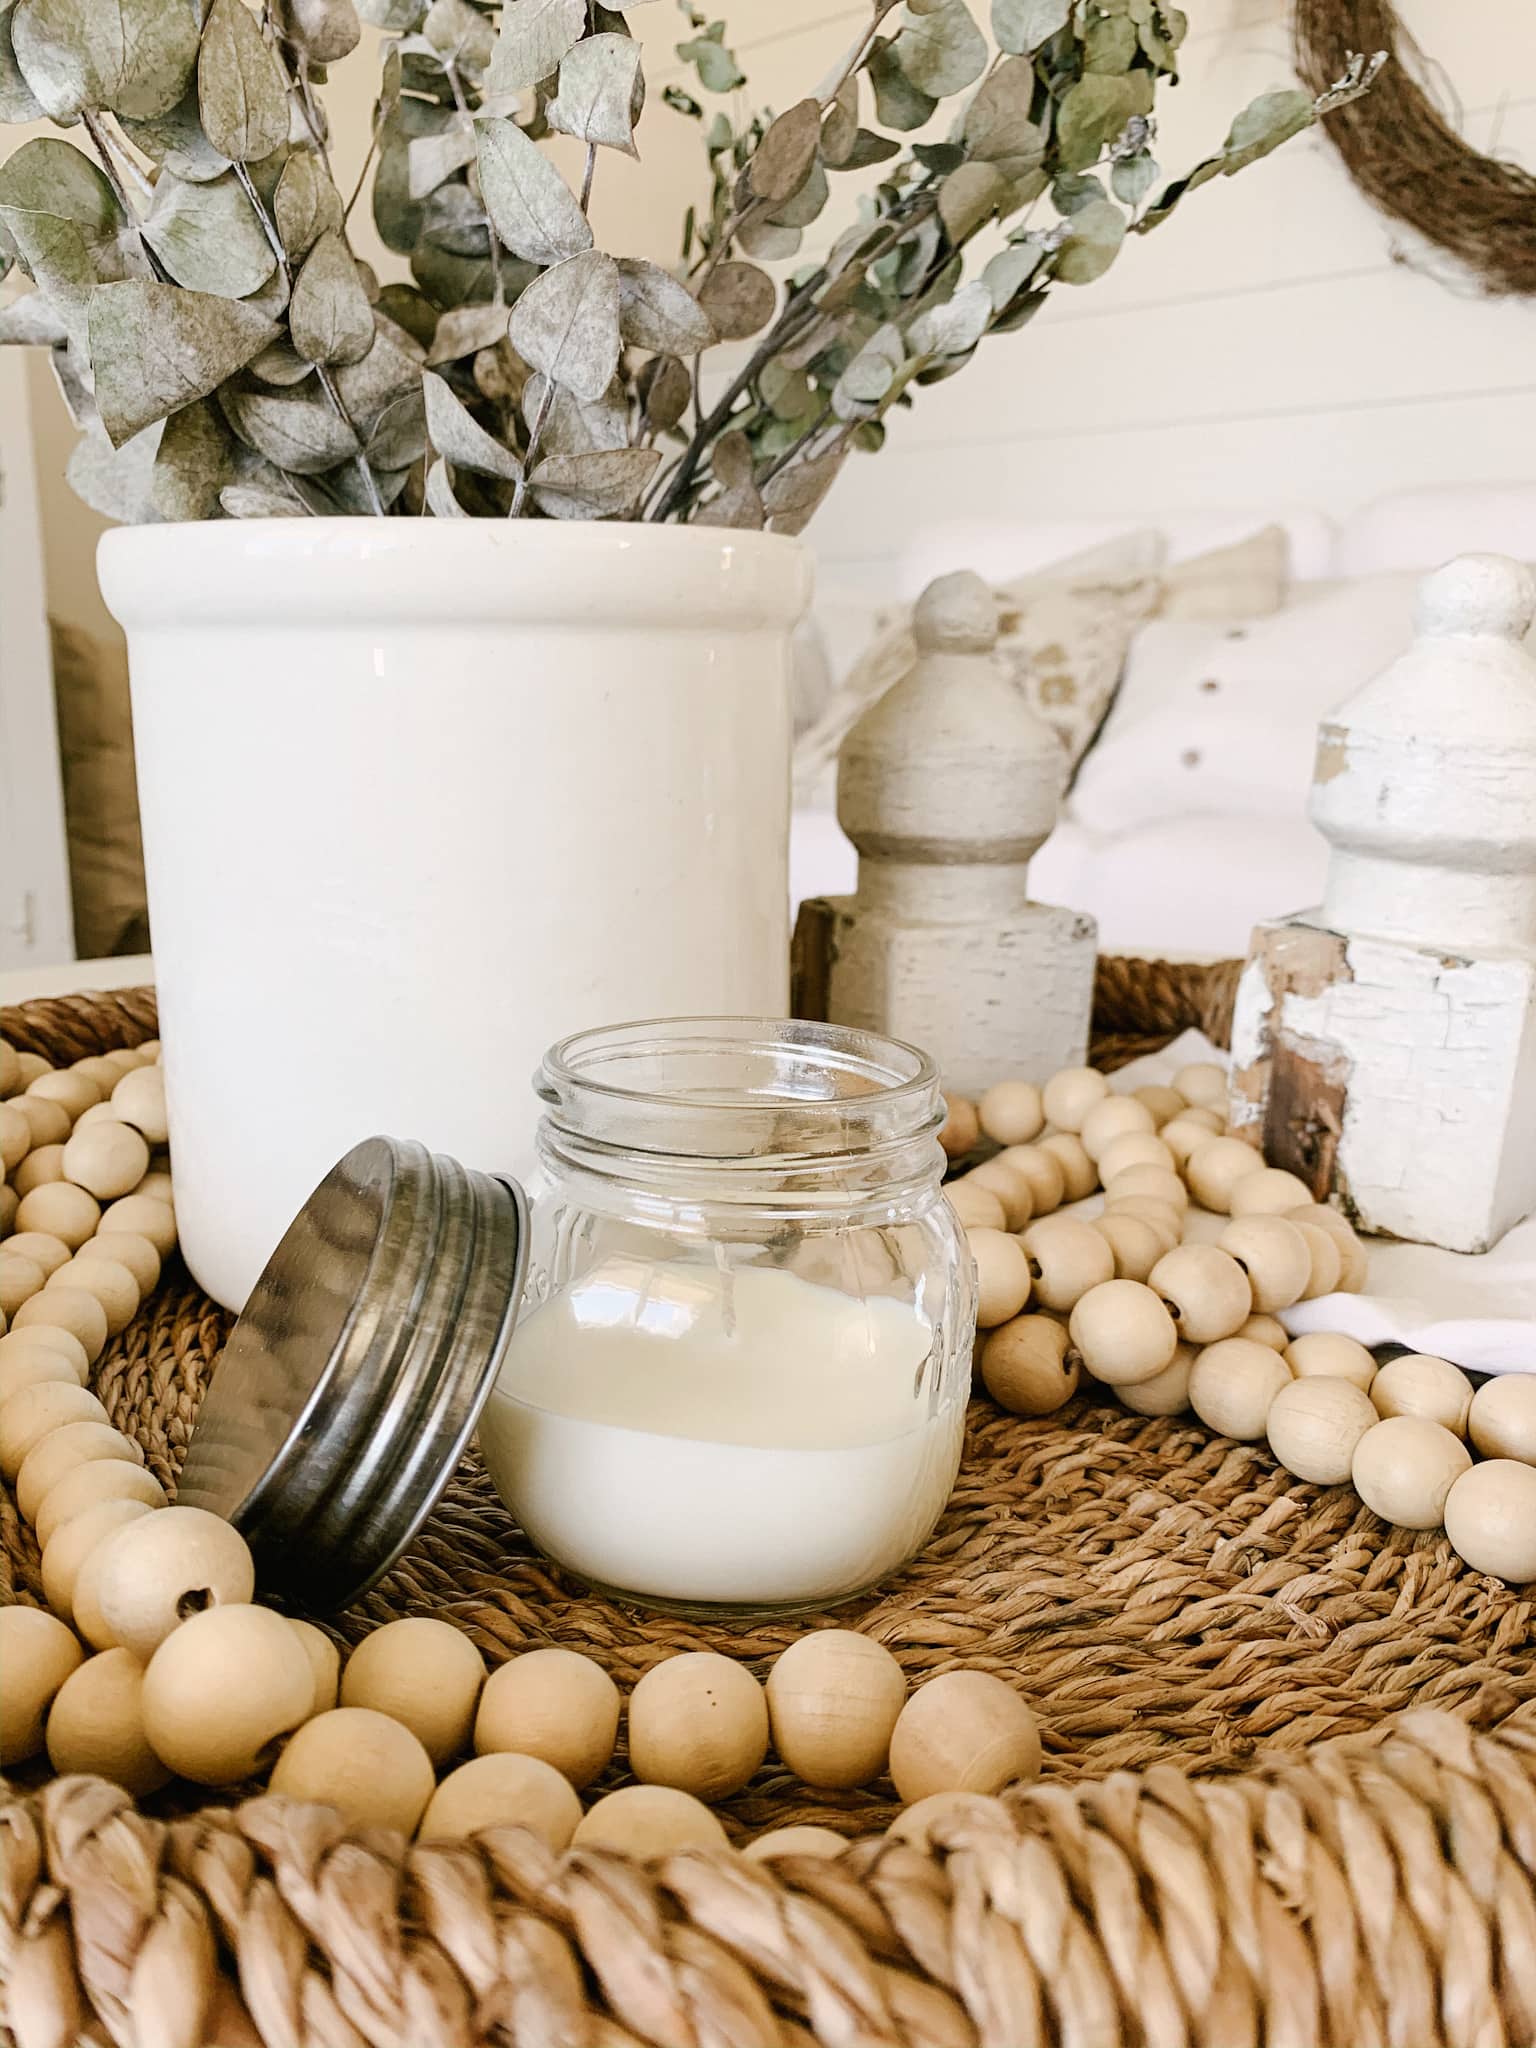
First up, is to pick your candle container. This can be an old candle container that you’re reusing, a jar or something you find in a thrift store. I suggest finding a container that has a wide mouth/opening so that attaching the wick to the base of the jar is as easy as possible.
Once you have your candle container picked out, you’ll want to adhere your wick to it. I prefer these wicks because they have a sticker that makes attaching the wick to the container super-duper easy. I’ve also used super glue when in a pinch but trust me, the stickers are much easier.
Now that your wick is attached to your candle container, you’ll need to heat up some wax. I pour some of these soy wax flakes into a Pyrex glass measuring cup. PS – I only use this glass measuring cup for candles (not food/cooking) since the wax will be pretty much adhered to it for good.
The amount of wax flakes to add to the measuring cup will depend entirely on the size of the candle container you’re working with. This part may take a little bit of trial and error but I suggest just filling it up to the 2 cup line with flakes. You can always add more if necessary! You’ll want to put the glass measuring cup into the microwave for approximately 2 minutes and 30 seconds. Again, time may need to be increased or decreased here depending on the power of your microwave & amount of wax flakes.
Once the wax is a liquid (no chunks!) you’re ready to add in your essential oils. I typically add about 10-12 drops off oil into the measuring cup (again, add more for a stronger scented candle) and then give it a stir to make sure the scent is distributed throughout the wax.
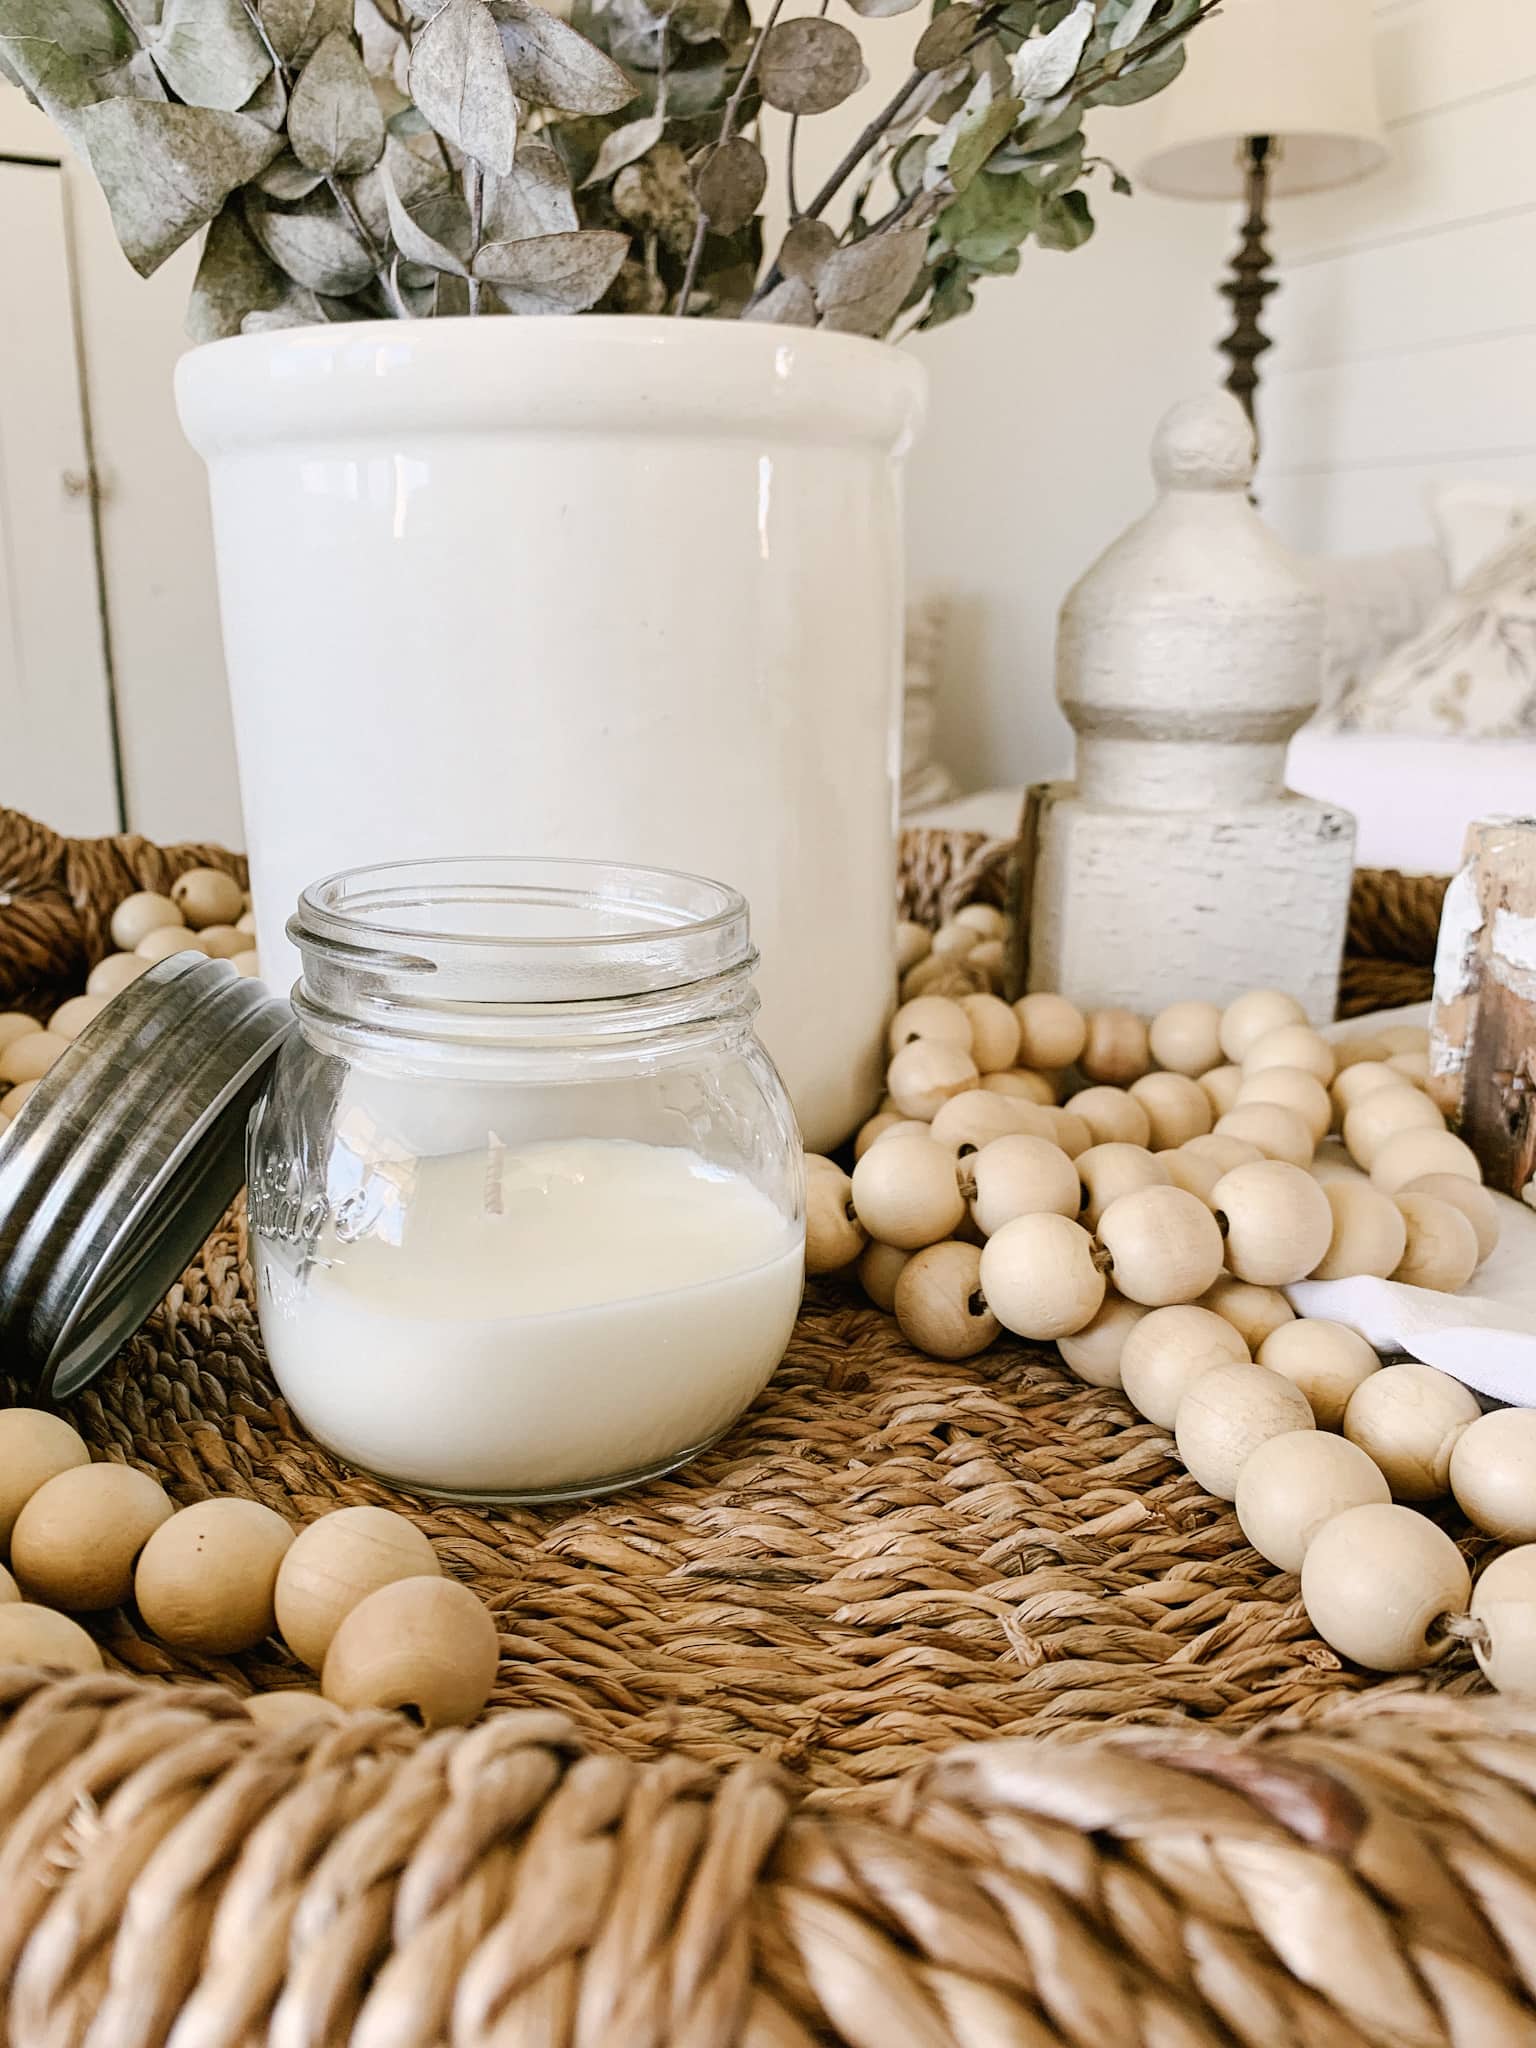
Last step, pour your wax! Now you’re ready to pour the wax into your candle container & wait for it to solidify. This part typically takes around 30-45 minutes depending on the size of your container. During this step, grab a wooden skewer or straw and place it on the opening of your candle. Then wrap the long wick around the skewer/straw so that the wick stays in place in the center of the candle. You can also use a wick centering piece (which comes with these wicks) if you aren’t totally trying to make-shift projects, like me…haha! As the wax dries, the wick will stay vertical and make lighting the candle super easy.
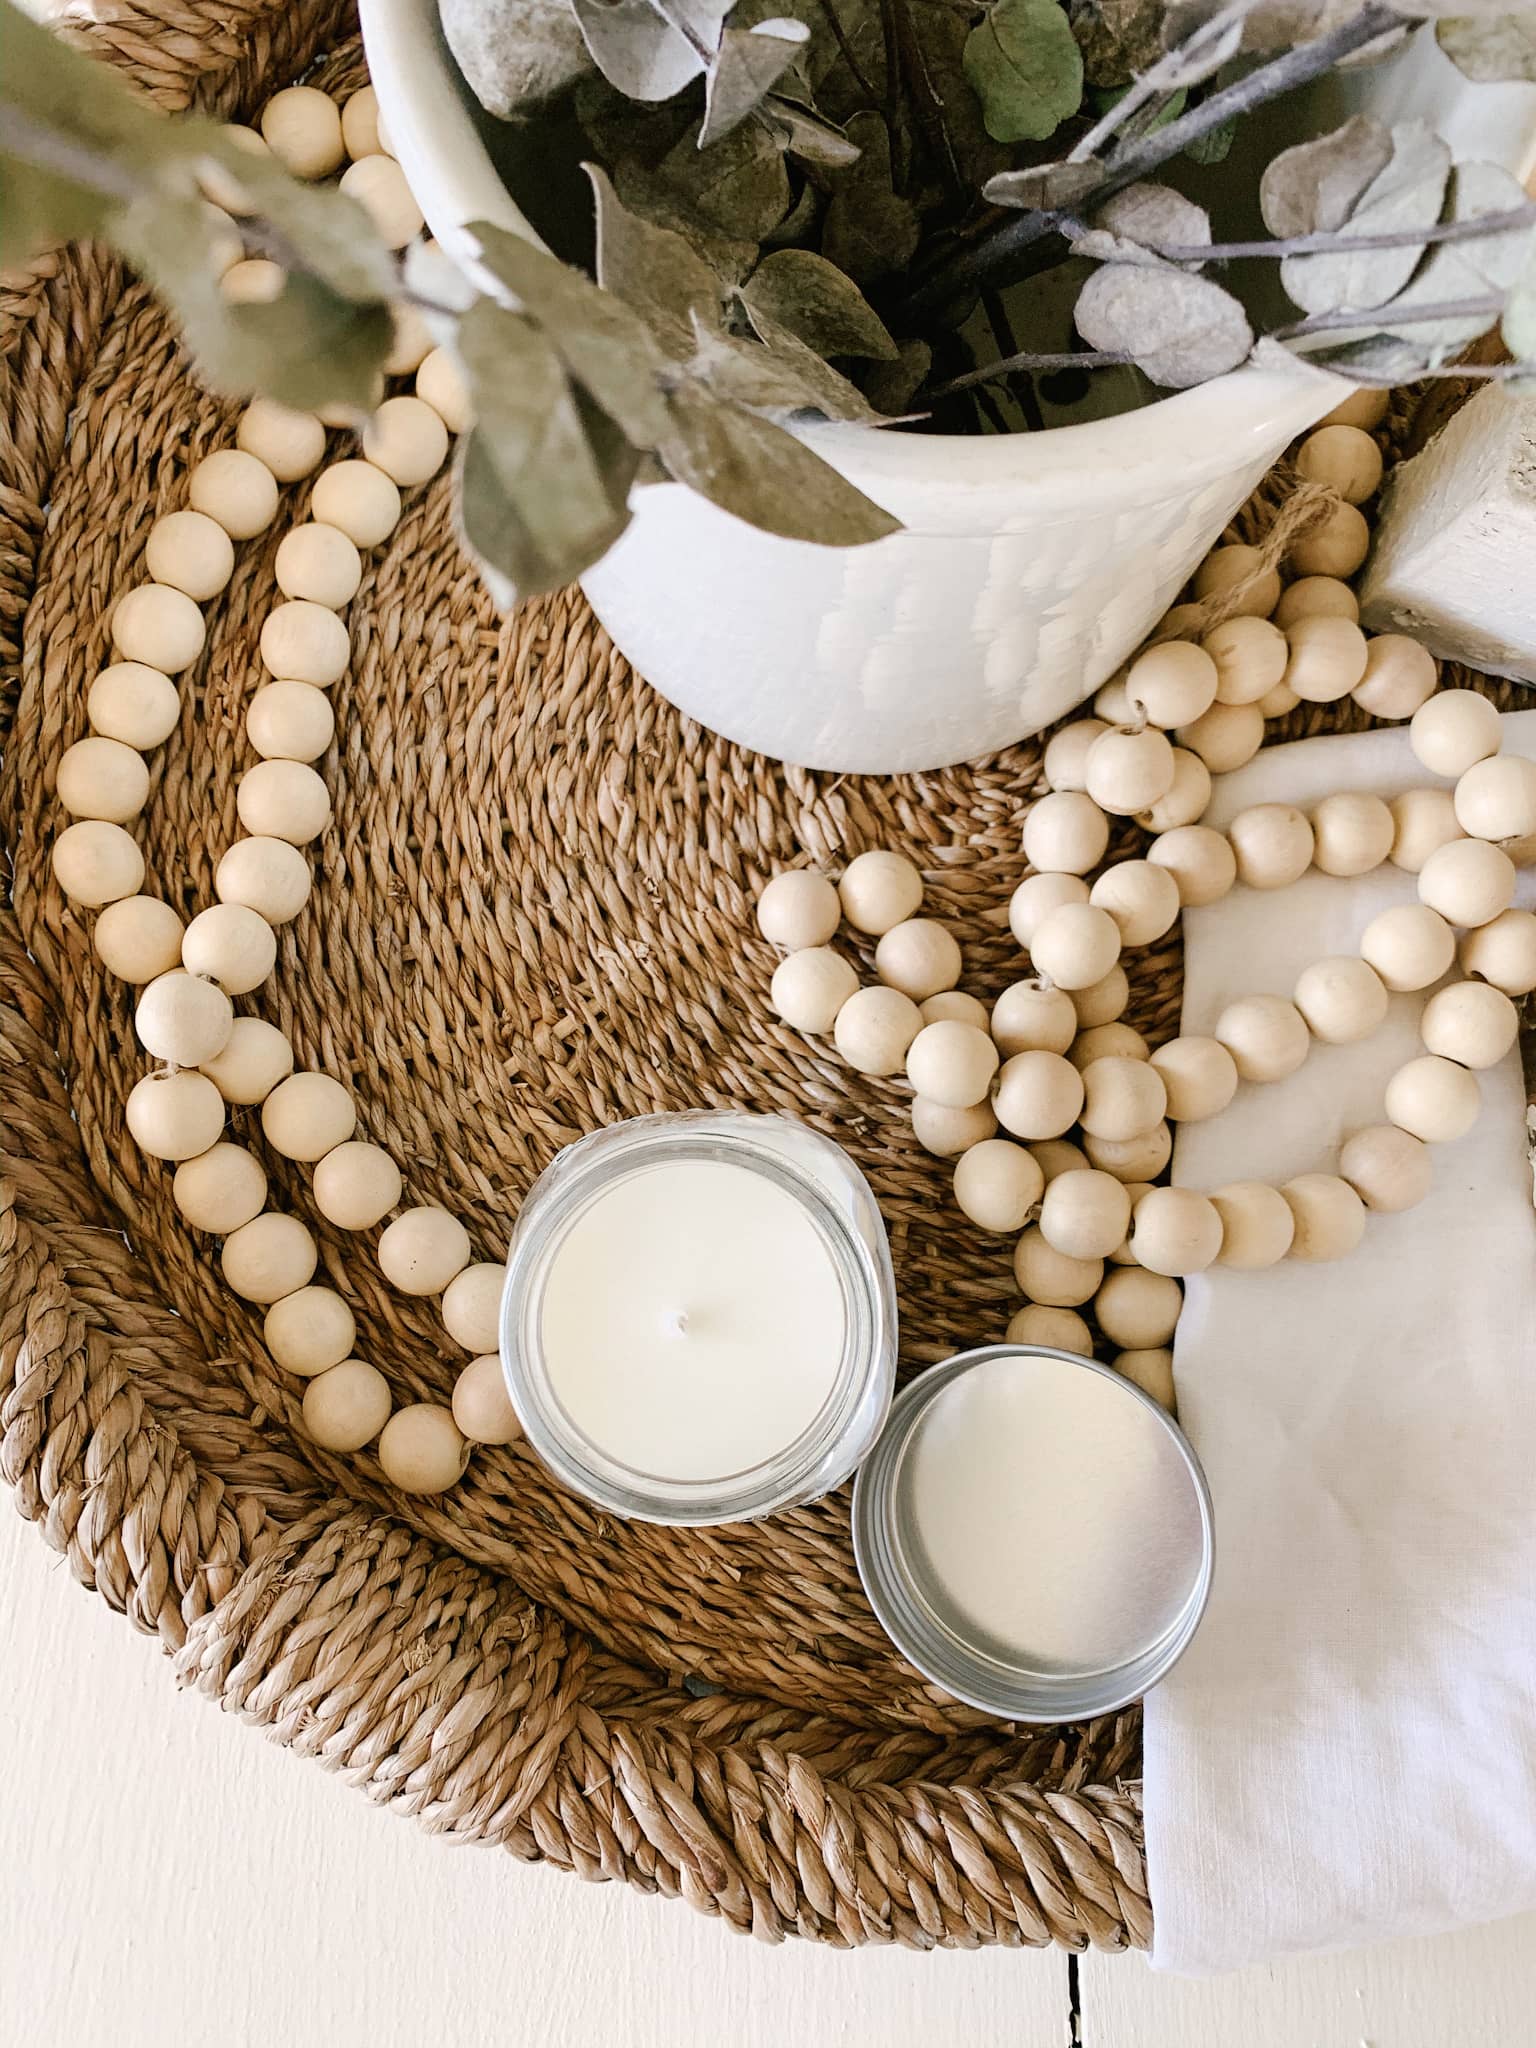
Once your candle is solid, you’ll need to cut the wick to the appropriate size leaving about a 1/2 inch to an inch of wick sticking up out of the wax. And….that’s it!!
I hope this little tutorial was helpful if you’re looking to make your own candles for around your house or even make them as favors for your wedding/party in the future. Let me know in the comments below if you try this!
xo,
sarah jane


Leave a Reply