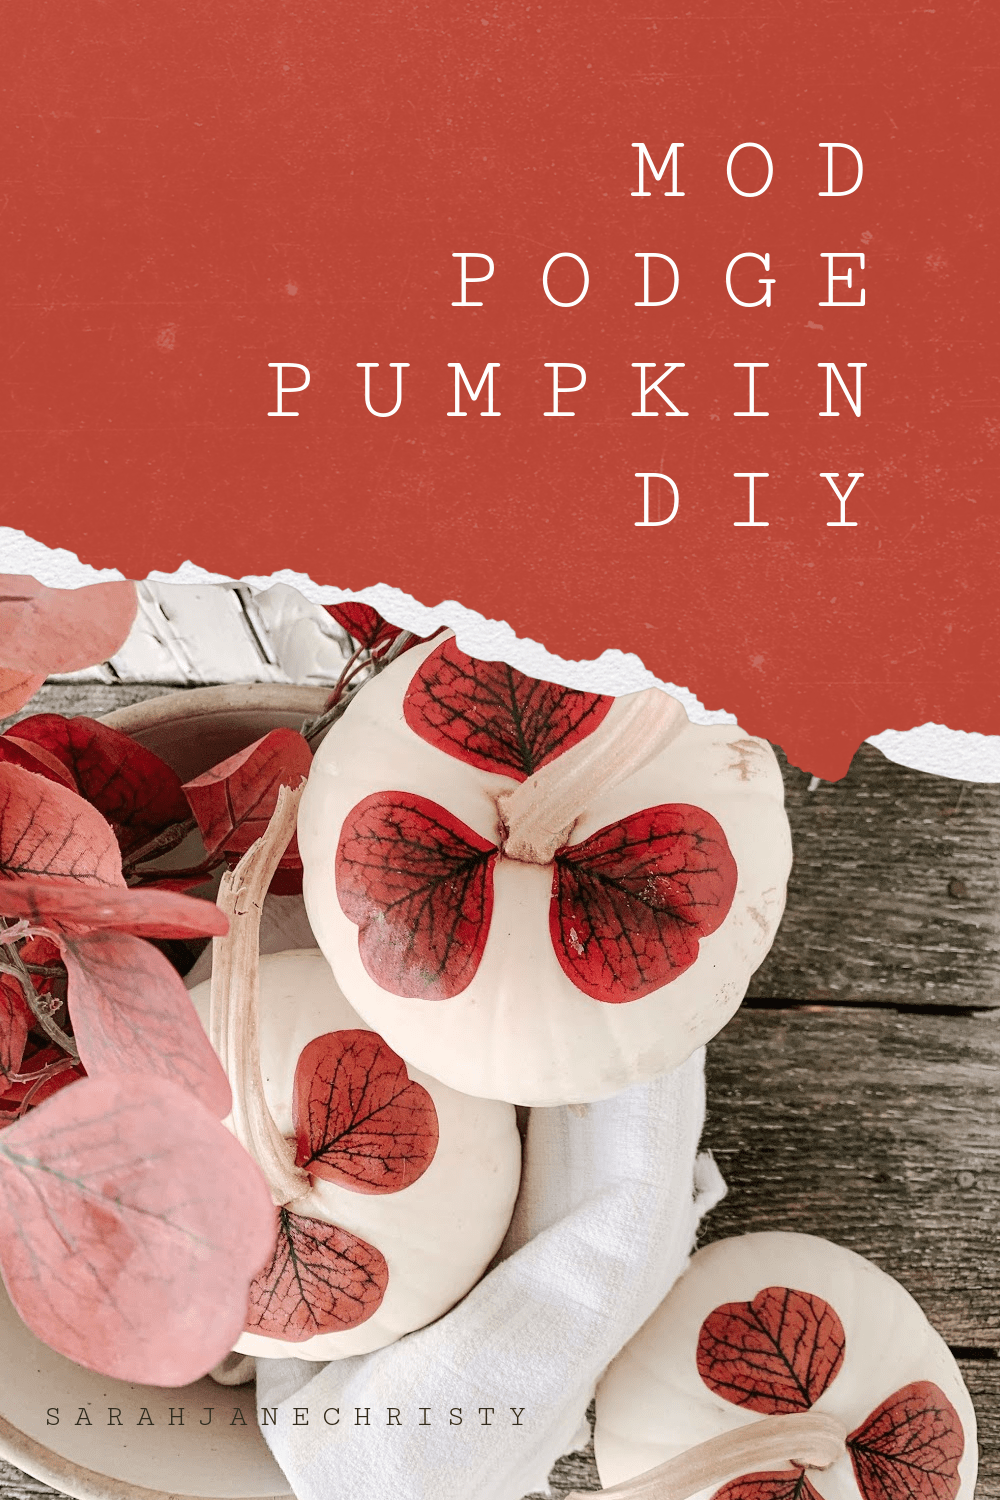
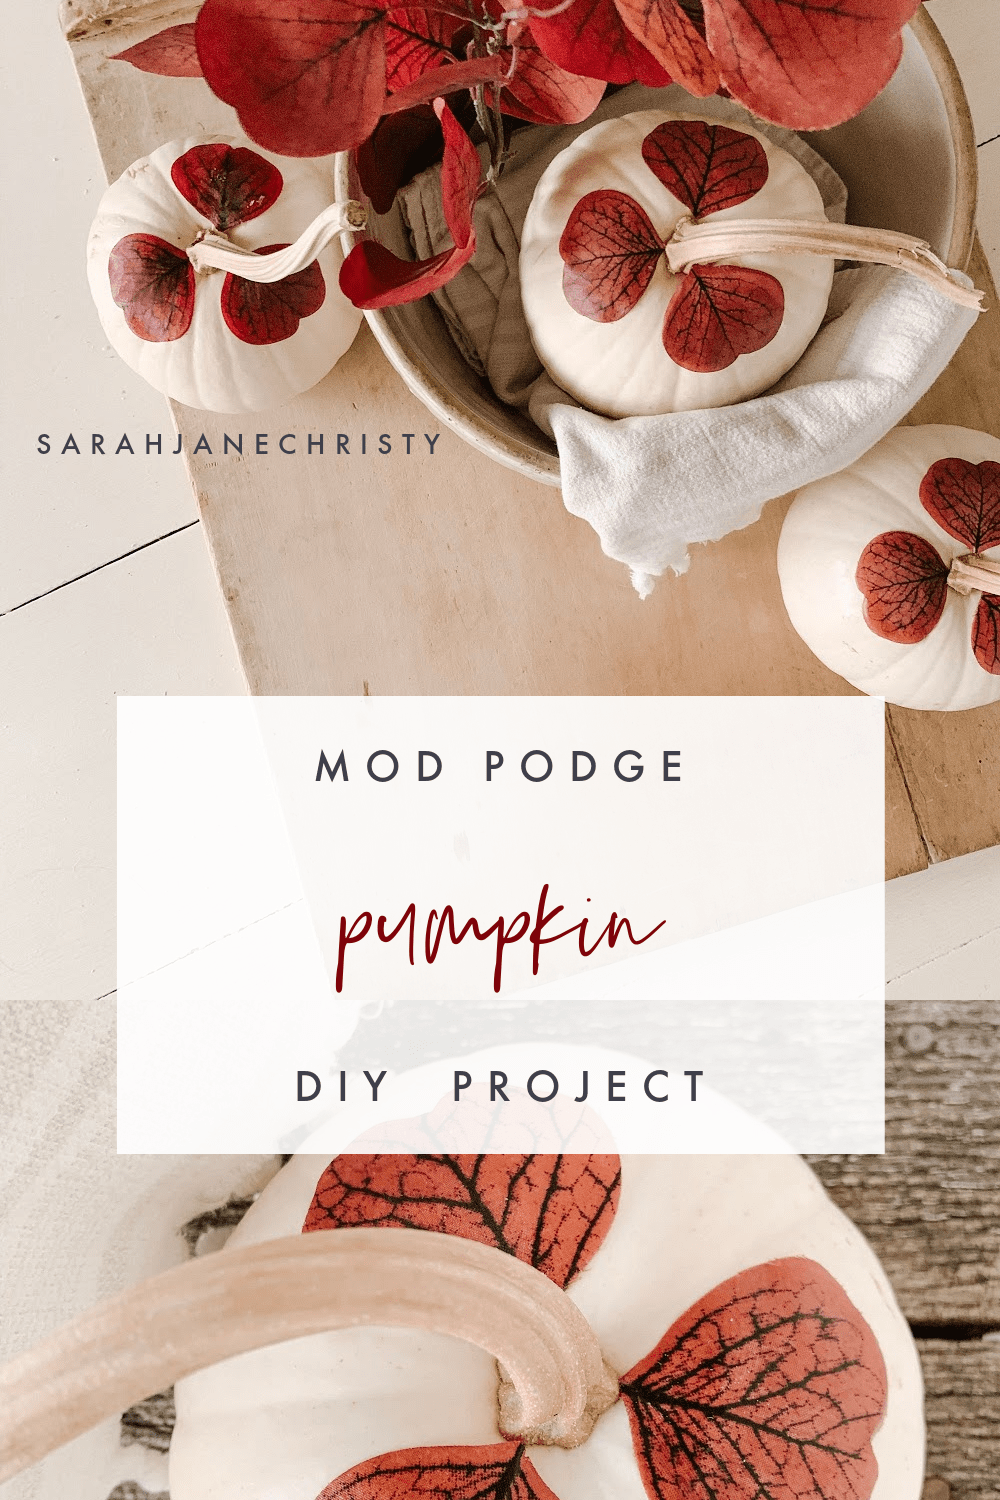
I just can’t quite put the pumpkins away yet, friends. I’m just loving this time of year and all of the pretty colors! I figured that one last DIY for the season couldn’t hurt, especially if it costs under $10! Here’s how I did this mod podge pumpkin DIY project on a budget.

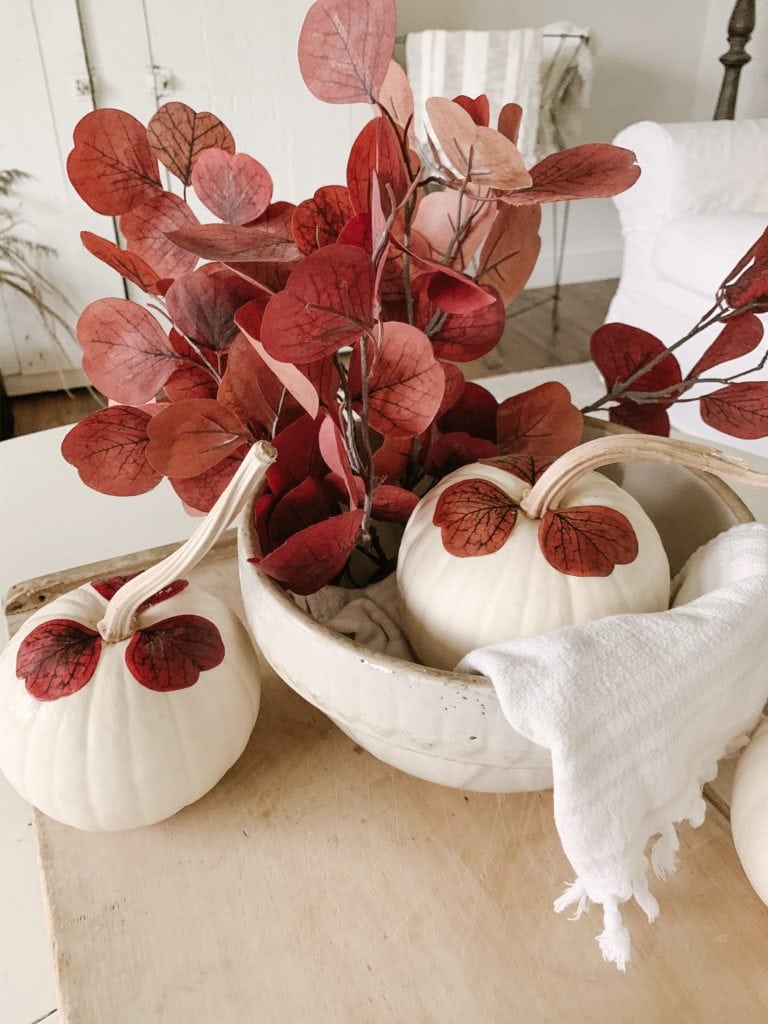
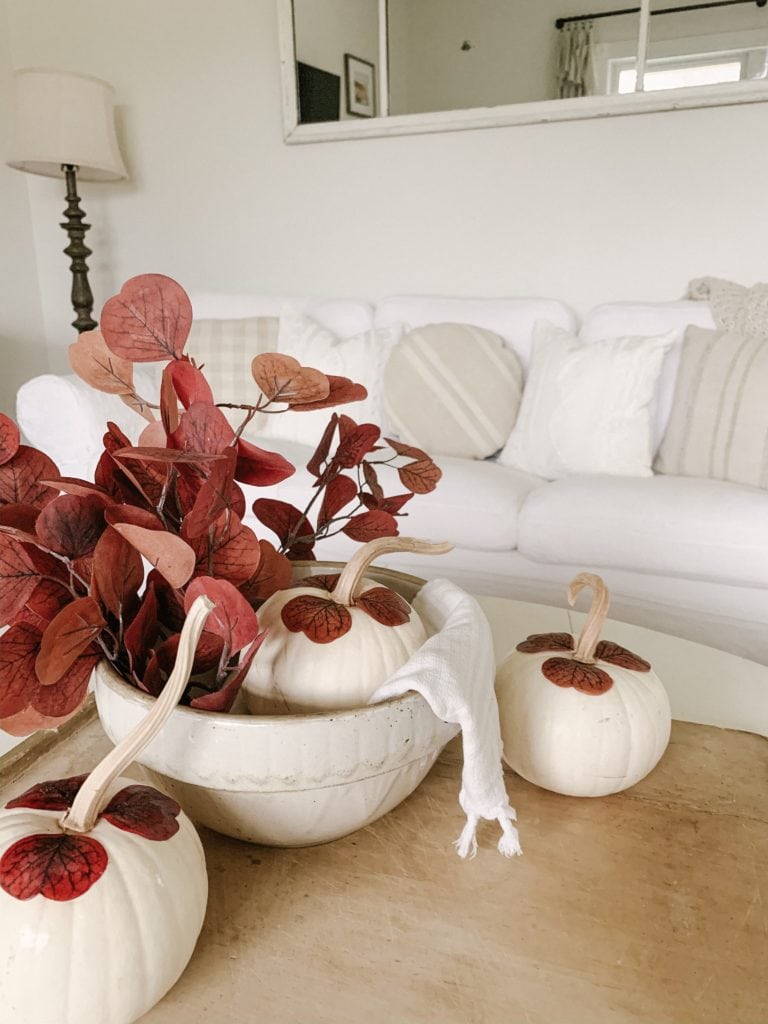
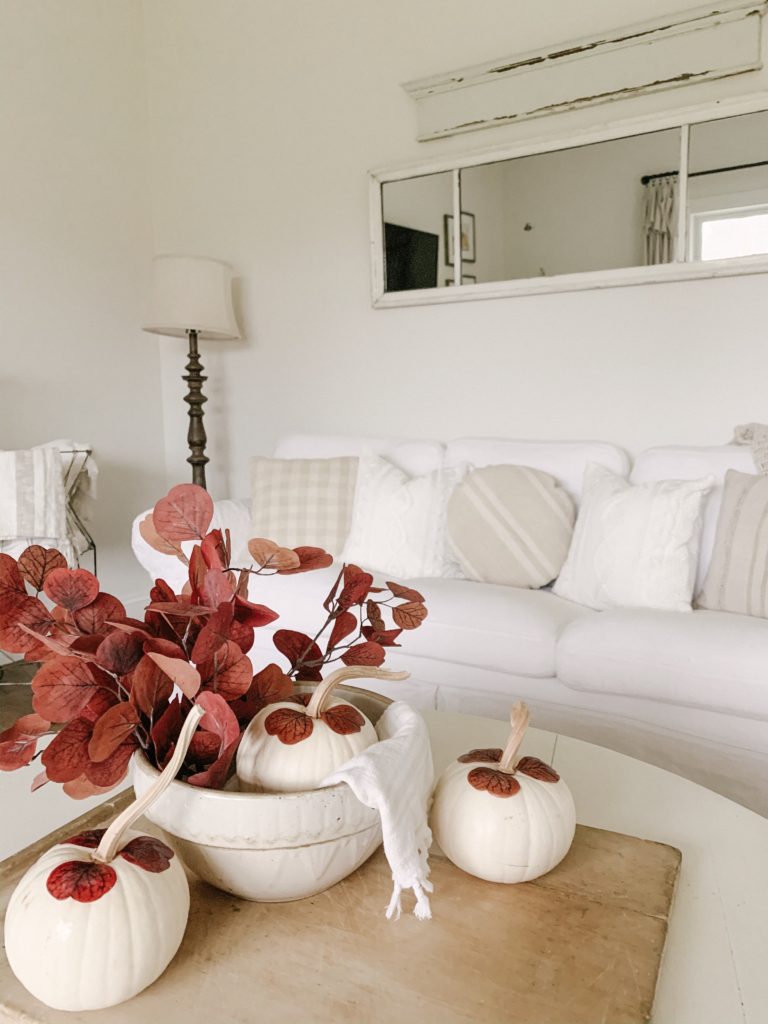
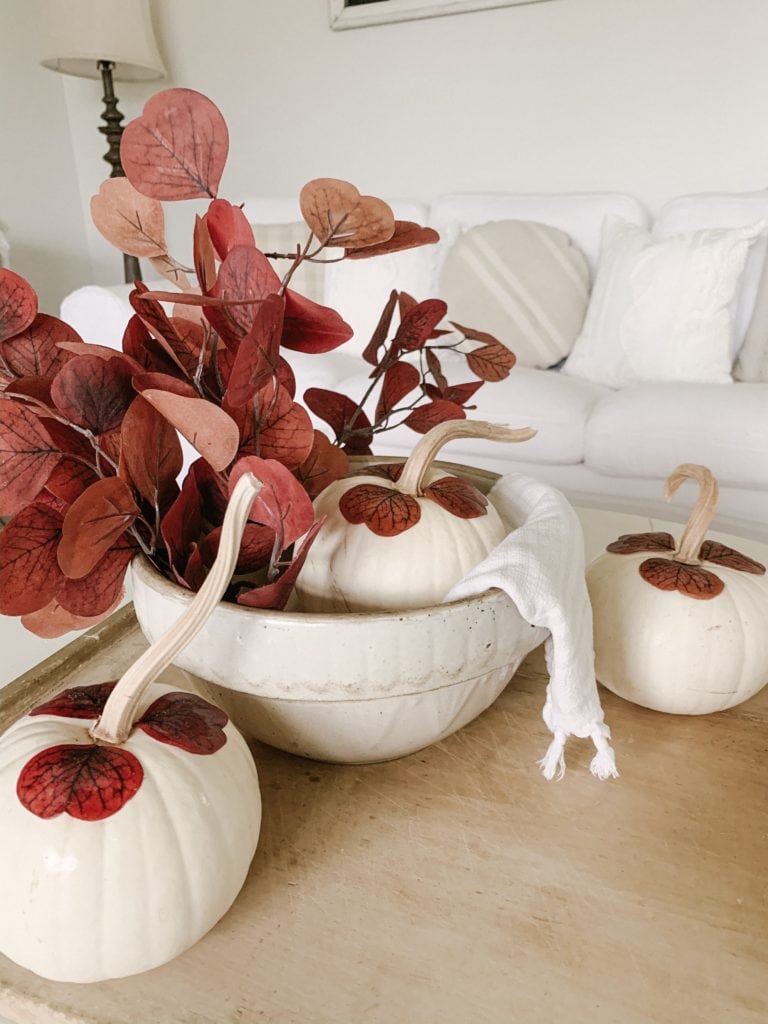
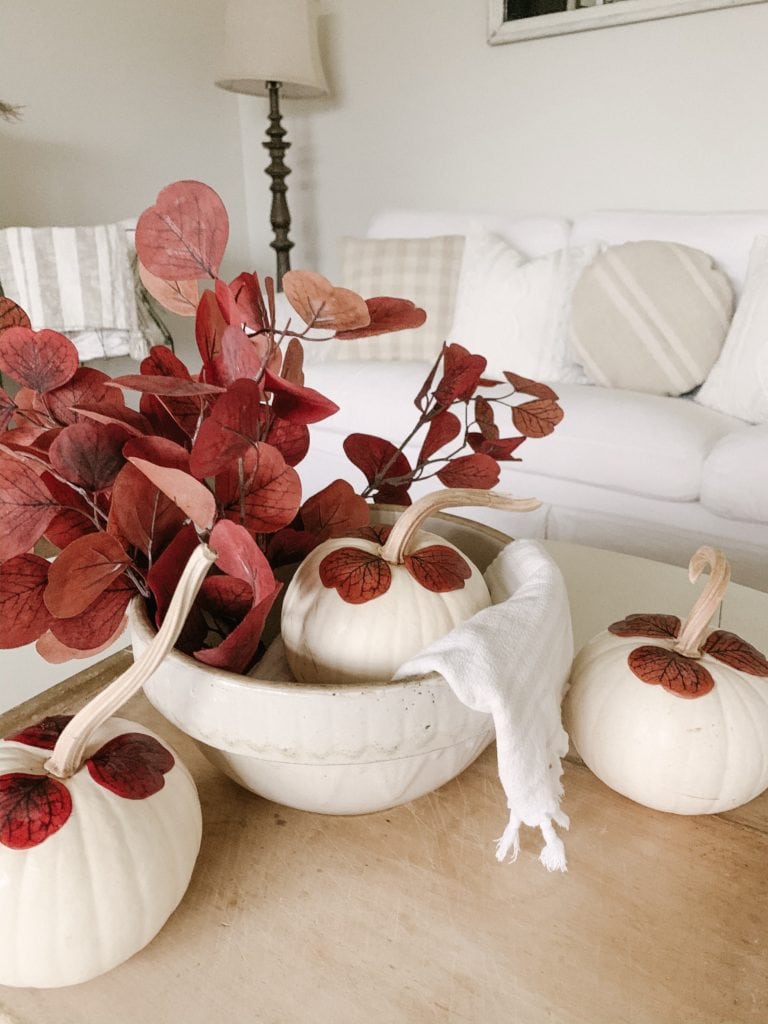
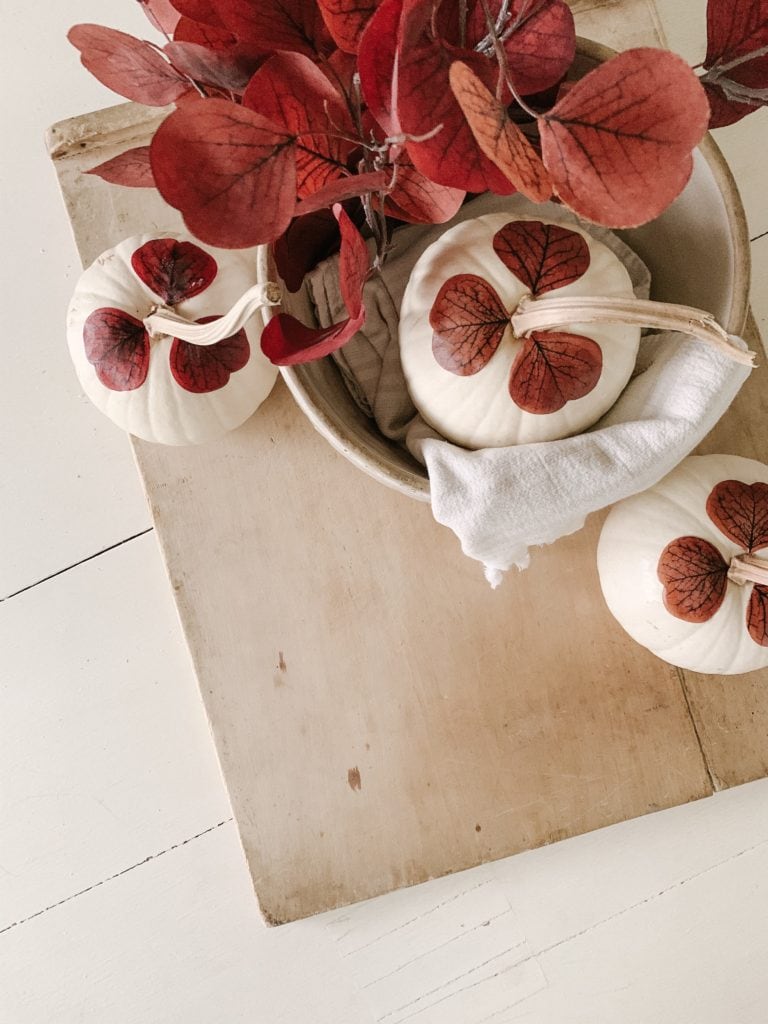
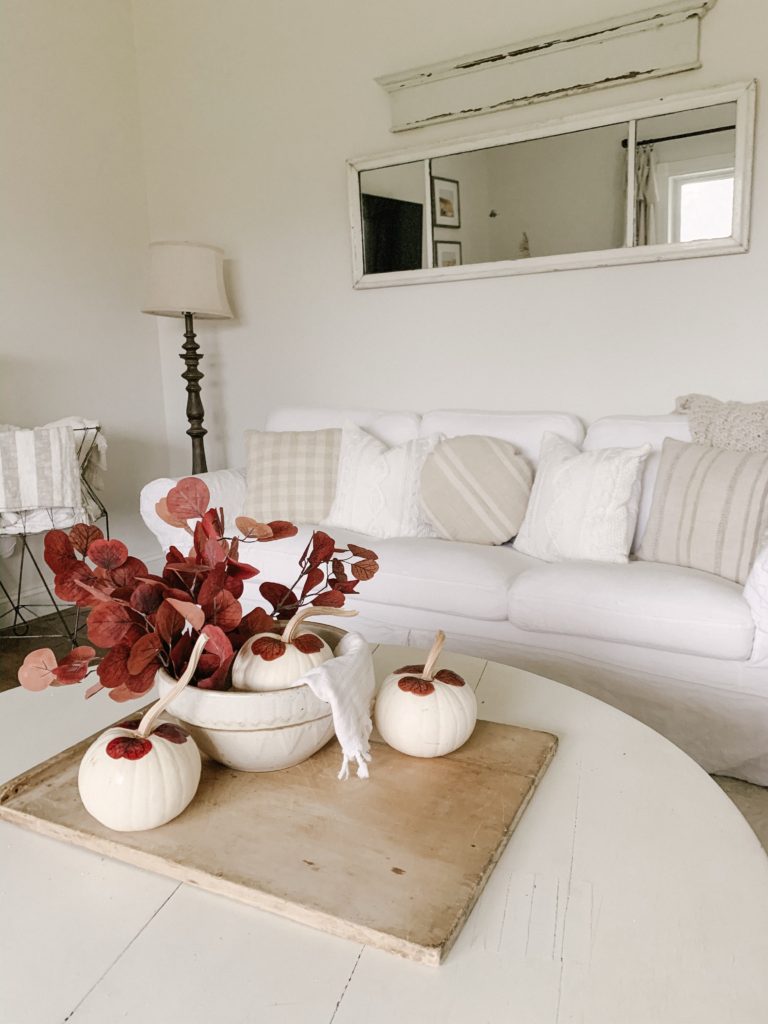
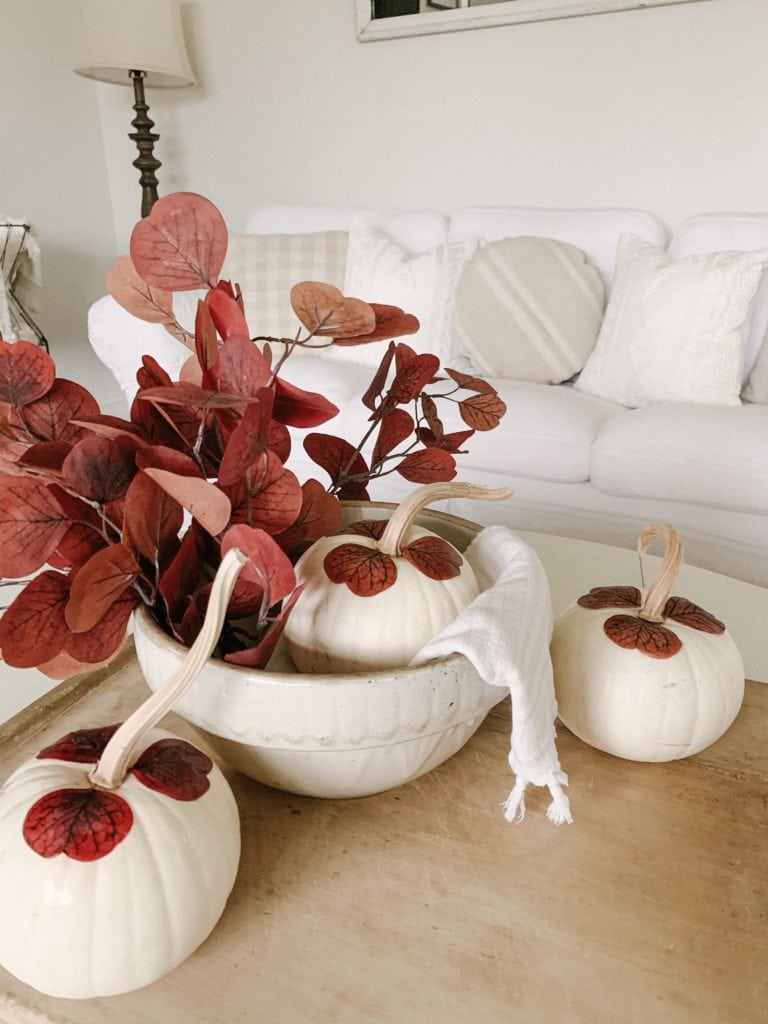
Earlier this season, I purchased some small white pumpkins at a local greenhouse. I always tend to buy way too many of these in the fall because they’re so versatile and go with everything! We had these three sitting on our front porch for awhile but I thought I would bring them indoors and do a fun mod podge pumpkin DIY.
I first purchased some clearance fall florals from Michael’s. What can I say? Sometimes waiting until the end of the season pays off. This bundle of pretty fall leave stems were originally $14 and I got them for $3.50. A steal, really.
Since I’m working with smaller sized pumpkins, I started by cutting the smaller leaves off of the bundle. I didn’t need to cut too many since I only have three pumpkins so I will keep this bundle for next year’s fall decor. Win-win situation, over here.
Before adhering the leaves to the pumpkins, I had to peel off the plastic stem veining on the back of each leaf. Without doing this step, the leaves were pretty difficult to attach to the pumpkin. It’s actually super easy to peel off, FYI.
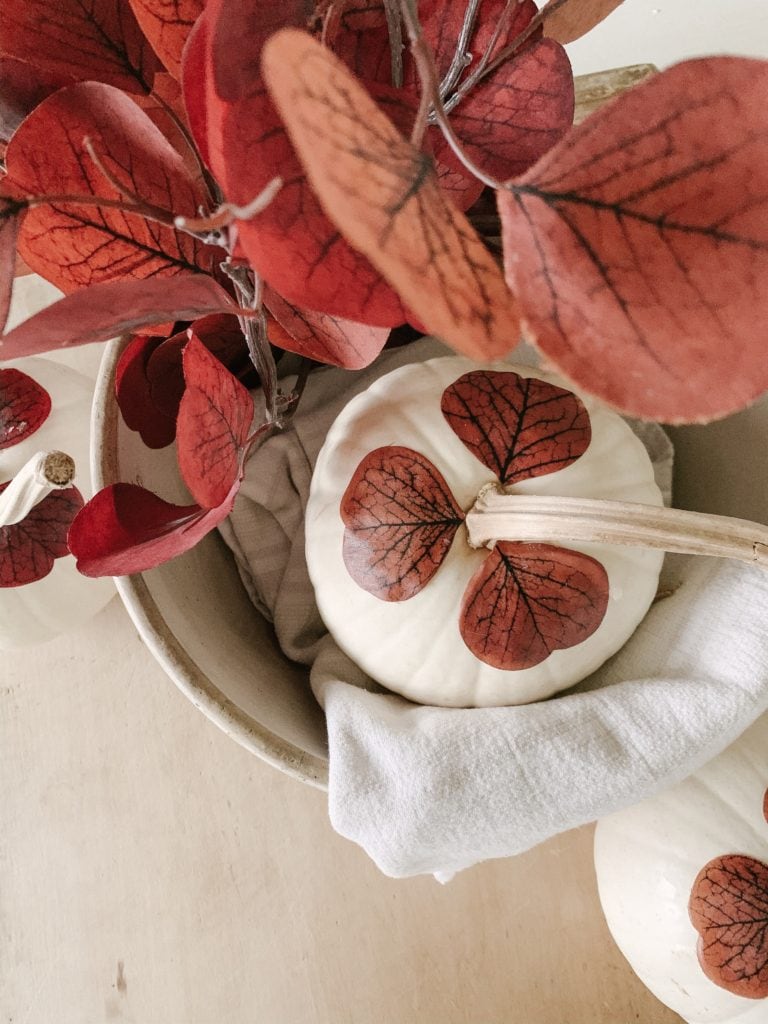
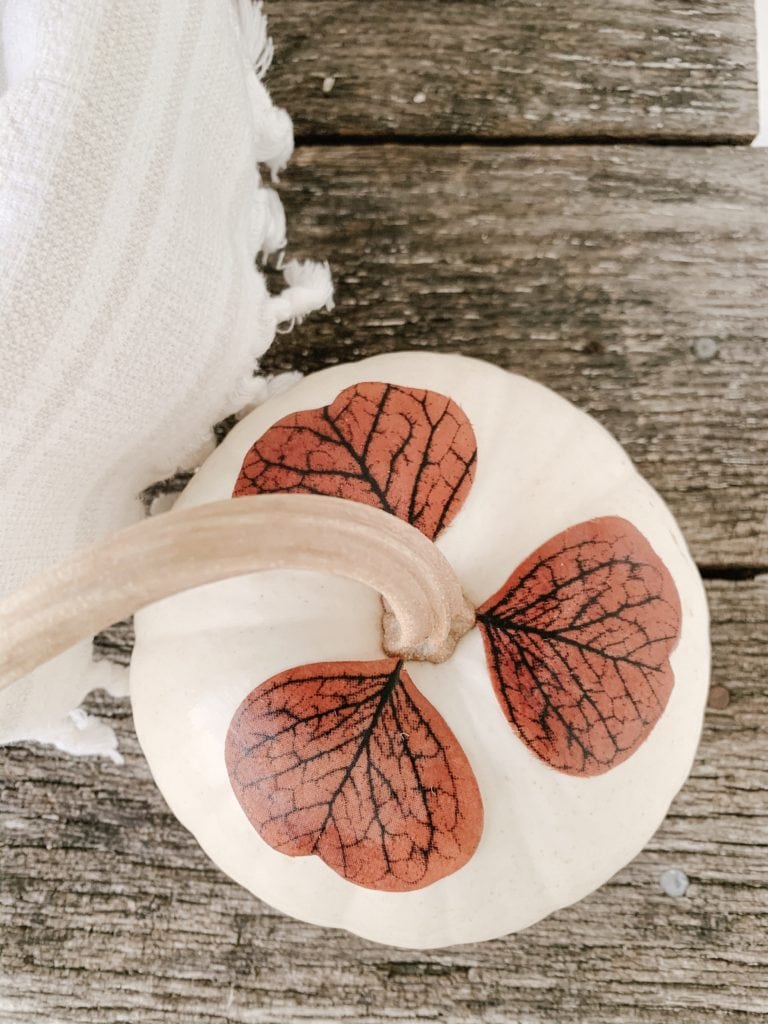
Once that plastic stem is removed, I applied mod podge (using an old small paint brush) to the back of each leaf and placed it around the stem of each pumpkin. You could technically put the leaves/flowers anywhere you want. That part is totally up to you! I chose to place three leaves on each pumpkin so that you could easily see the outline of each leaf. I tried four at first and it looked a bit like a jumbled-mess.
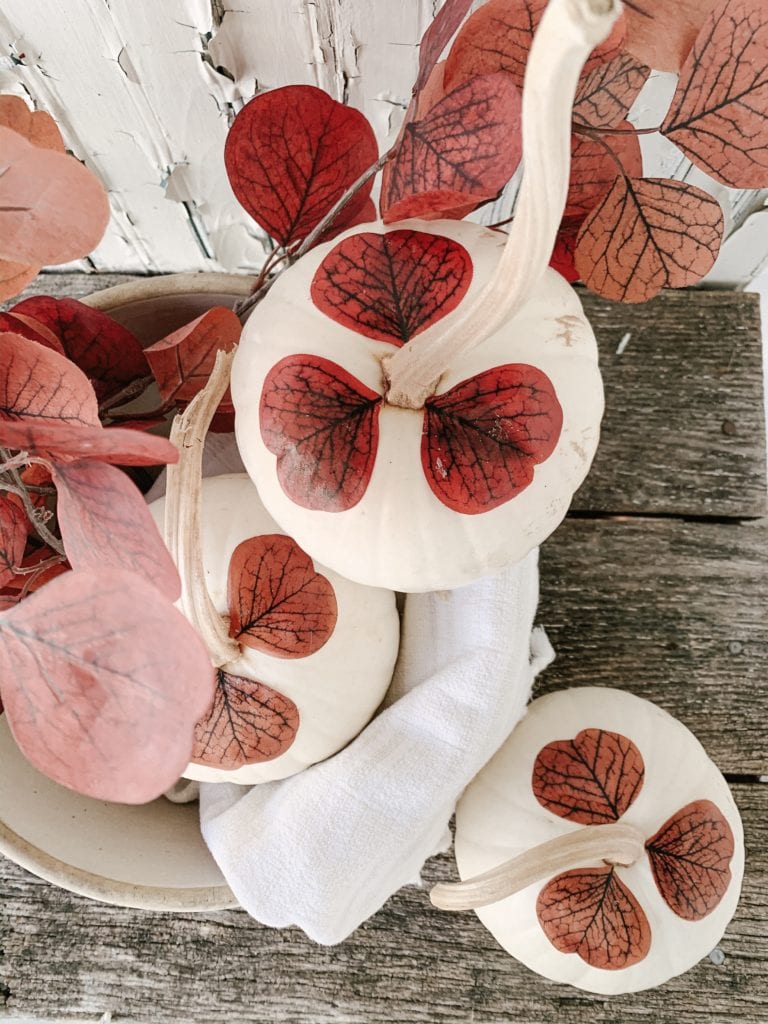
At this point, I used the paint brush to apply some more mod podge to the top of the leaf. I focused mainly on the outer edge so that they didn’t curl up. Another little tip for ya: Don’t be stingy with the mod podge! Lather that stuff on. I actually had to take a few leaves off and reapply because I didn’t apply enough at first.
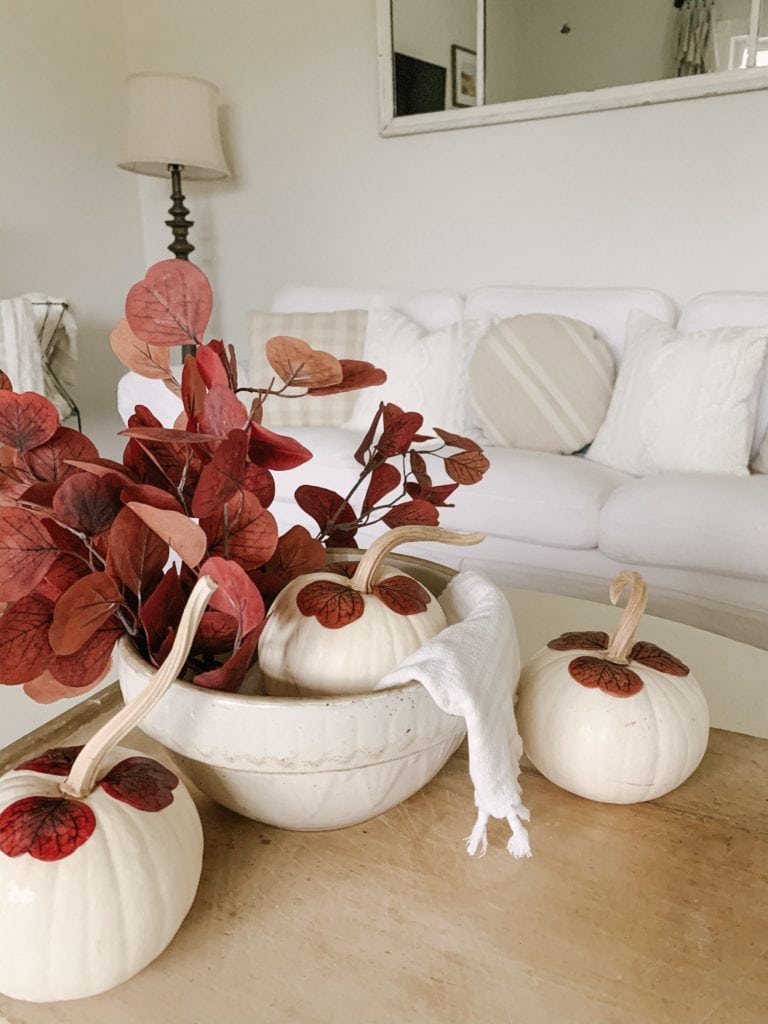
After letting the mod podge dry for a bit, the pumpkins looked amazing! I love the fun little detail this brings a basic white pumpkin. So fun right?! I actually think this project could easily be done with kids, too!
Let me know what you think of this mod podge pumpkin DIY project. Thanks for checking out the blog today!
xo,
sarah jane

Hi Sarah.
Very cool little pops of color! I love them.
Thank you so much, Karen!!
I love this idea, Sarah. Good job! I’m Pinning it for next fall.
Jane❤️
Aw thank you, Jane! That means the world